Connecting to and Using SmartThings with the Samsung Air Purifier
 Please Note: The information on this page is for Australian products only. Models, sequences, error codes or settings will vary depending on location and/or where the product had been purchased. To be redirected to your local support page please click here.
The SmartThings* App lets you connect to many Samsung devices from TVs, washing machines to fridges. Now, you can connect it to your air purifier.
This lets you remotely control your air purifier. With a simple touch or using your voice** you can turn it on or off, check the air quality, control other functions and monitor the status of the filter. The Filter Life notification will even alert you when it’s time to change your True HEPA filter.
Follow the guide below on connecting SmartThings to your air purifier.
*Available on compatible Android 6.0 or higher and iOS 10.0 or higher devices. A Wi-Fi connection is required.
**Voice control supported in 8 languages (UK English, US English, Korean, Chinese, German, French, Spanish, Italian).
SmartThings is compatible with the following air purifier models:
AX32BG3100GBSA, AX46BG5000GSSA, AX53A9350GE/SA, AX60R5080WD/EU, AX60T5080WD/SA, AX70A9550GE/SA, AX90R7080WD/EU, AX90T7080WD/SA
Check Model Compatibility Here.
Note:
- The interface design, layout and functions can vary depending on the version of the software and the geographical location.
- The air purifier Wi-Fi cannot be used as a standalone Wi-Fi network. It is only to indicate that the appliance is able to connect to an external Wi-Fi network.
Connect your Air Purifier to SmartThings
Step 1


Open the SmartThings App and press on the ‘+’ button in the top right corner.
Step 2


Select 'Add device' from the dropdown menu.
Step 3


Tap 'Add' under Samsung Devices.
Step 4
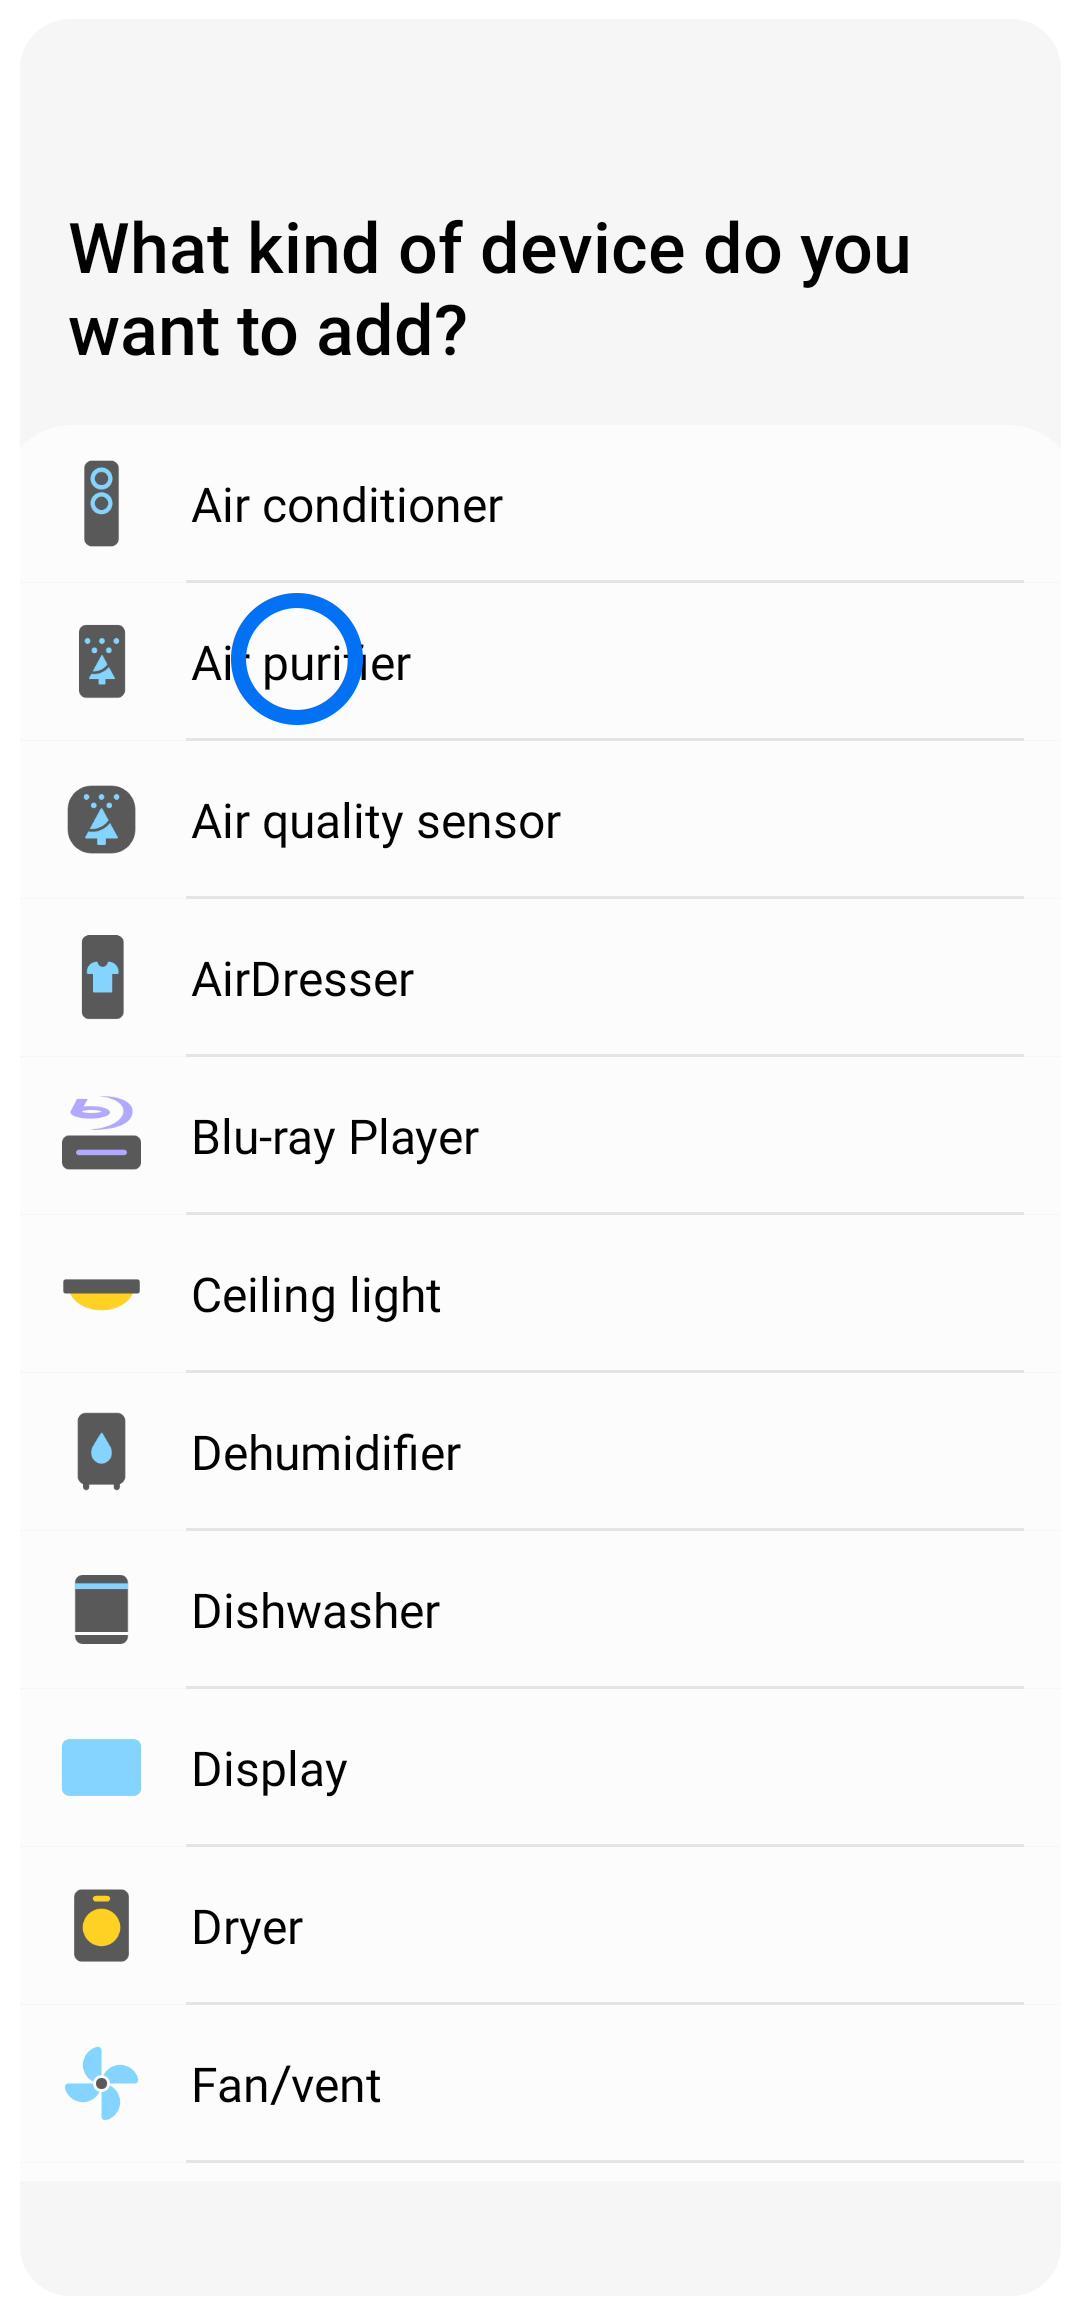
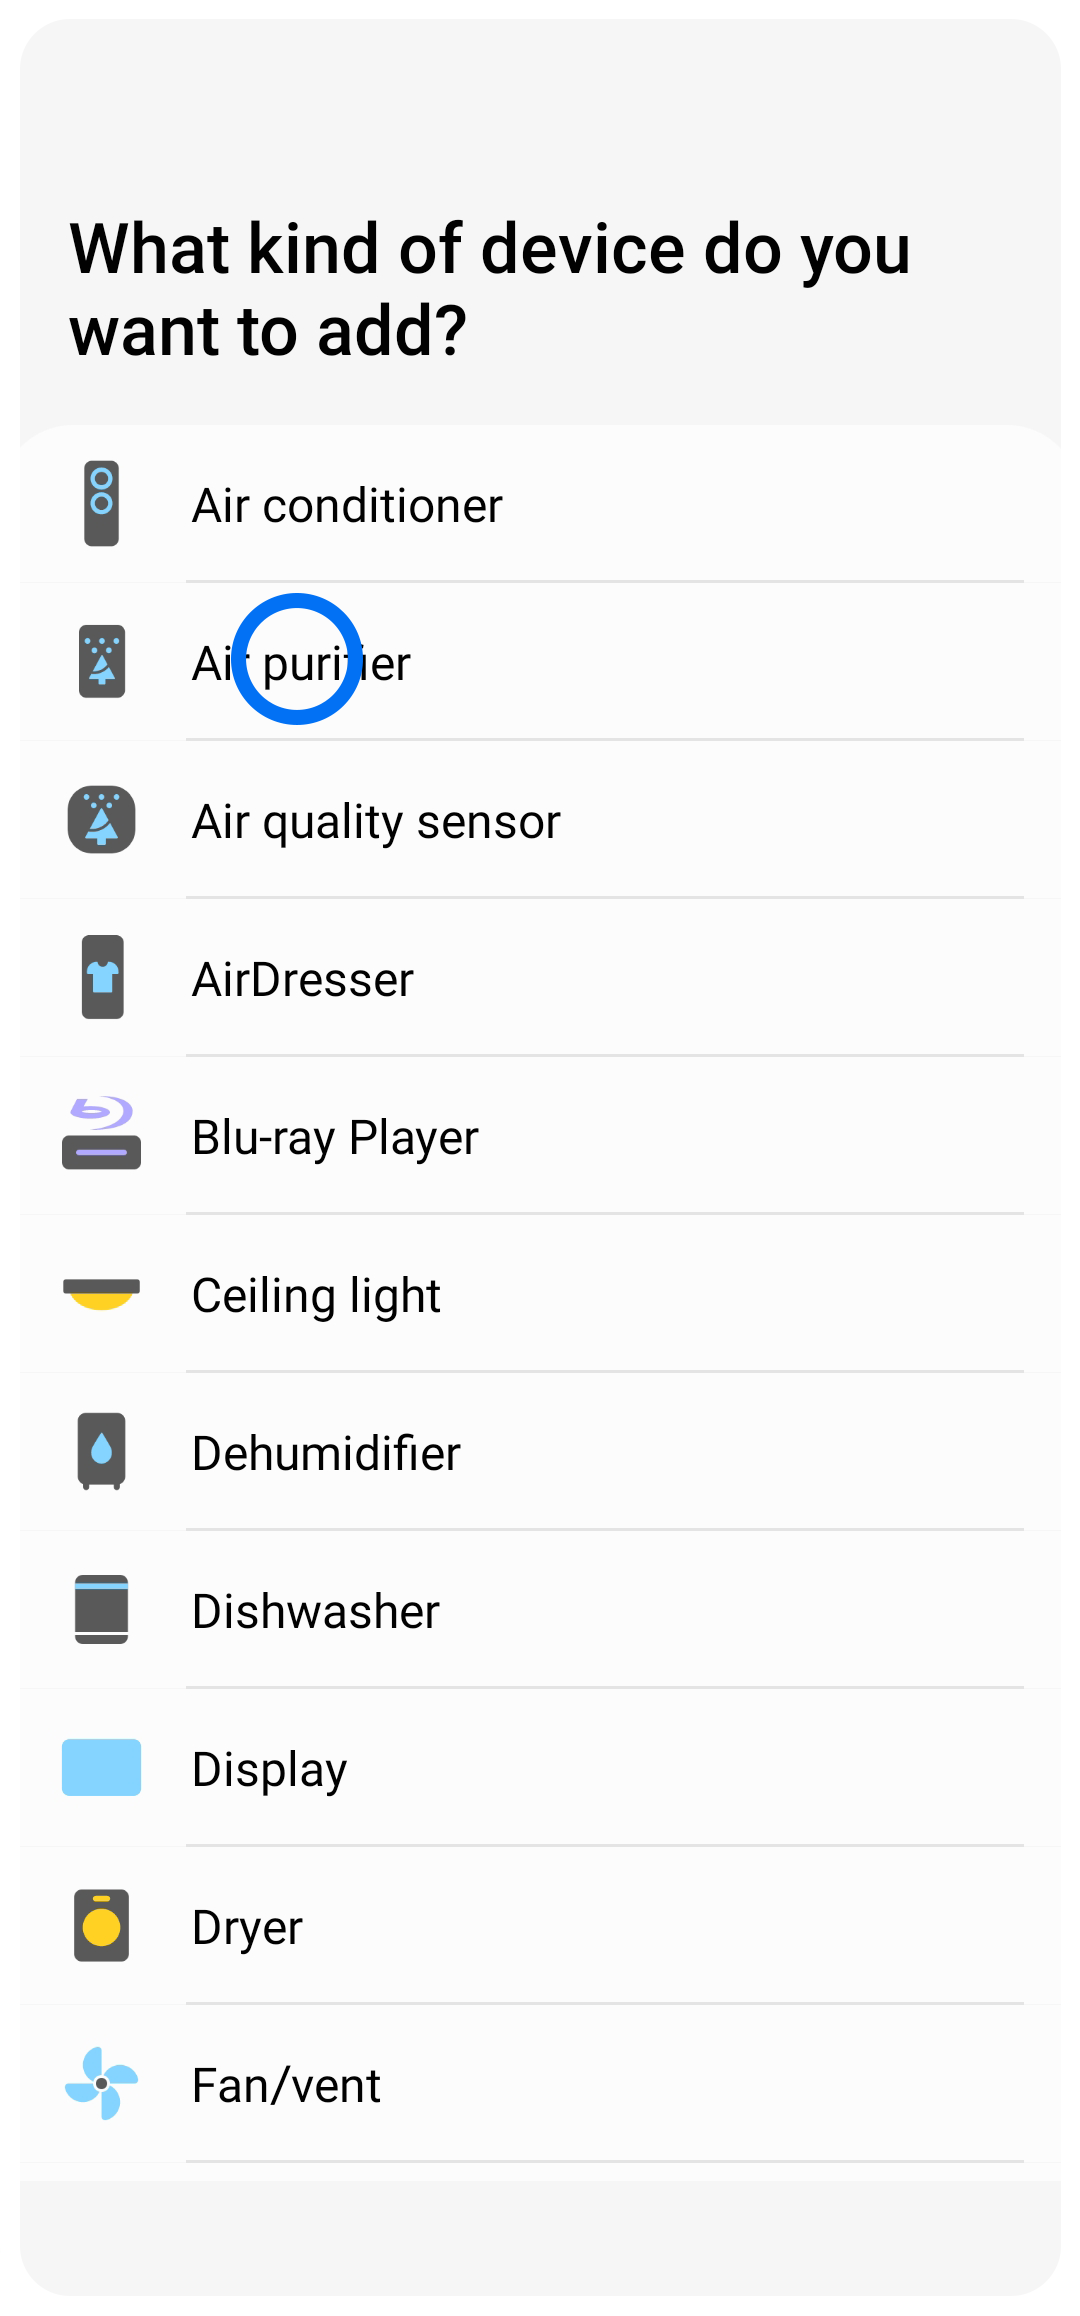
Choose 'Air Purifier' from the list.
Step 5
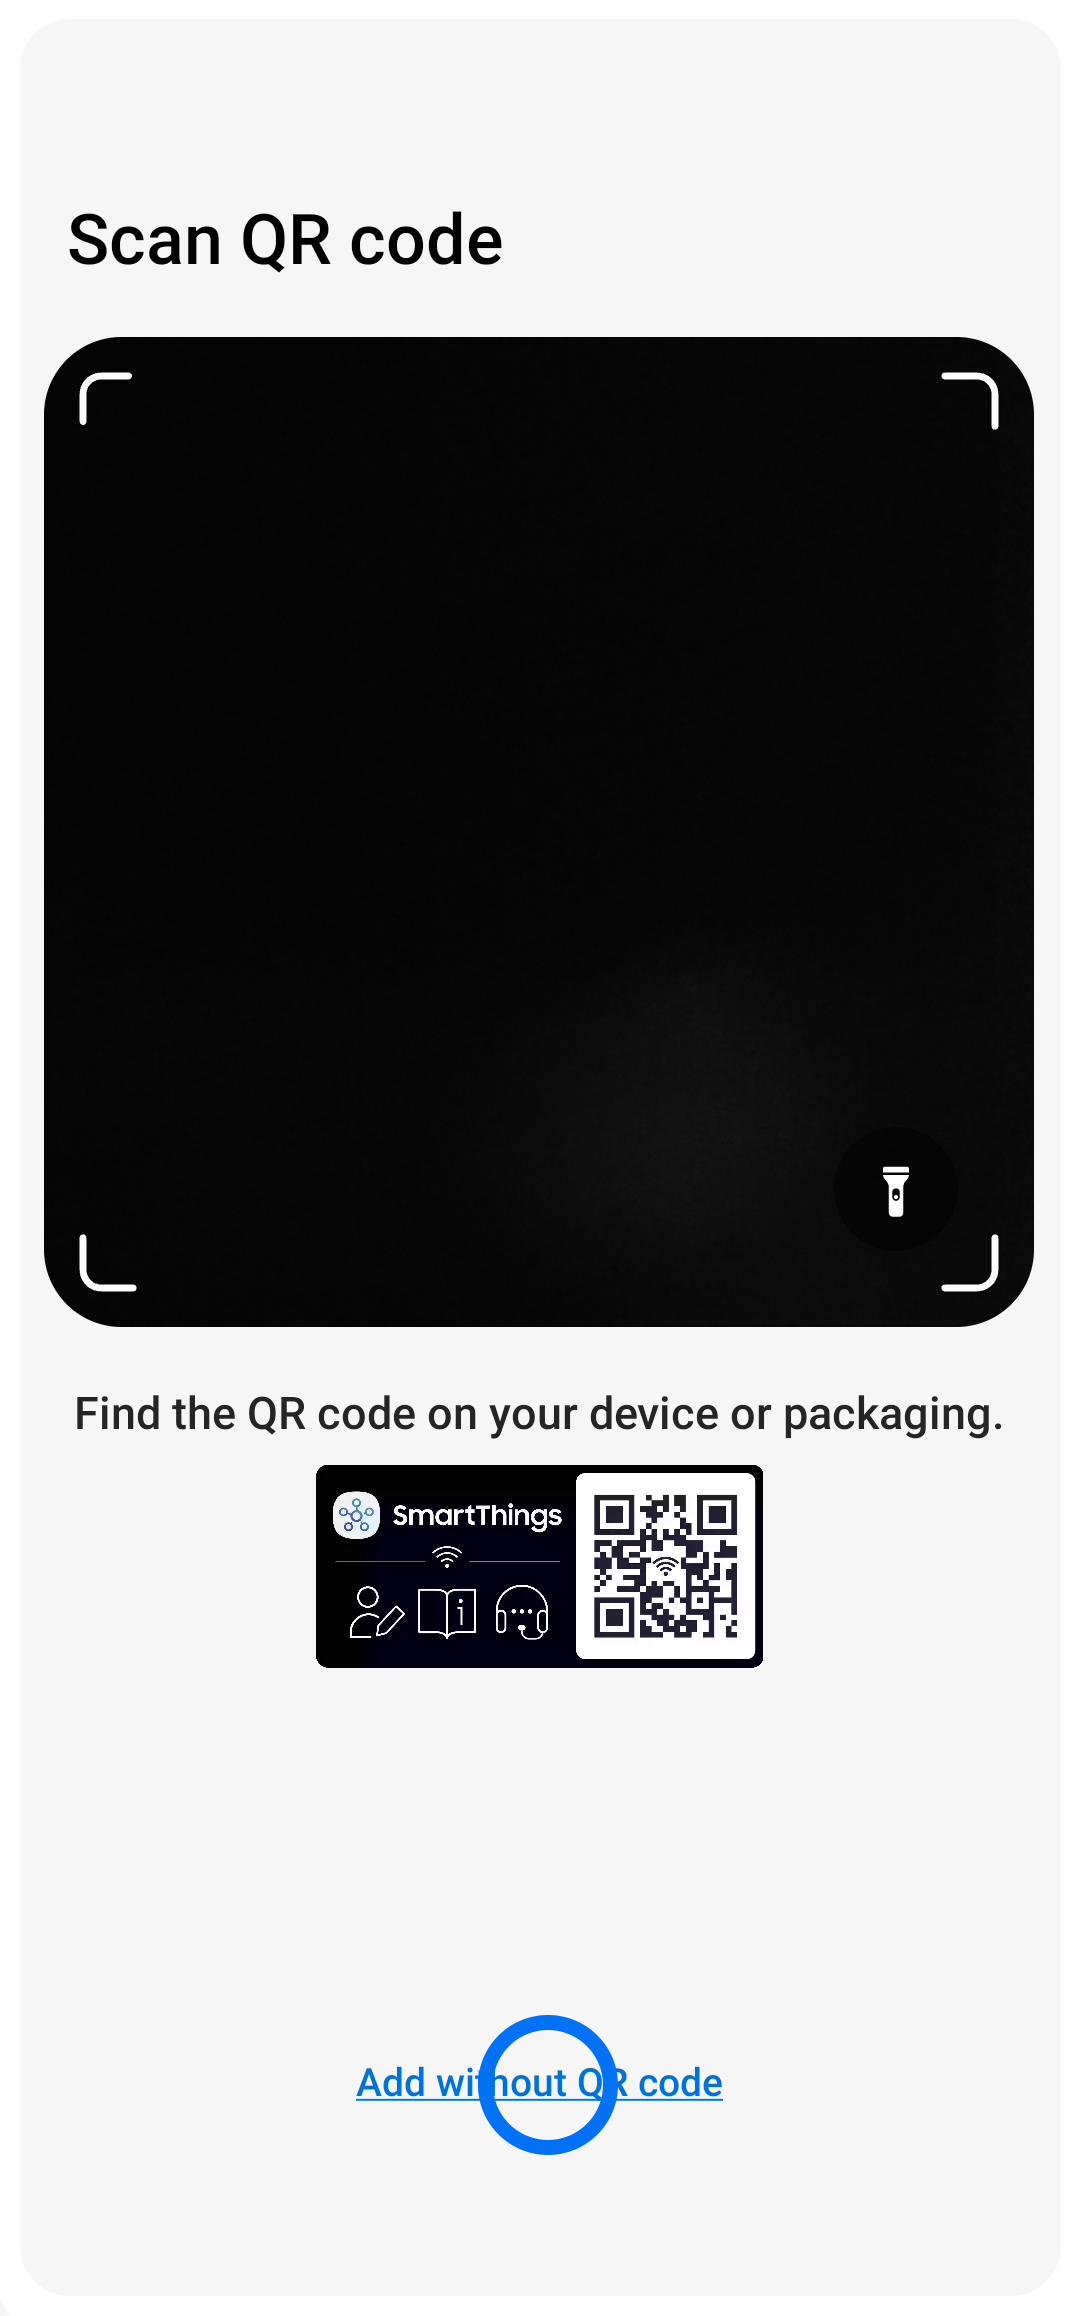
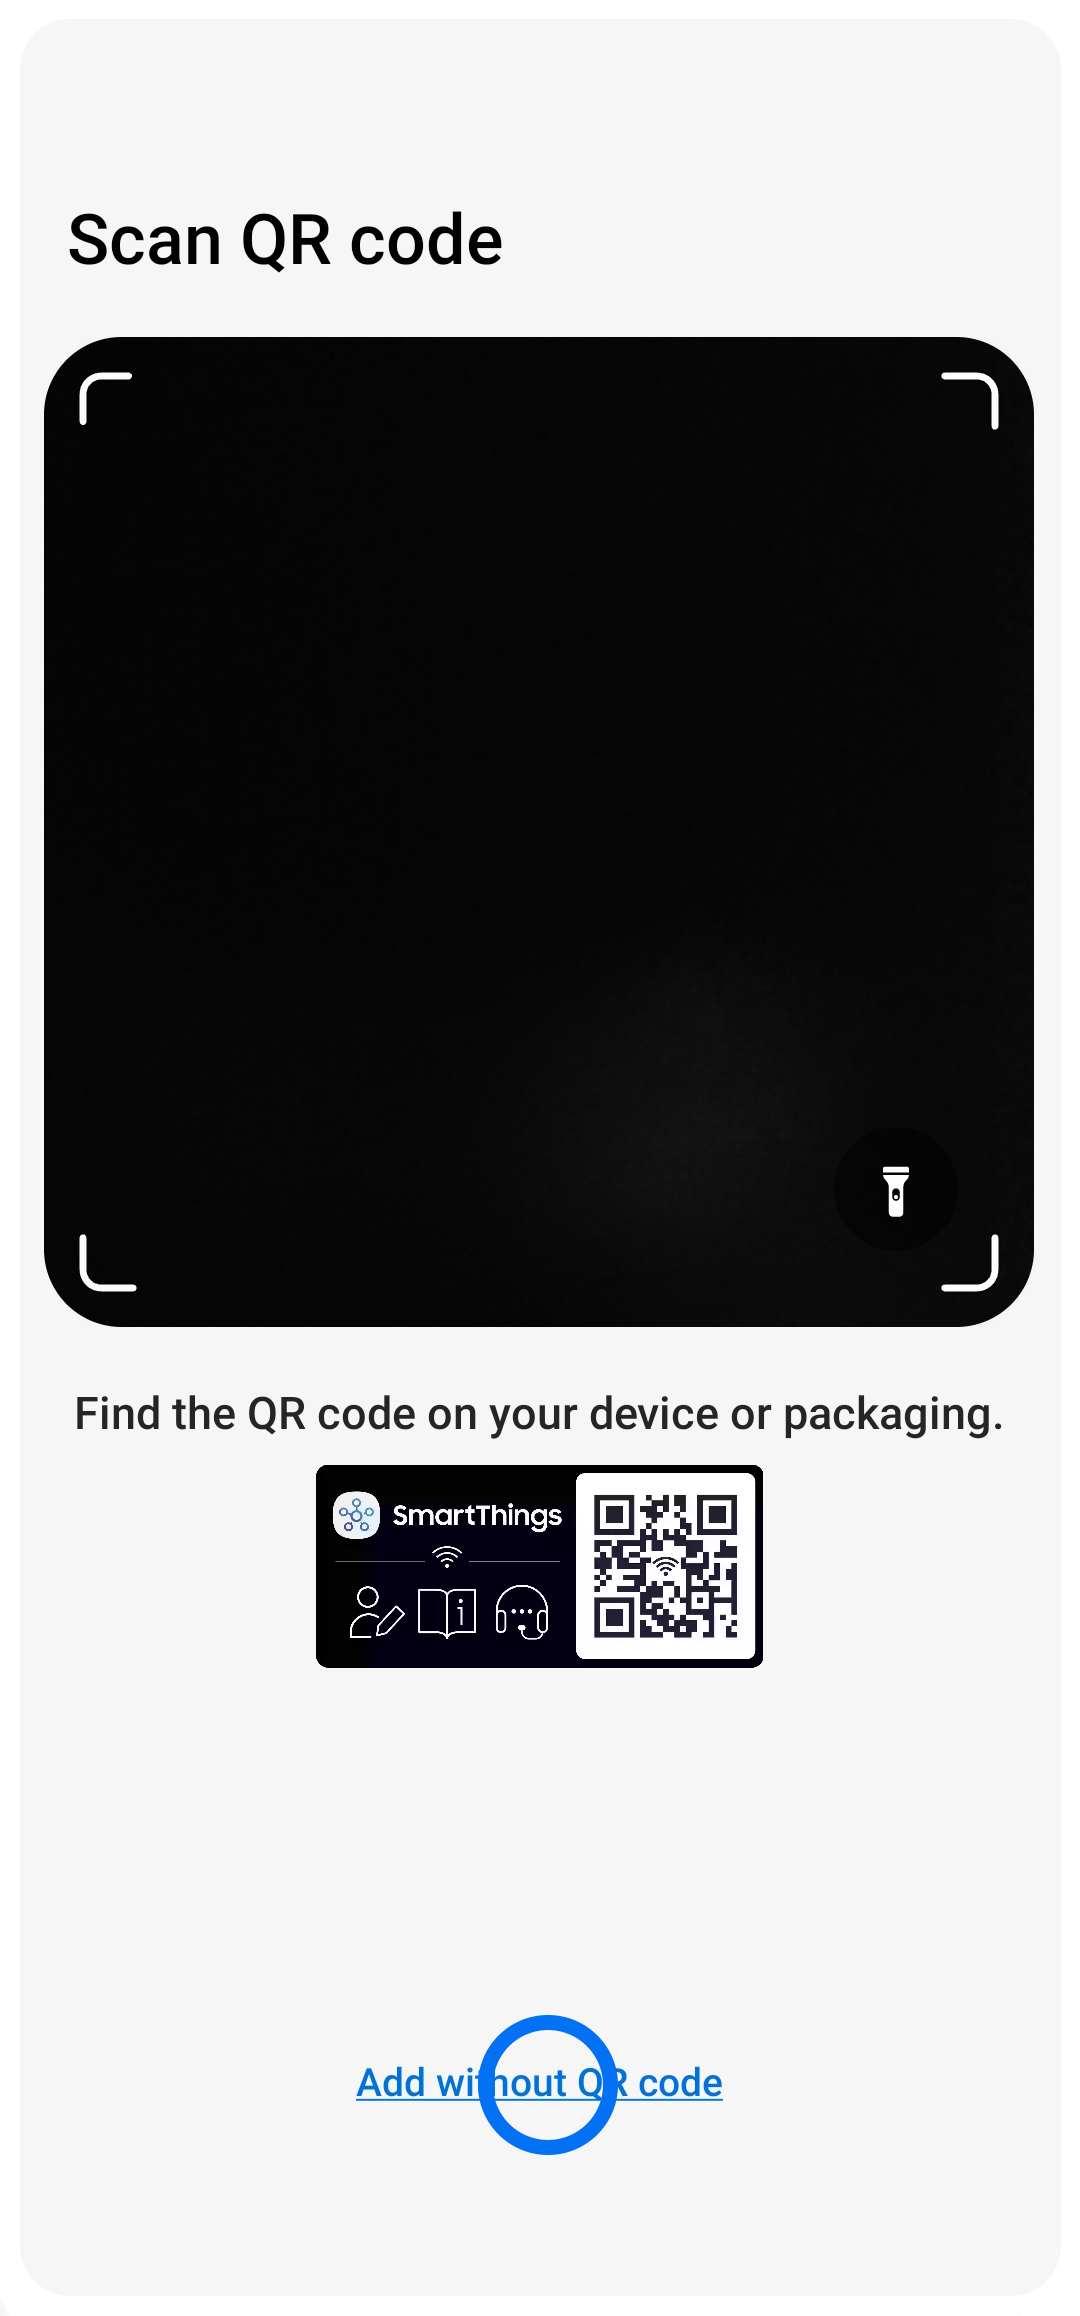
If your washer has a QR Code, use the camera to detect it.
Otherwise, tap 'Add without QR code'.
Step 6


Press and hold the 'Square button' on your Air Purifier for 5+ seconds until AP appears on the display.
If your Air Purifier does not have this button, hold down either the 'Fan speed' or 'Speed' button.
Step 7
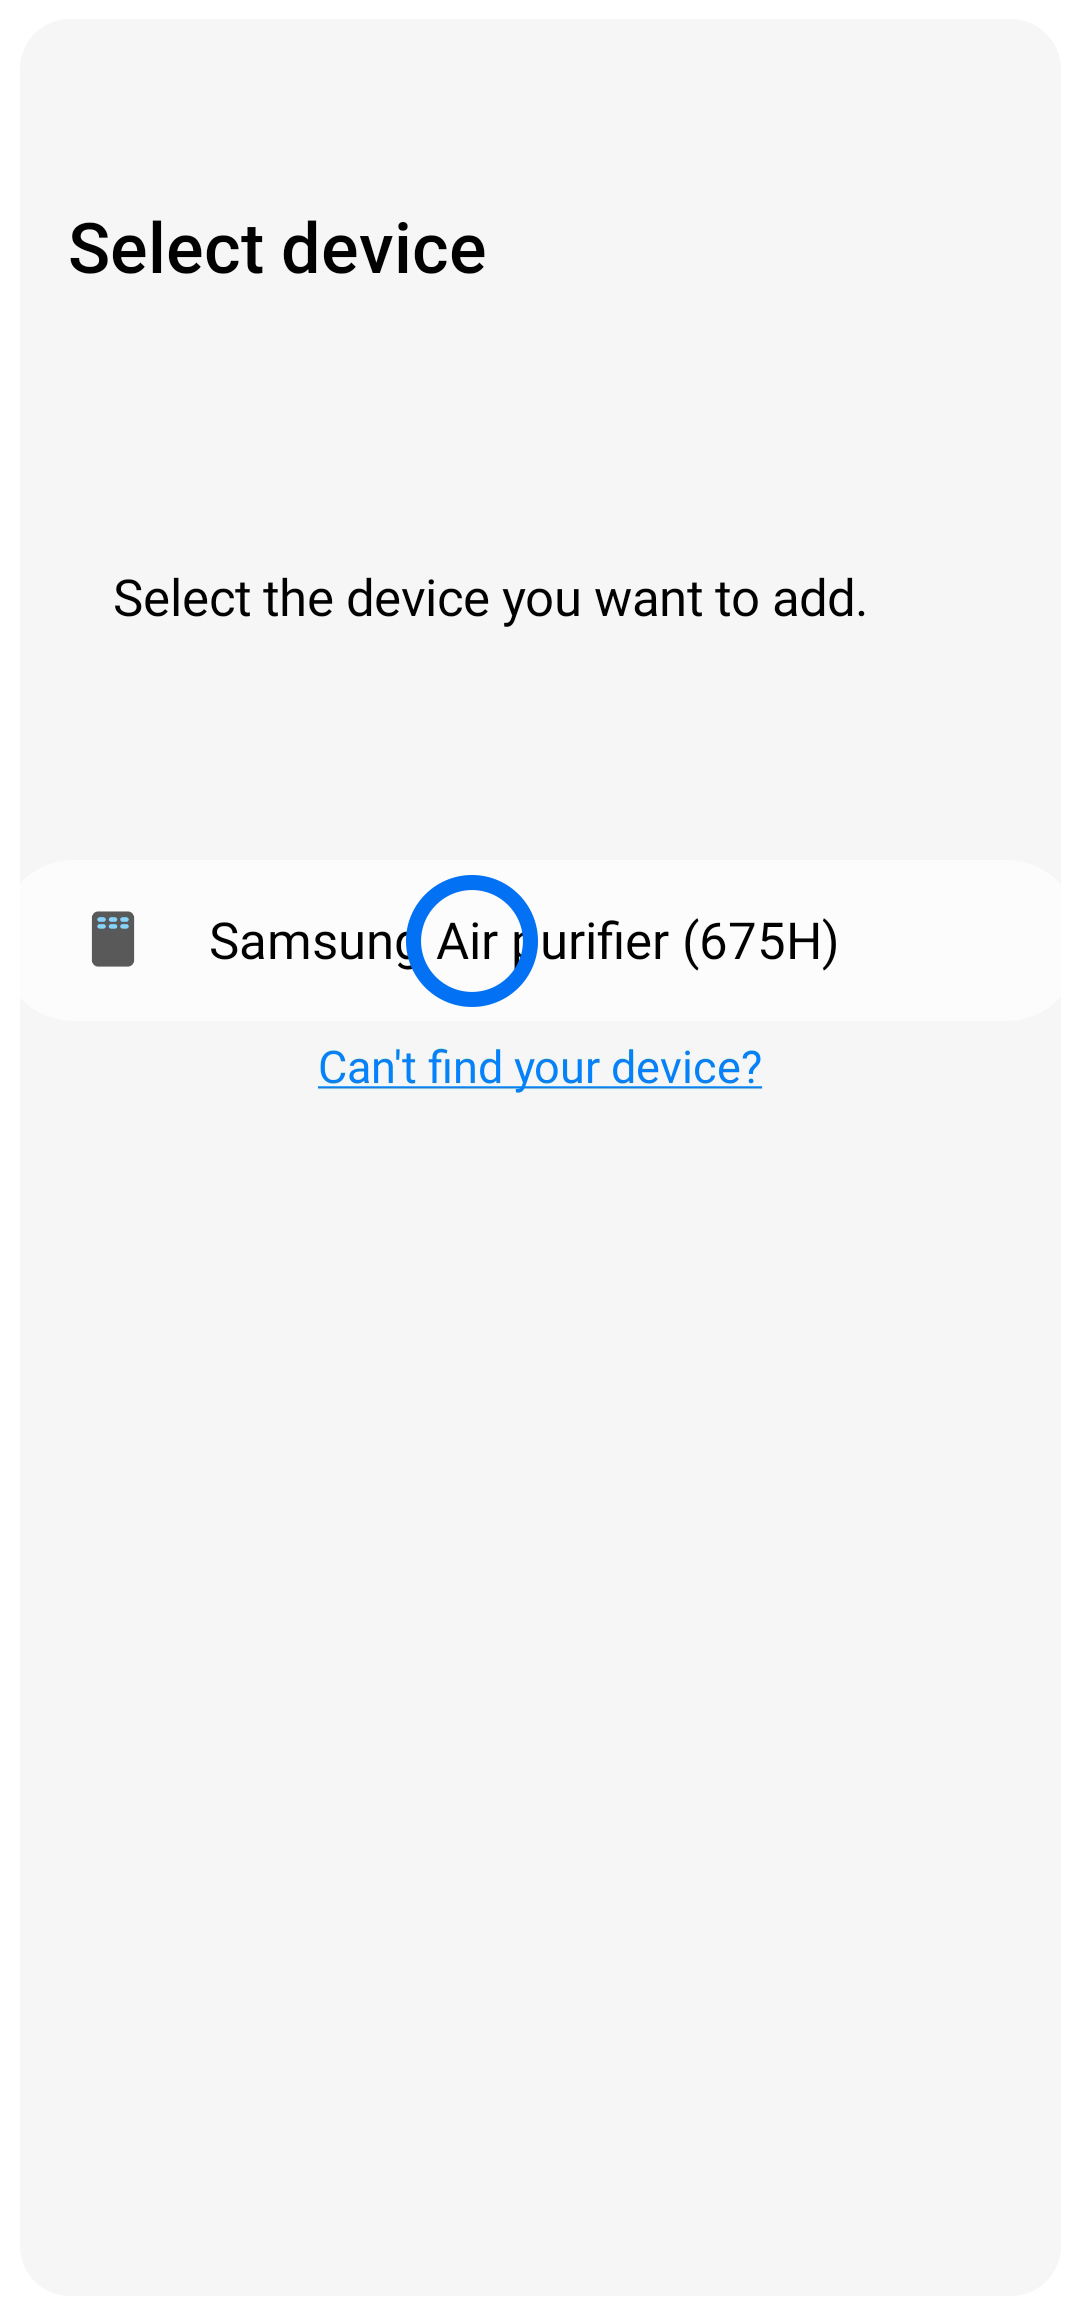
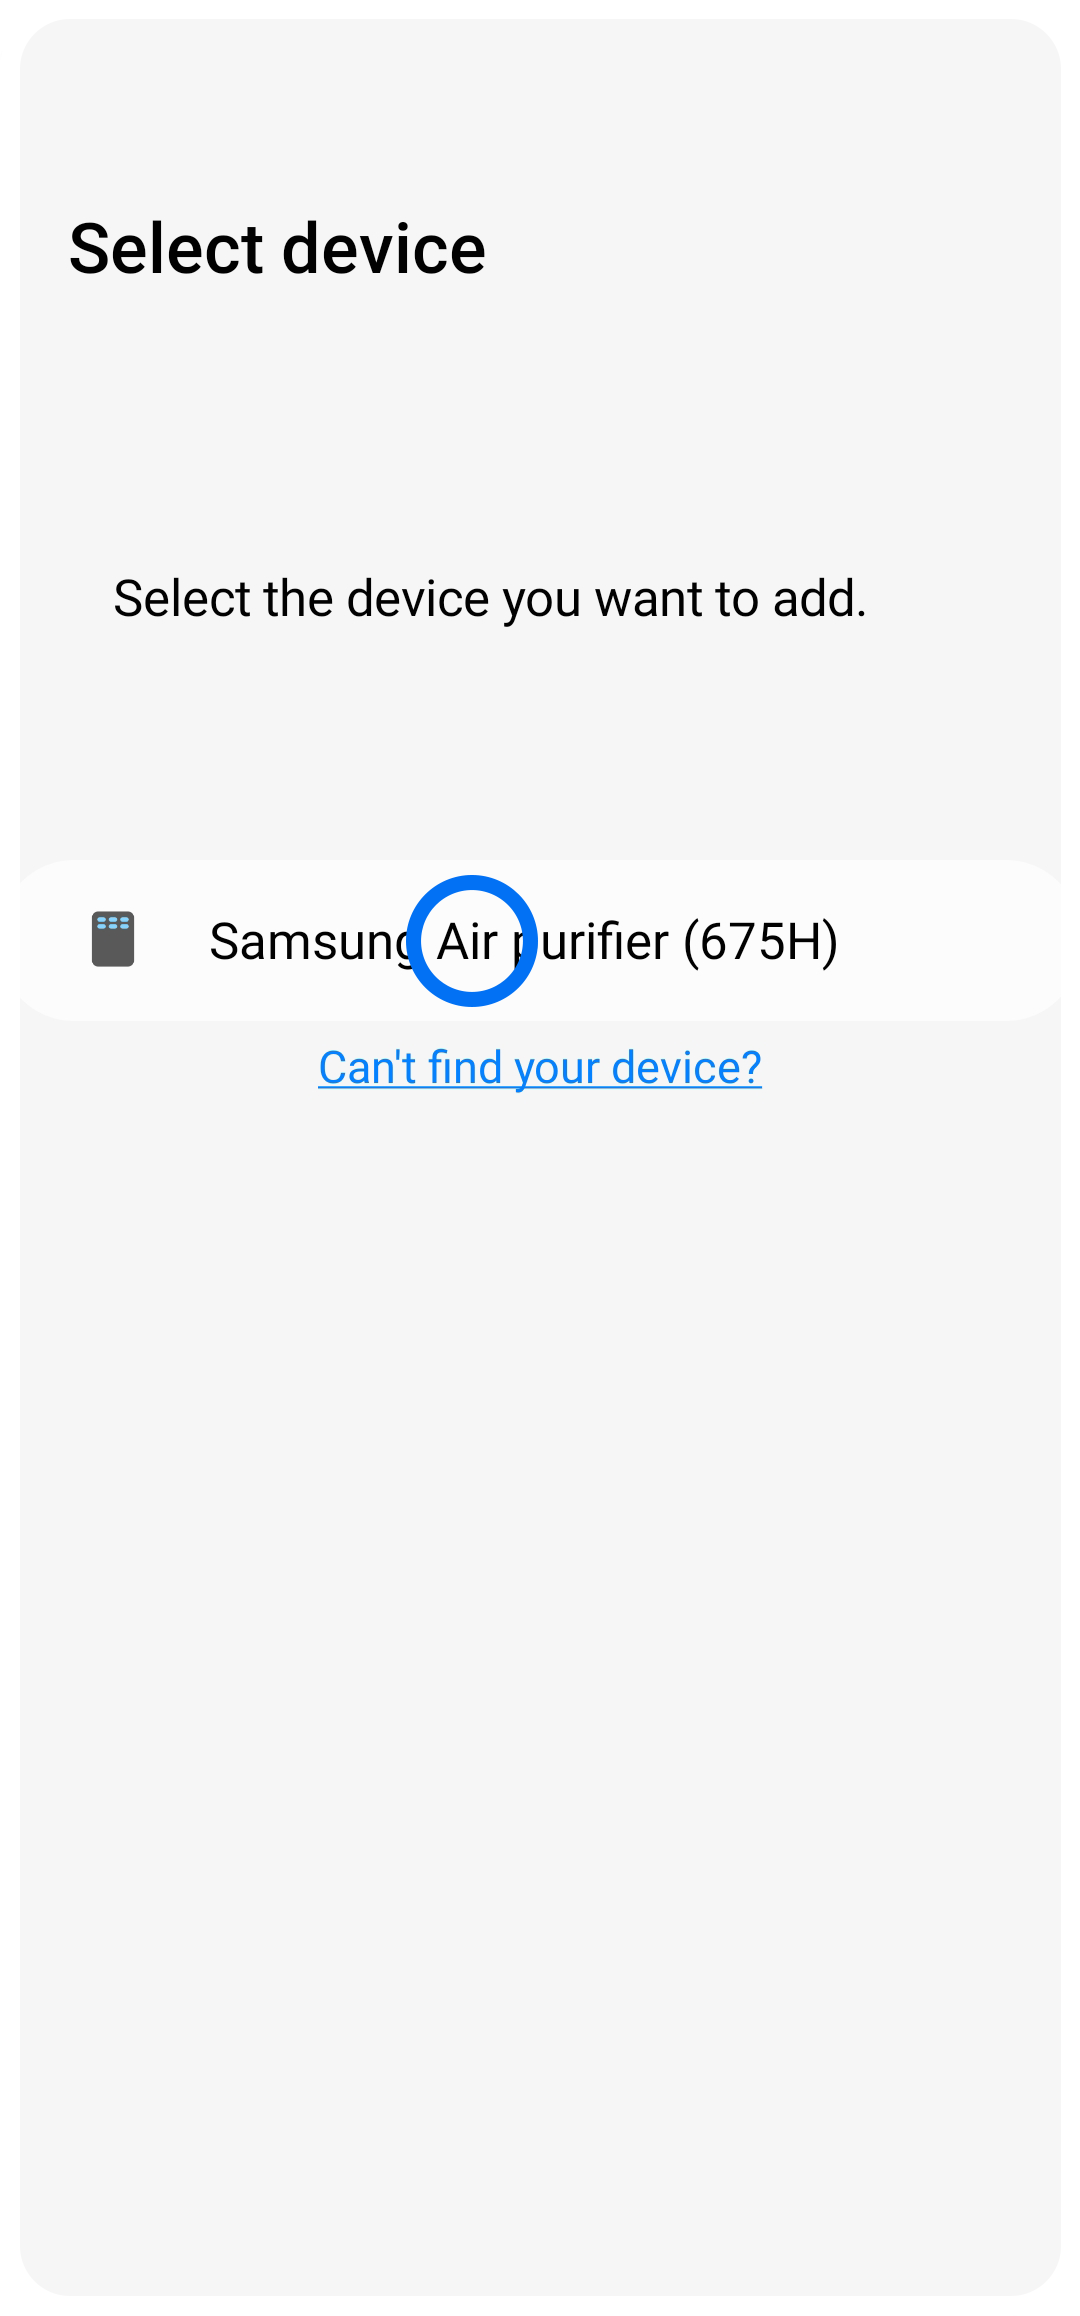
Once detected, select your Air Purifier.
Step 8


Allow SmartThings to connect to your Air Purifier. If a pop-up appears, tap 'Connect'.
Step 9


Press and release the Power Button on the Air Purifier to verify.
Step 10


Select the Wi-Fi Network you would like to connect the Air Purifier to.
Step 11
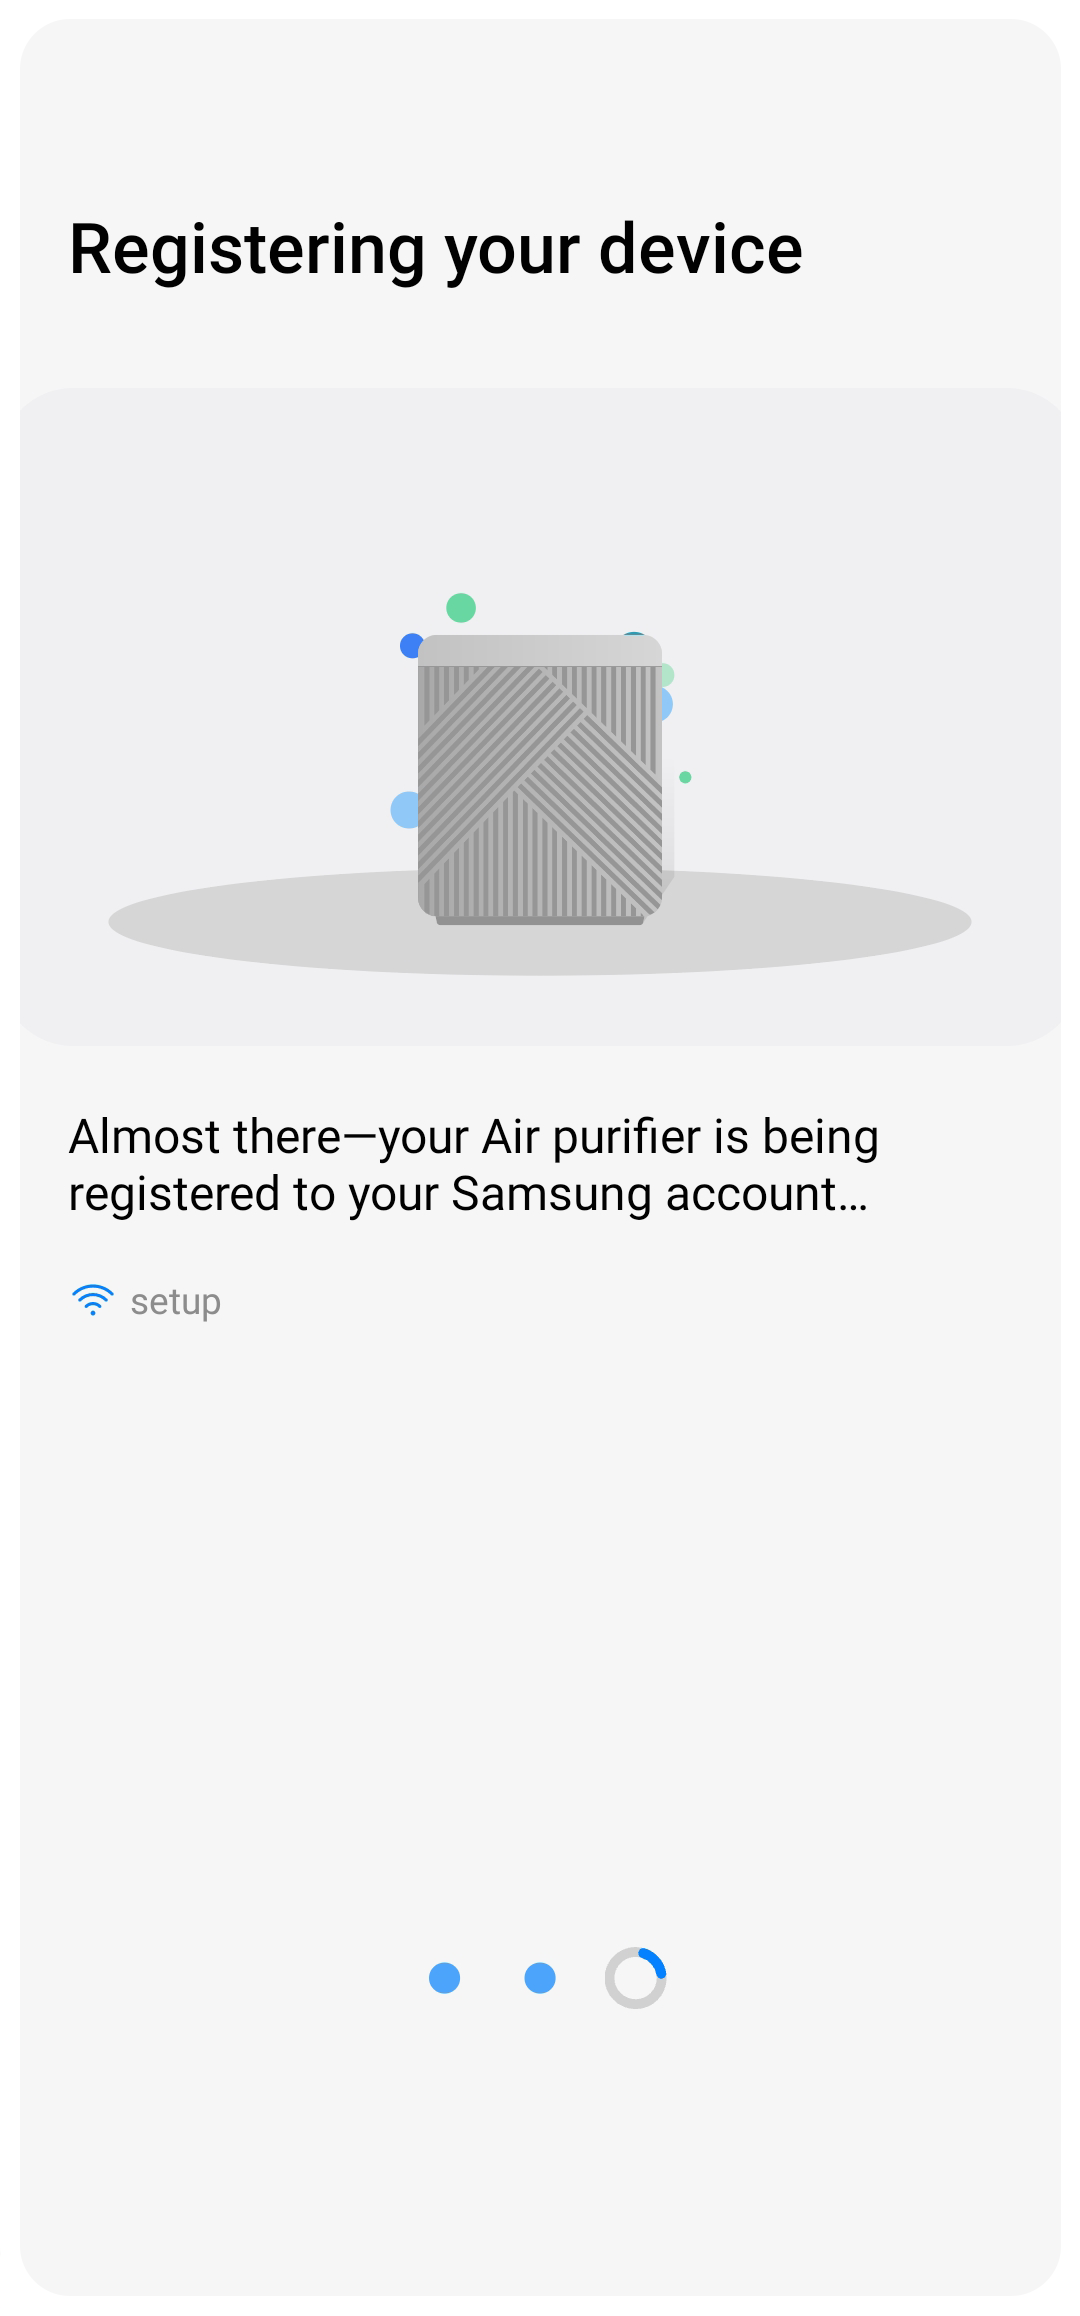
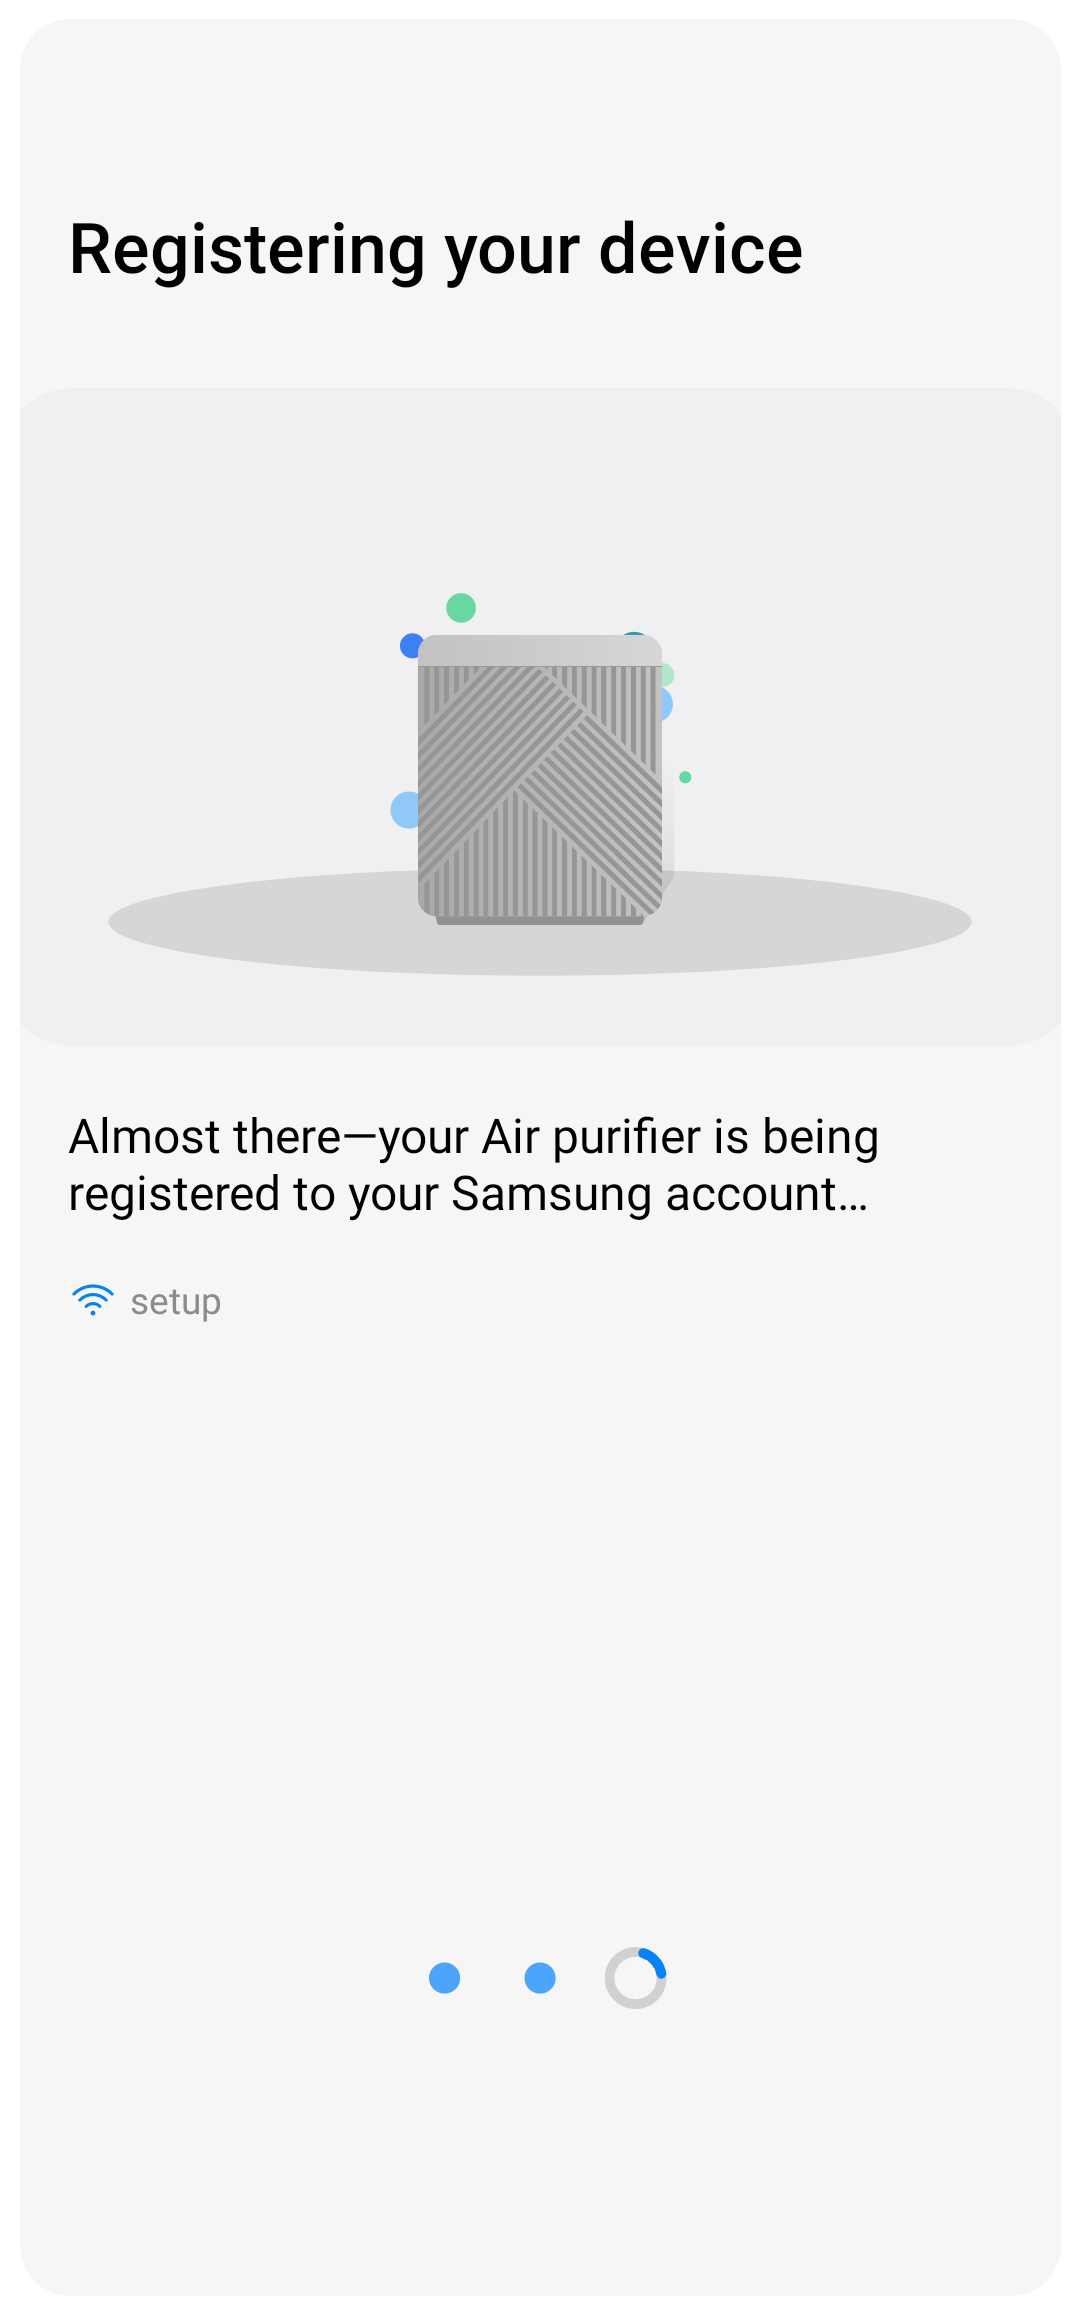
Wait a moment, and allow SmartThings to register your Air Purifier with your Samsung account.
Step 12


Customise the Location, Room, and Device name, and choose if you wish to set the device as a favourite. Once finalised, tap 'Done'.
NOTE:
- Settings may vary by phone and software version.
- The interface design, layout and functions can vary depending on the version of the software and the geographical location.
Using SmartThings to Control the Air Purifier
Now that you have connected SmartThings to your Air Purifier, let's go through some of the controls.
Power


Tap the power button  to turn your air purifier on and off.
Wind Strength
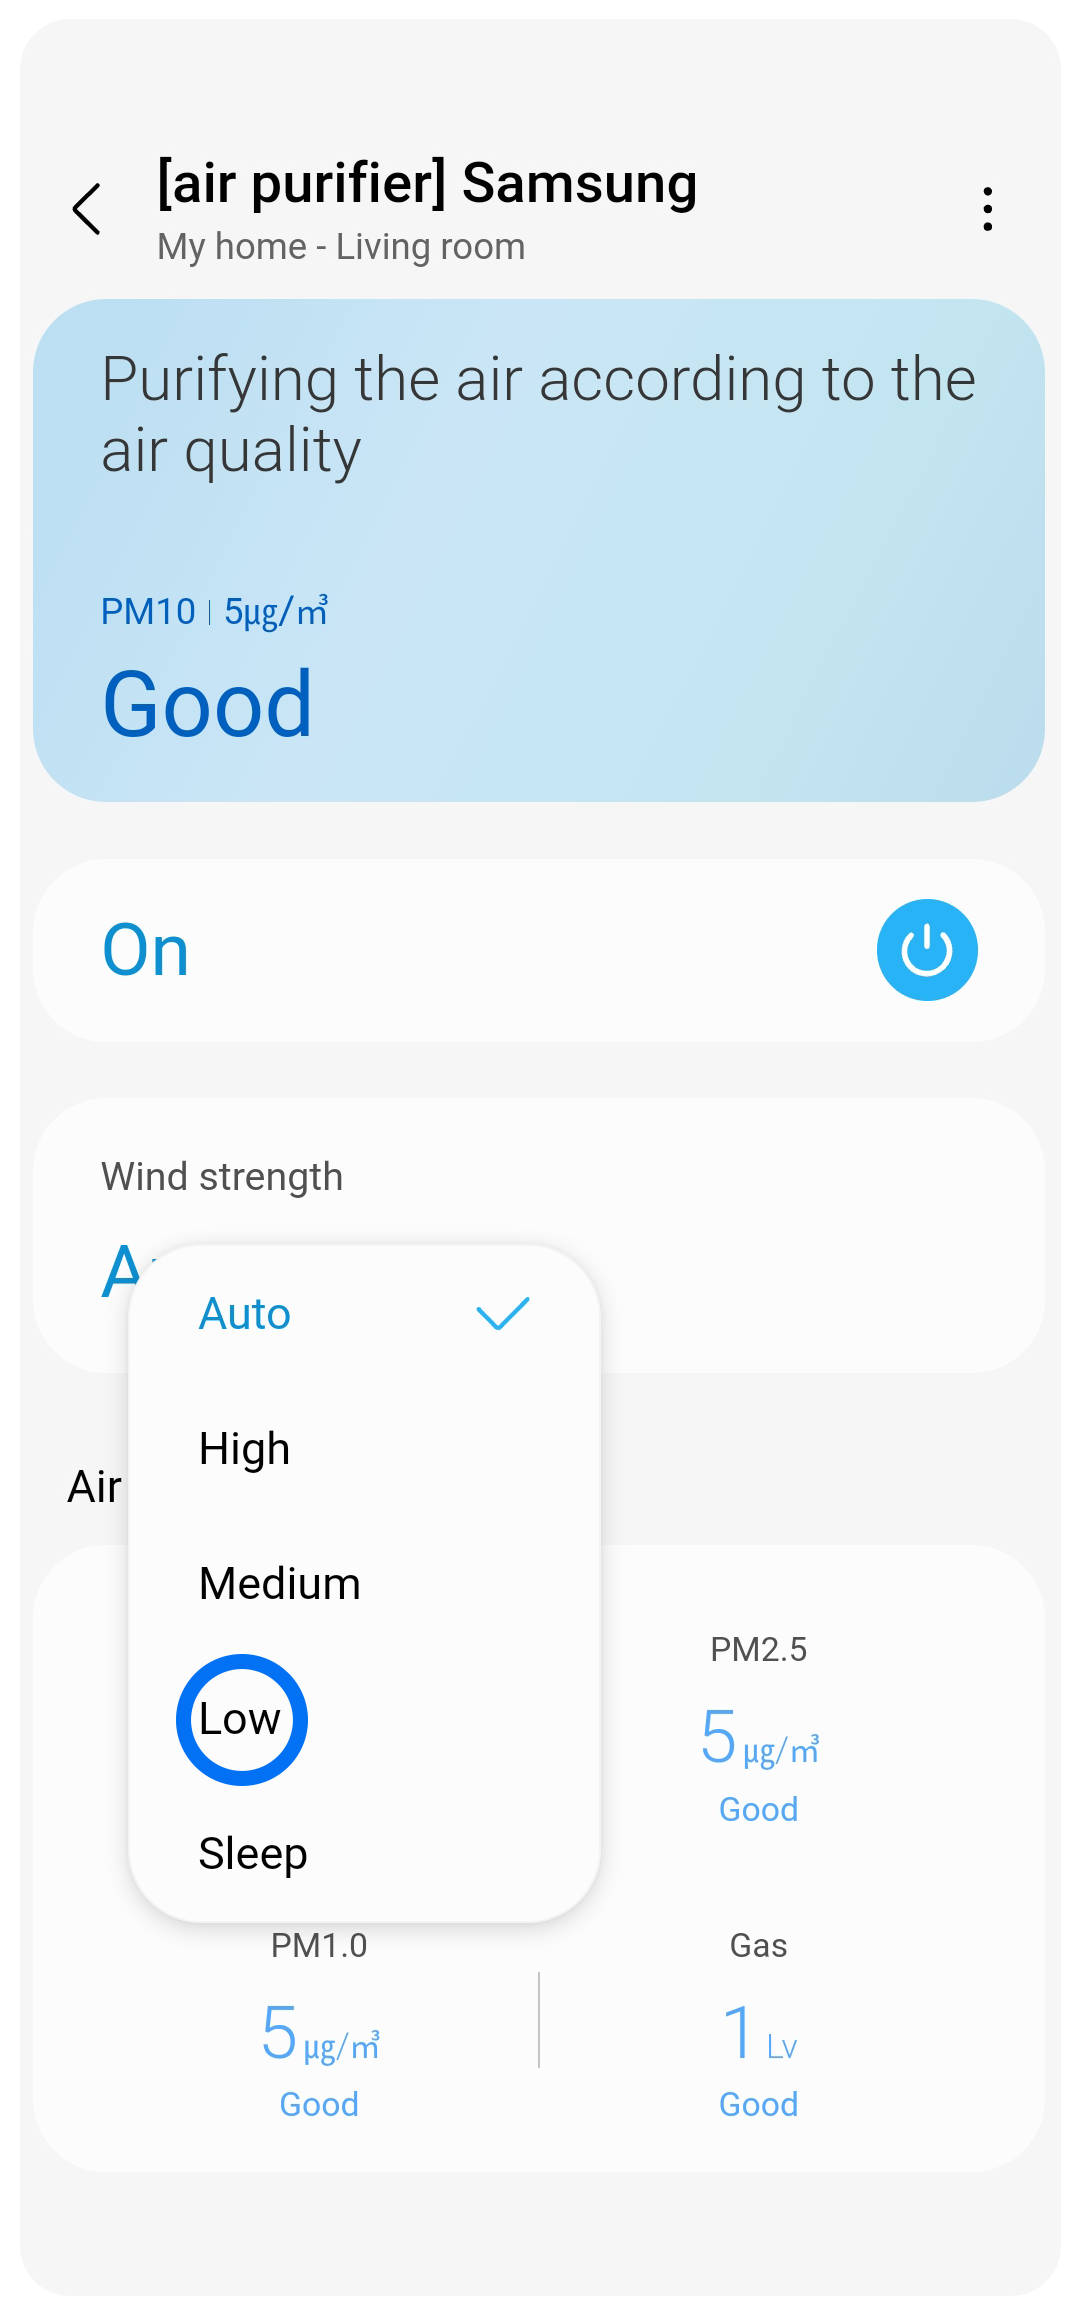
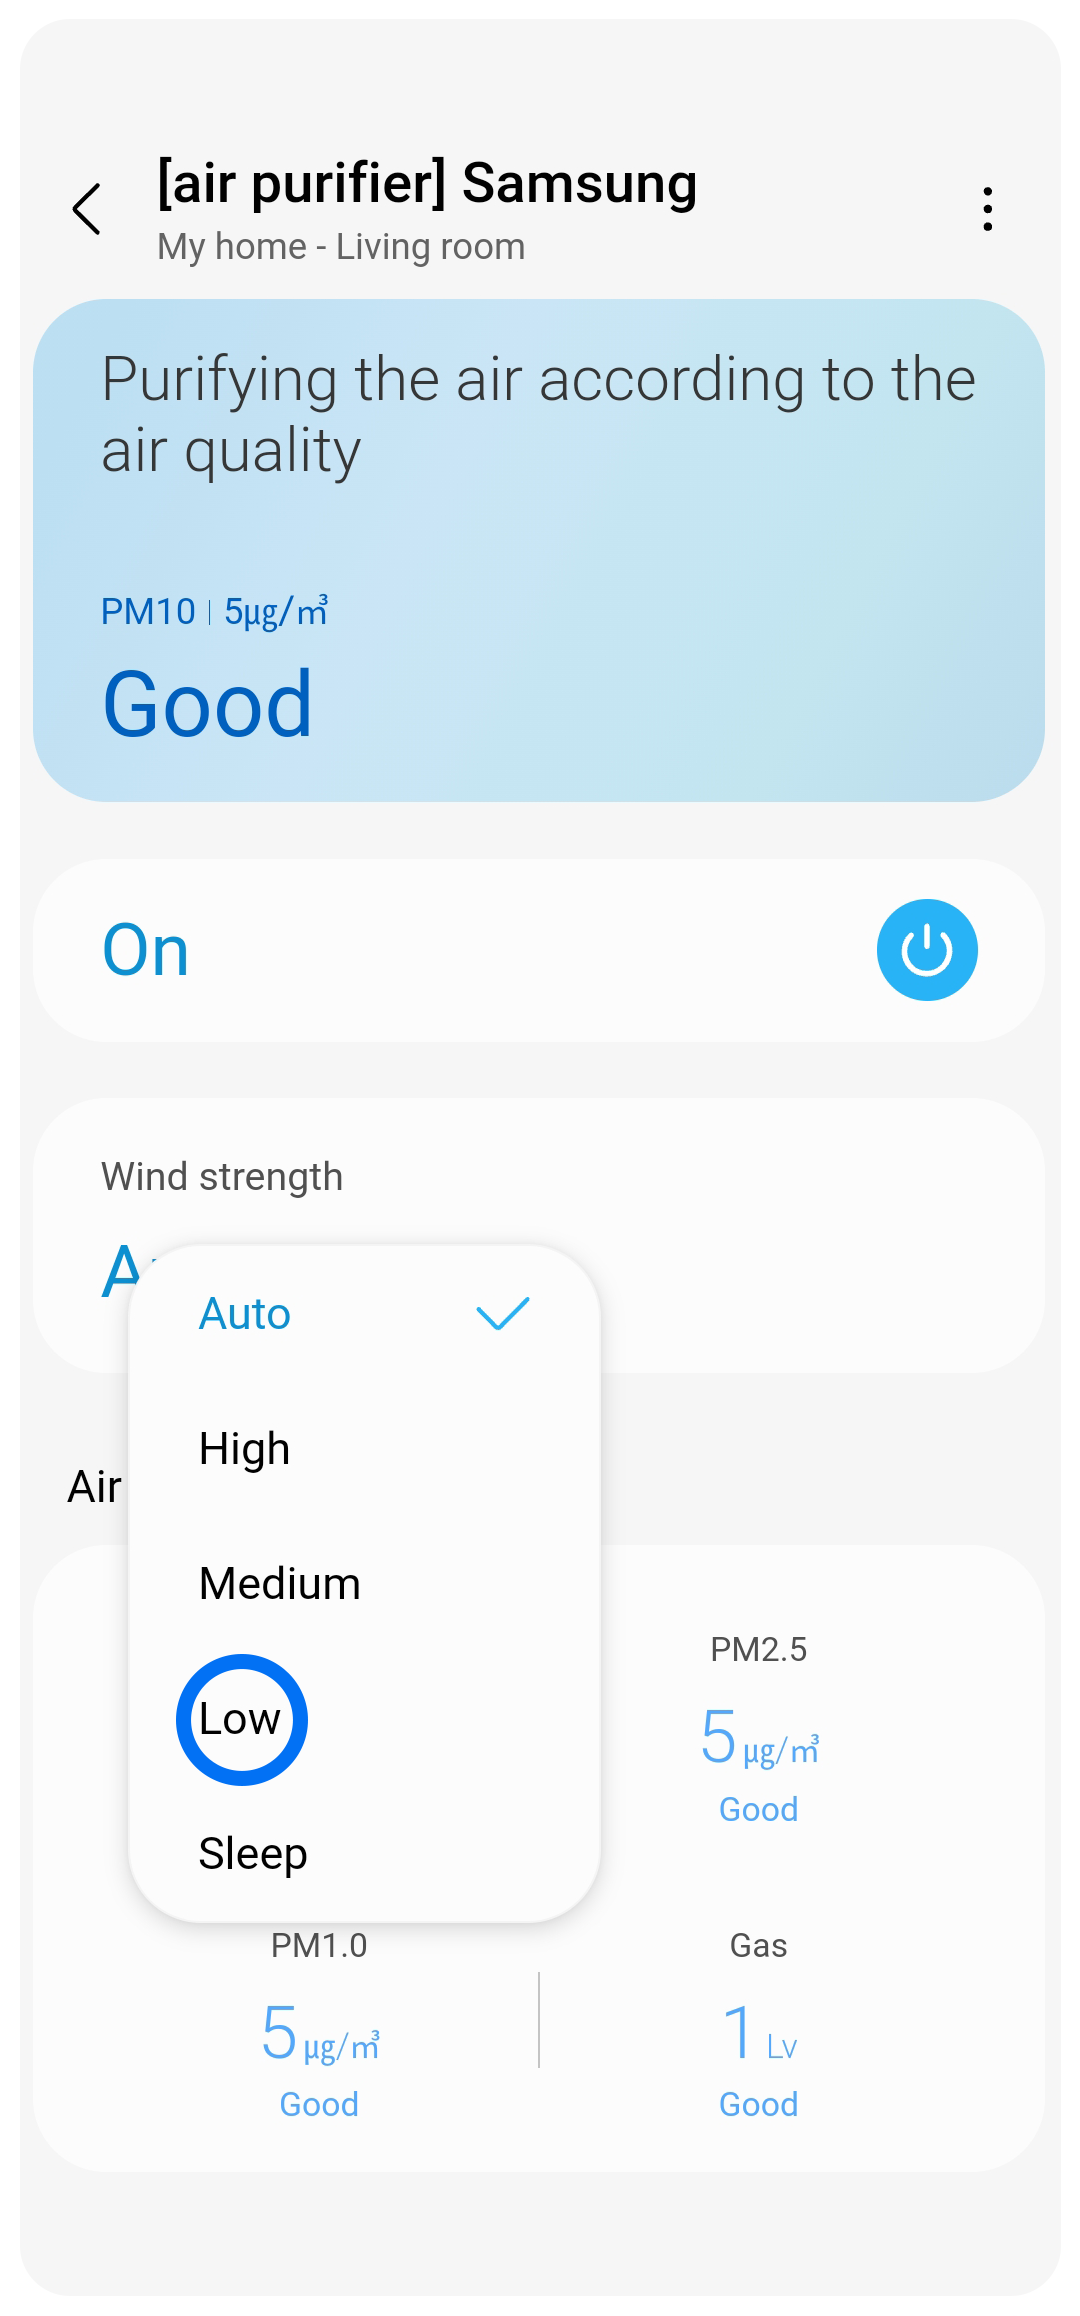
Select the fan speed you want for your Air Purifier. Select from Auto, High, Medium, Low, and Sleep.
Air Quality
View the air's Particulate Matter (PM) level for PM10, PM2.5, and PM1.0 levels and gas cleanliness inside your home.
For more information on air quality levels, head to our page Have Cleaner Air with the Samsung Air Purifier.
Create or Edit a Schedule for the Air Purifier
Through SmartThings, you can set a schedule to have your Air Purifier automatically turn on or off at designated times.
Step 1
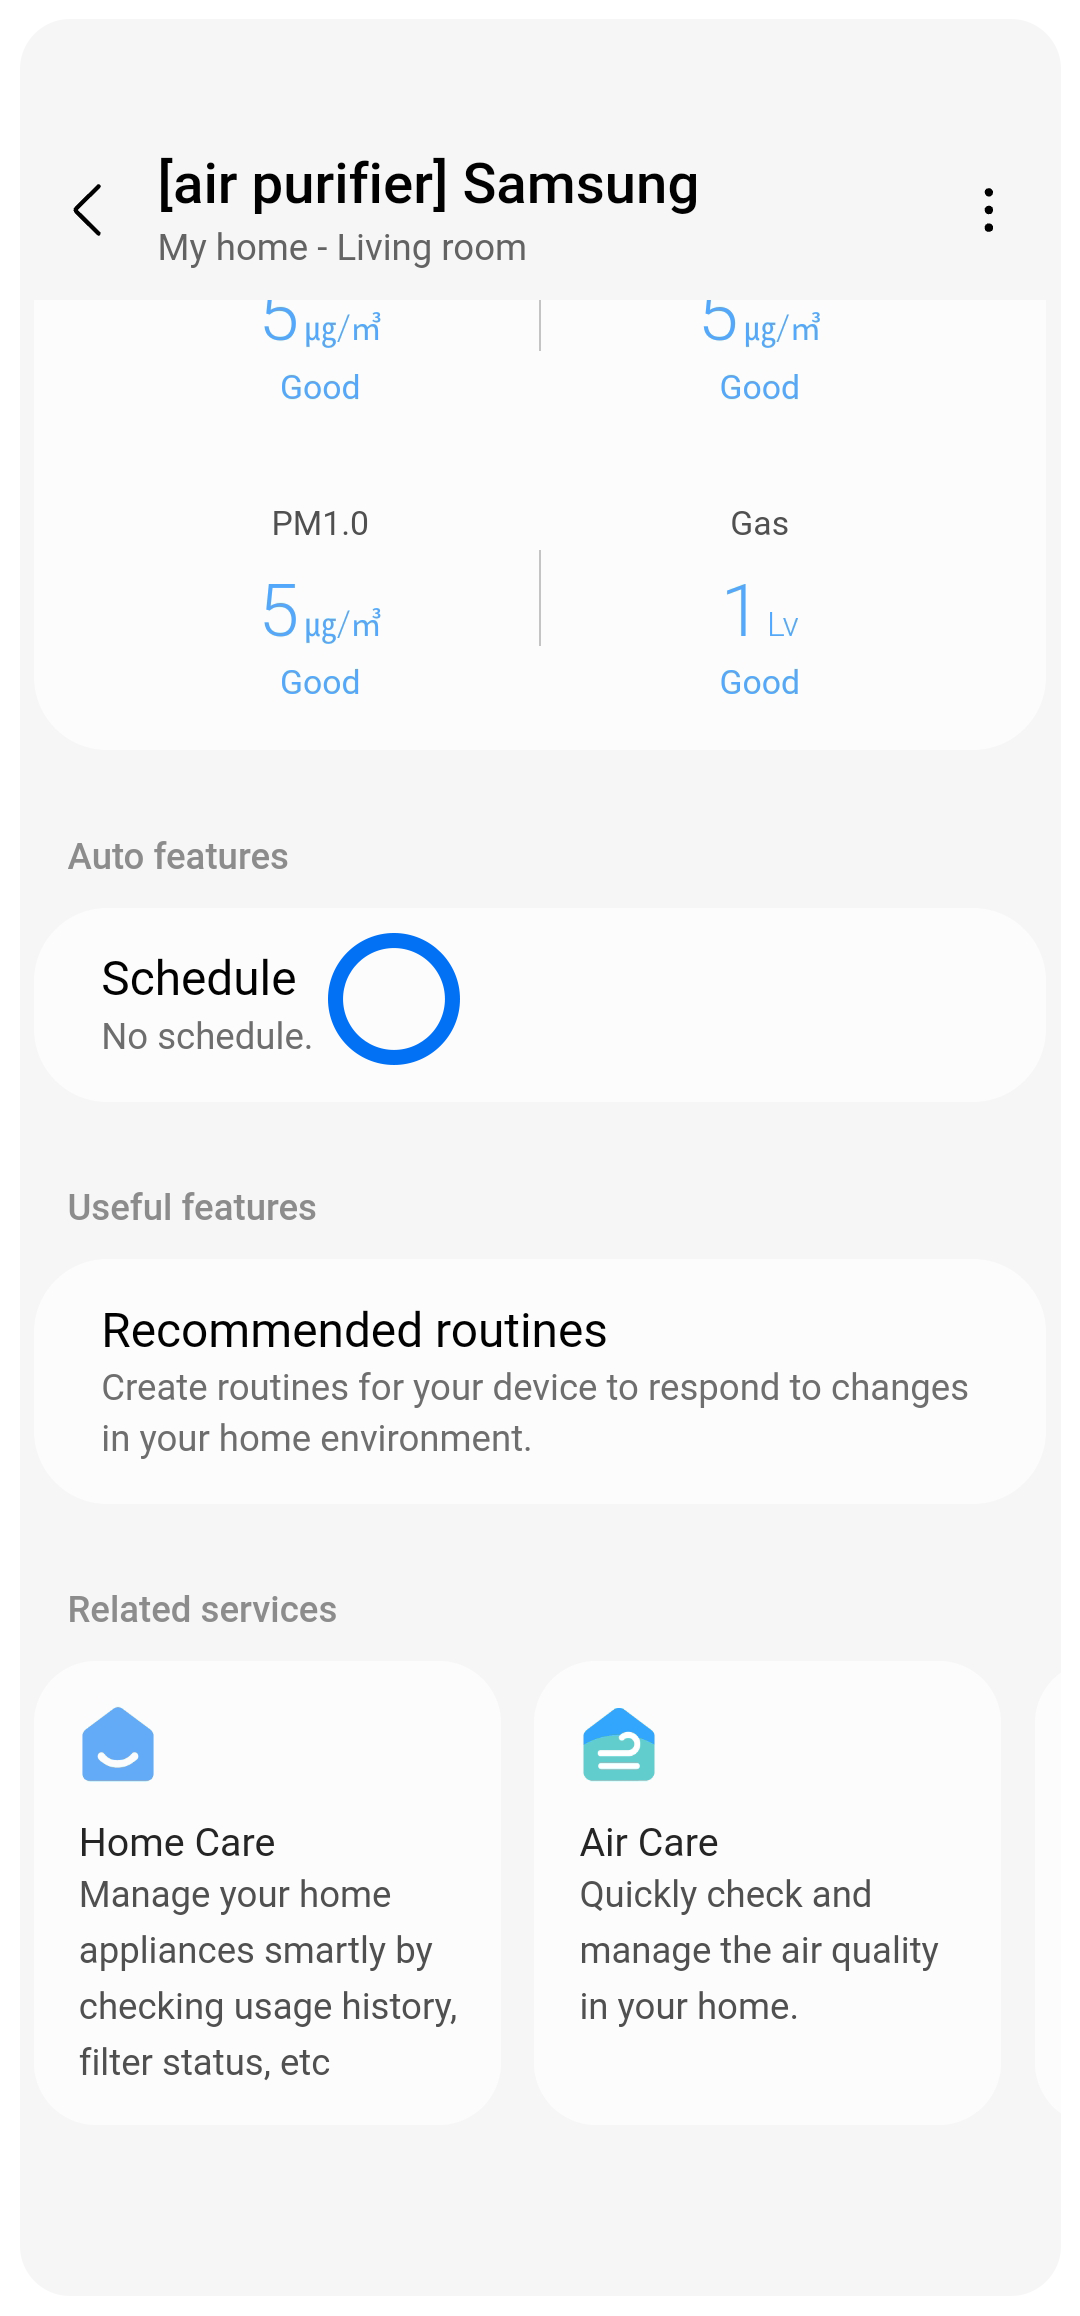
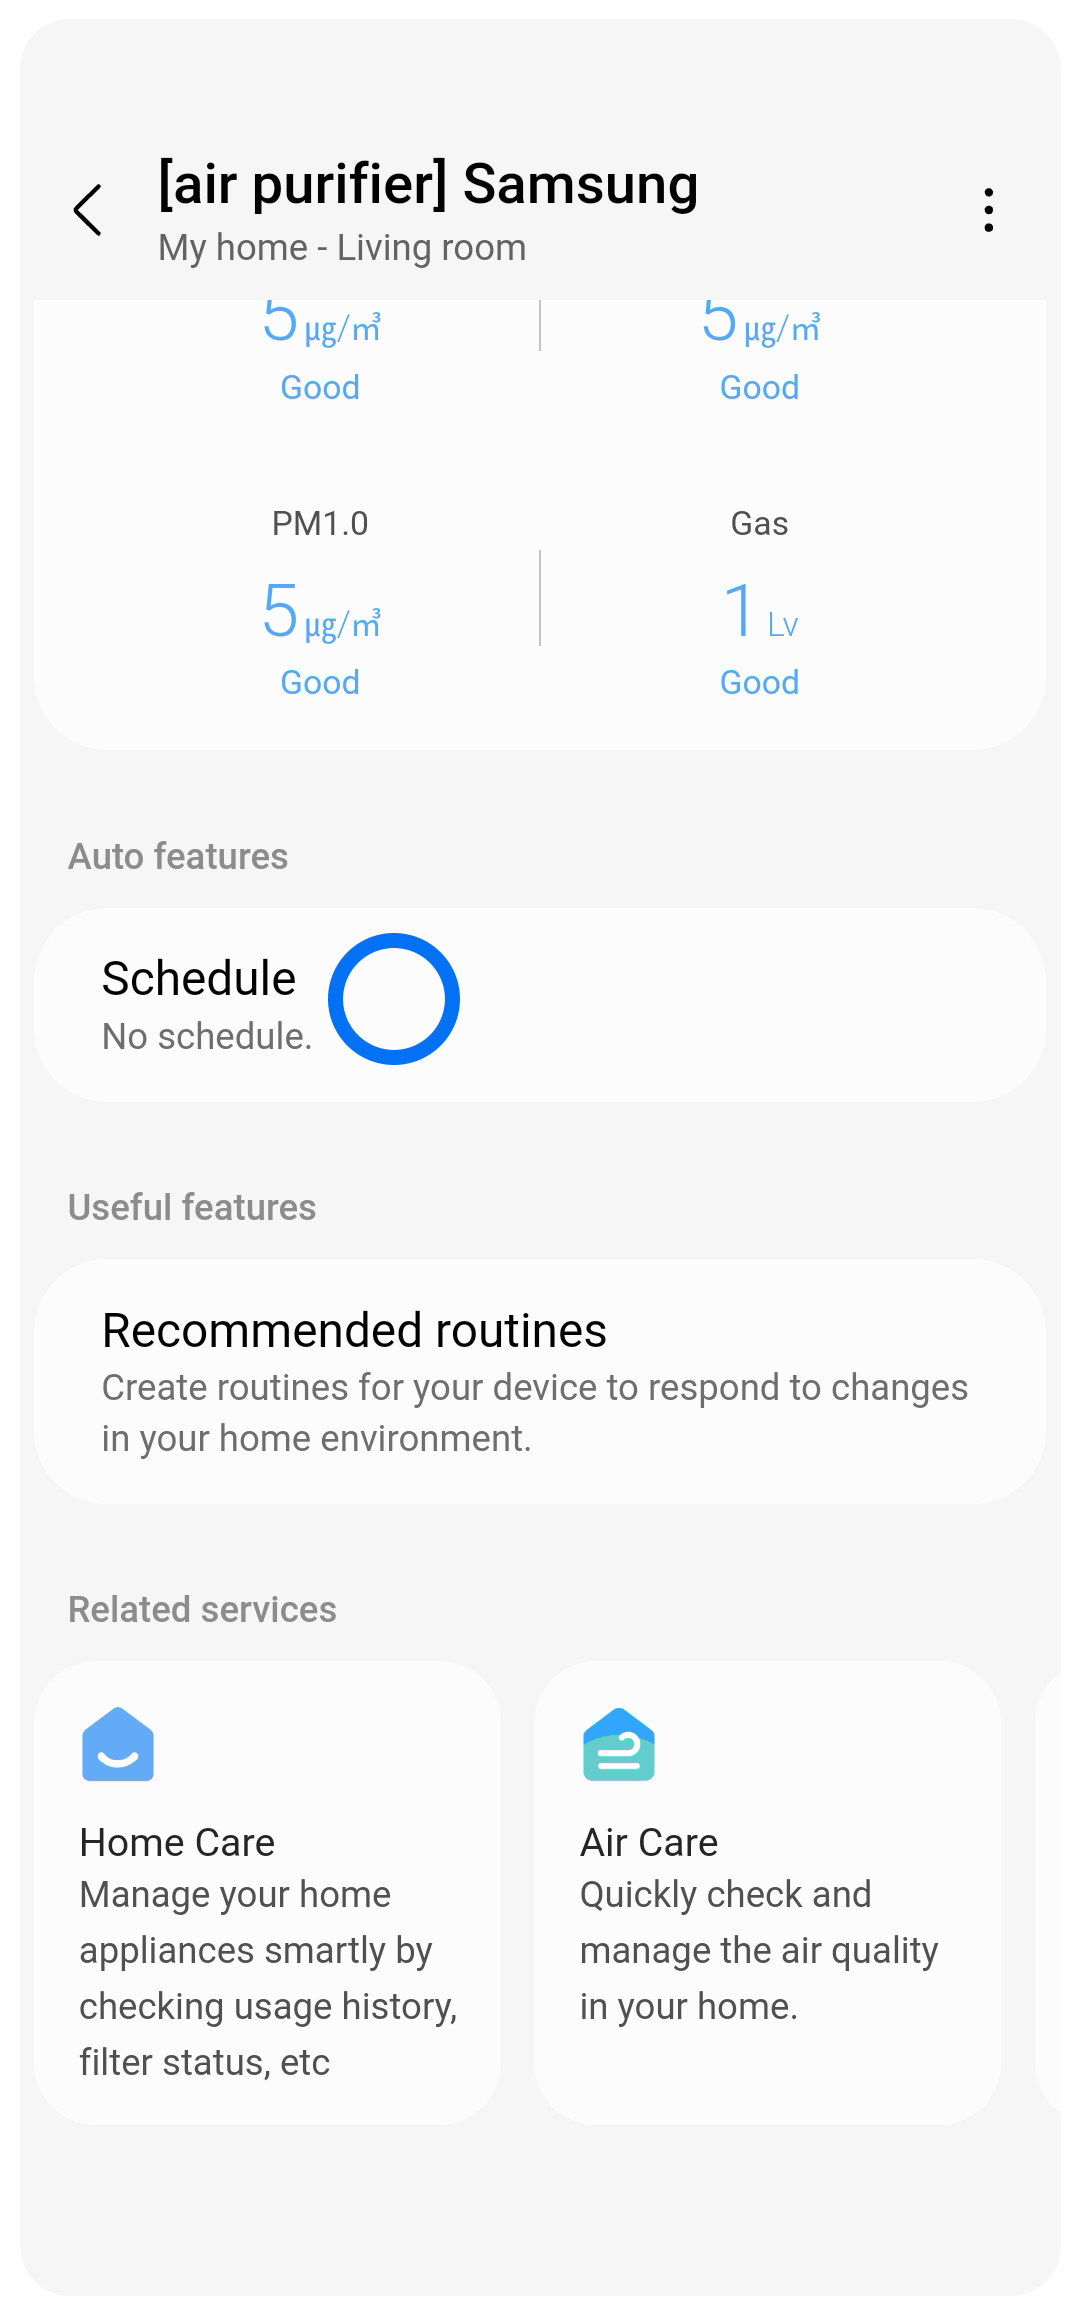
Tap on Schedule in the menu.
Step 2
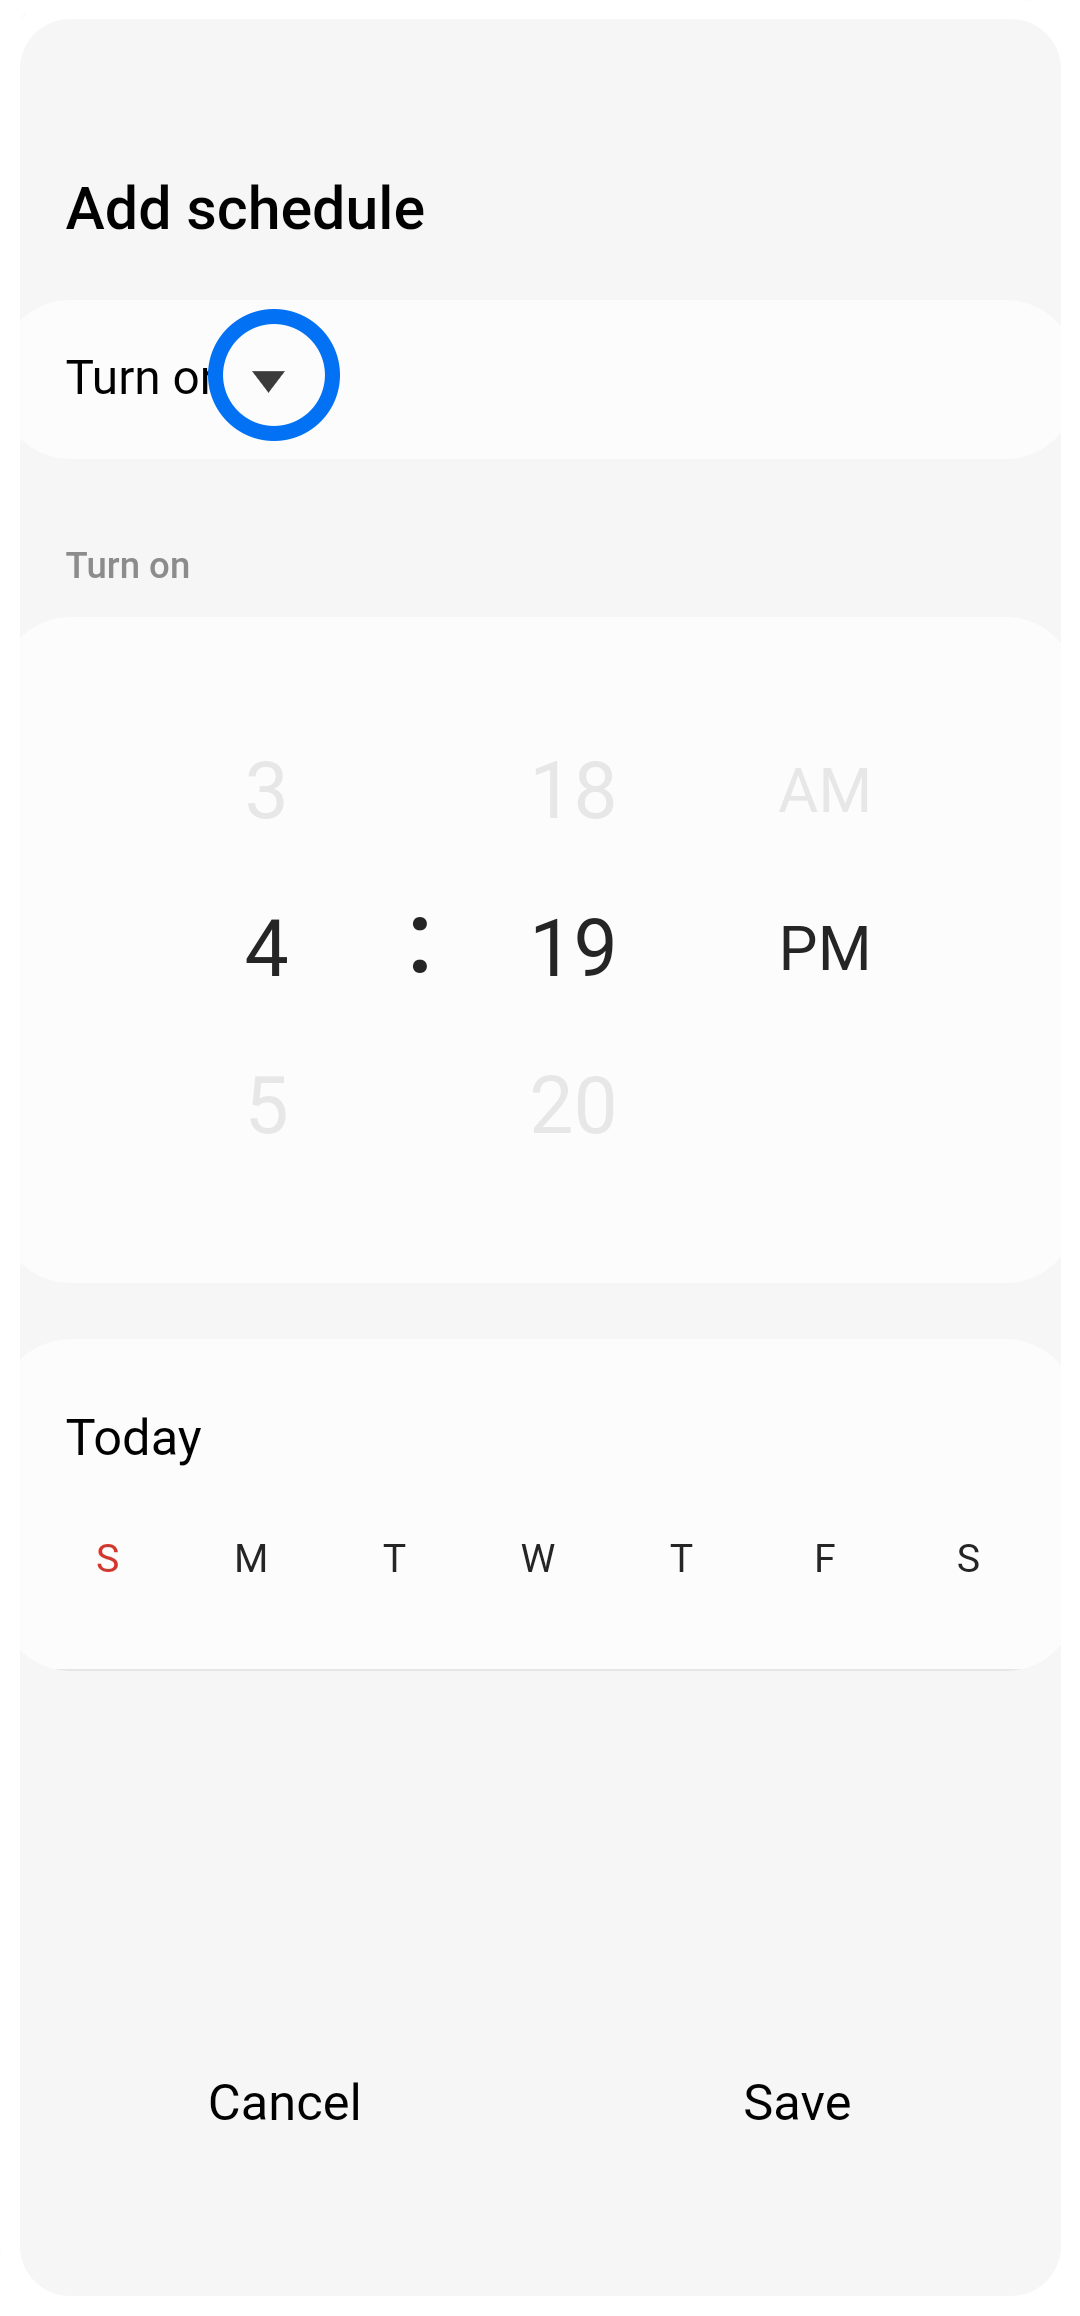
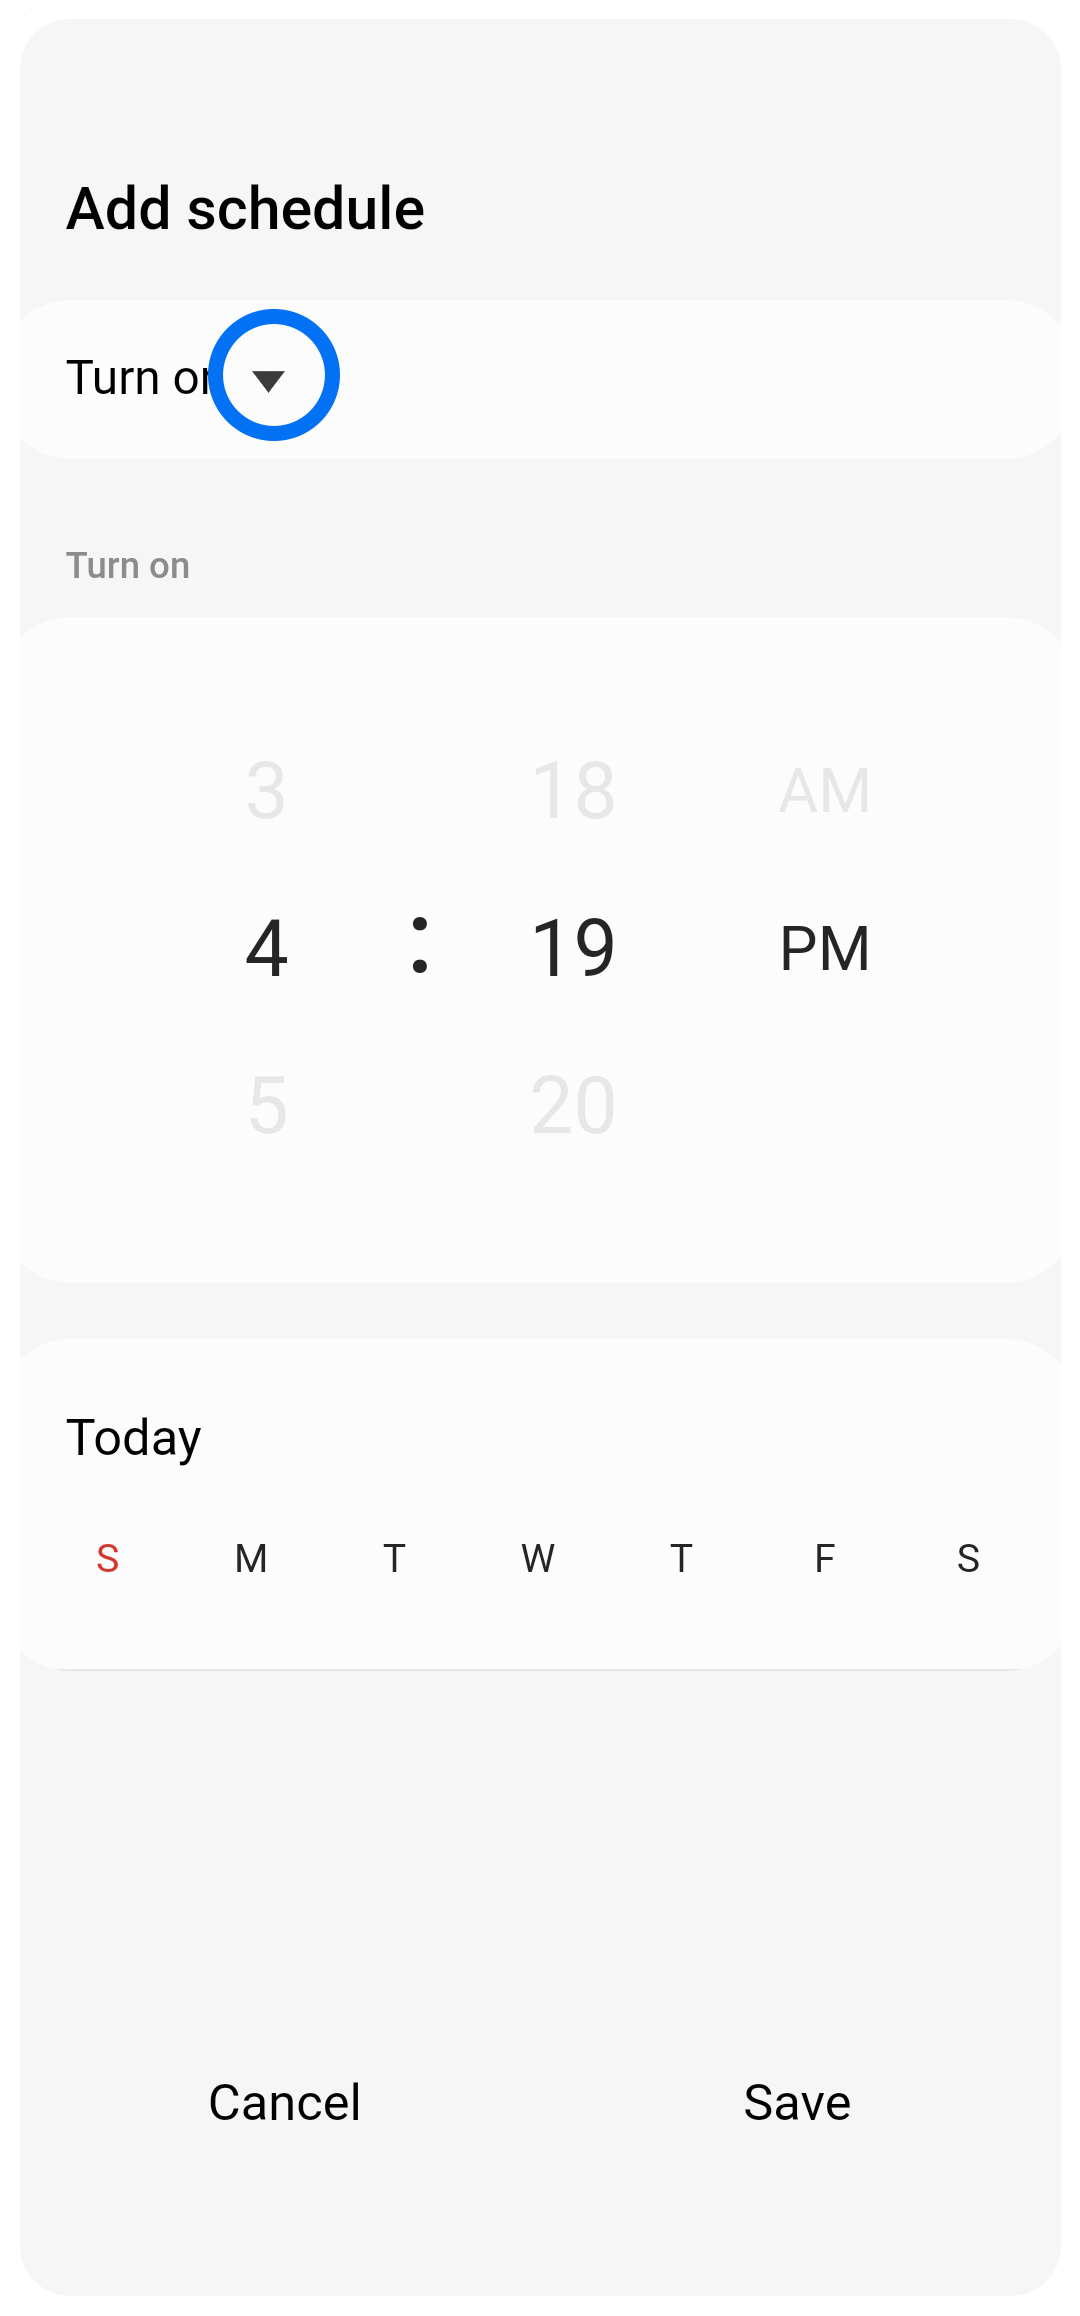
Tap on 'Turn on/off' and select preferred option for your schedule. With this, you can choose to schedule when your air purifier turns on or off.
Step 3
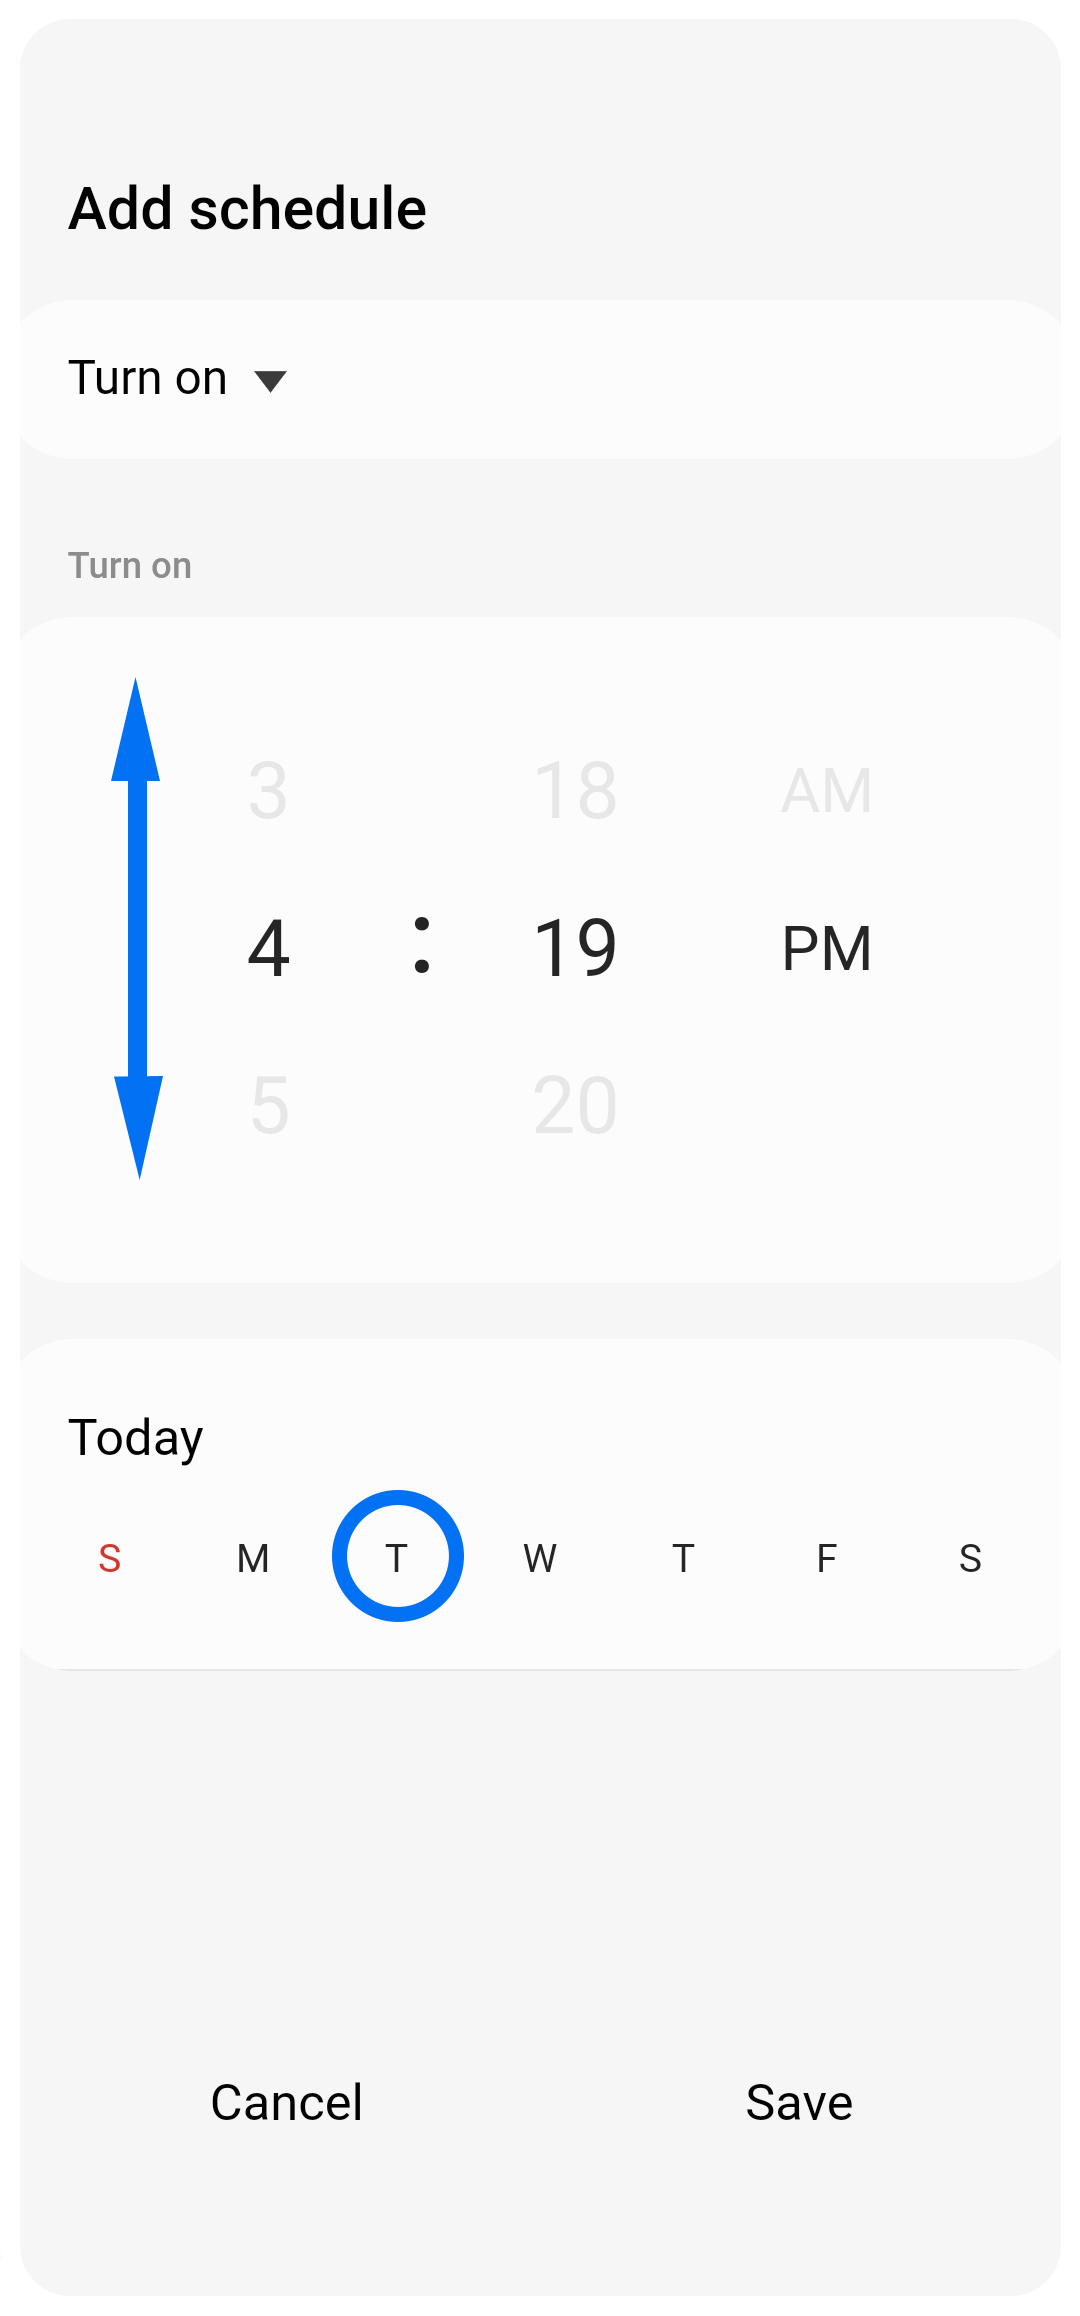
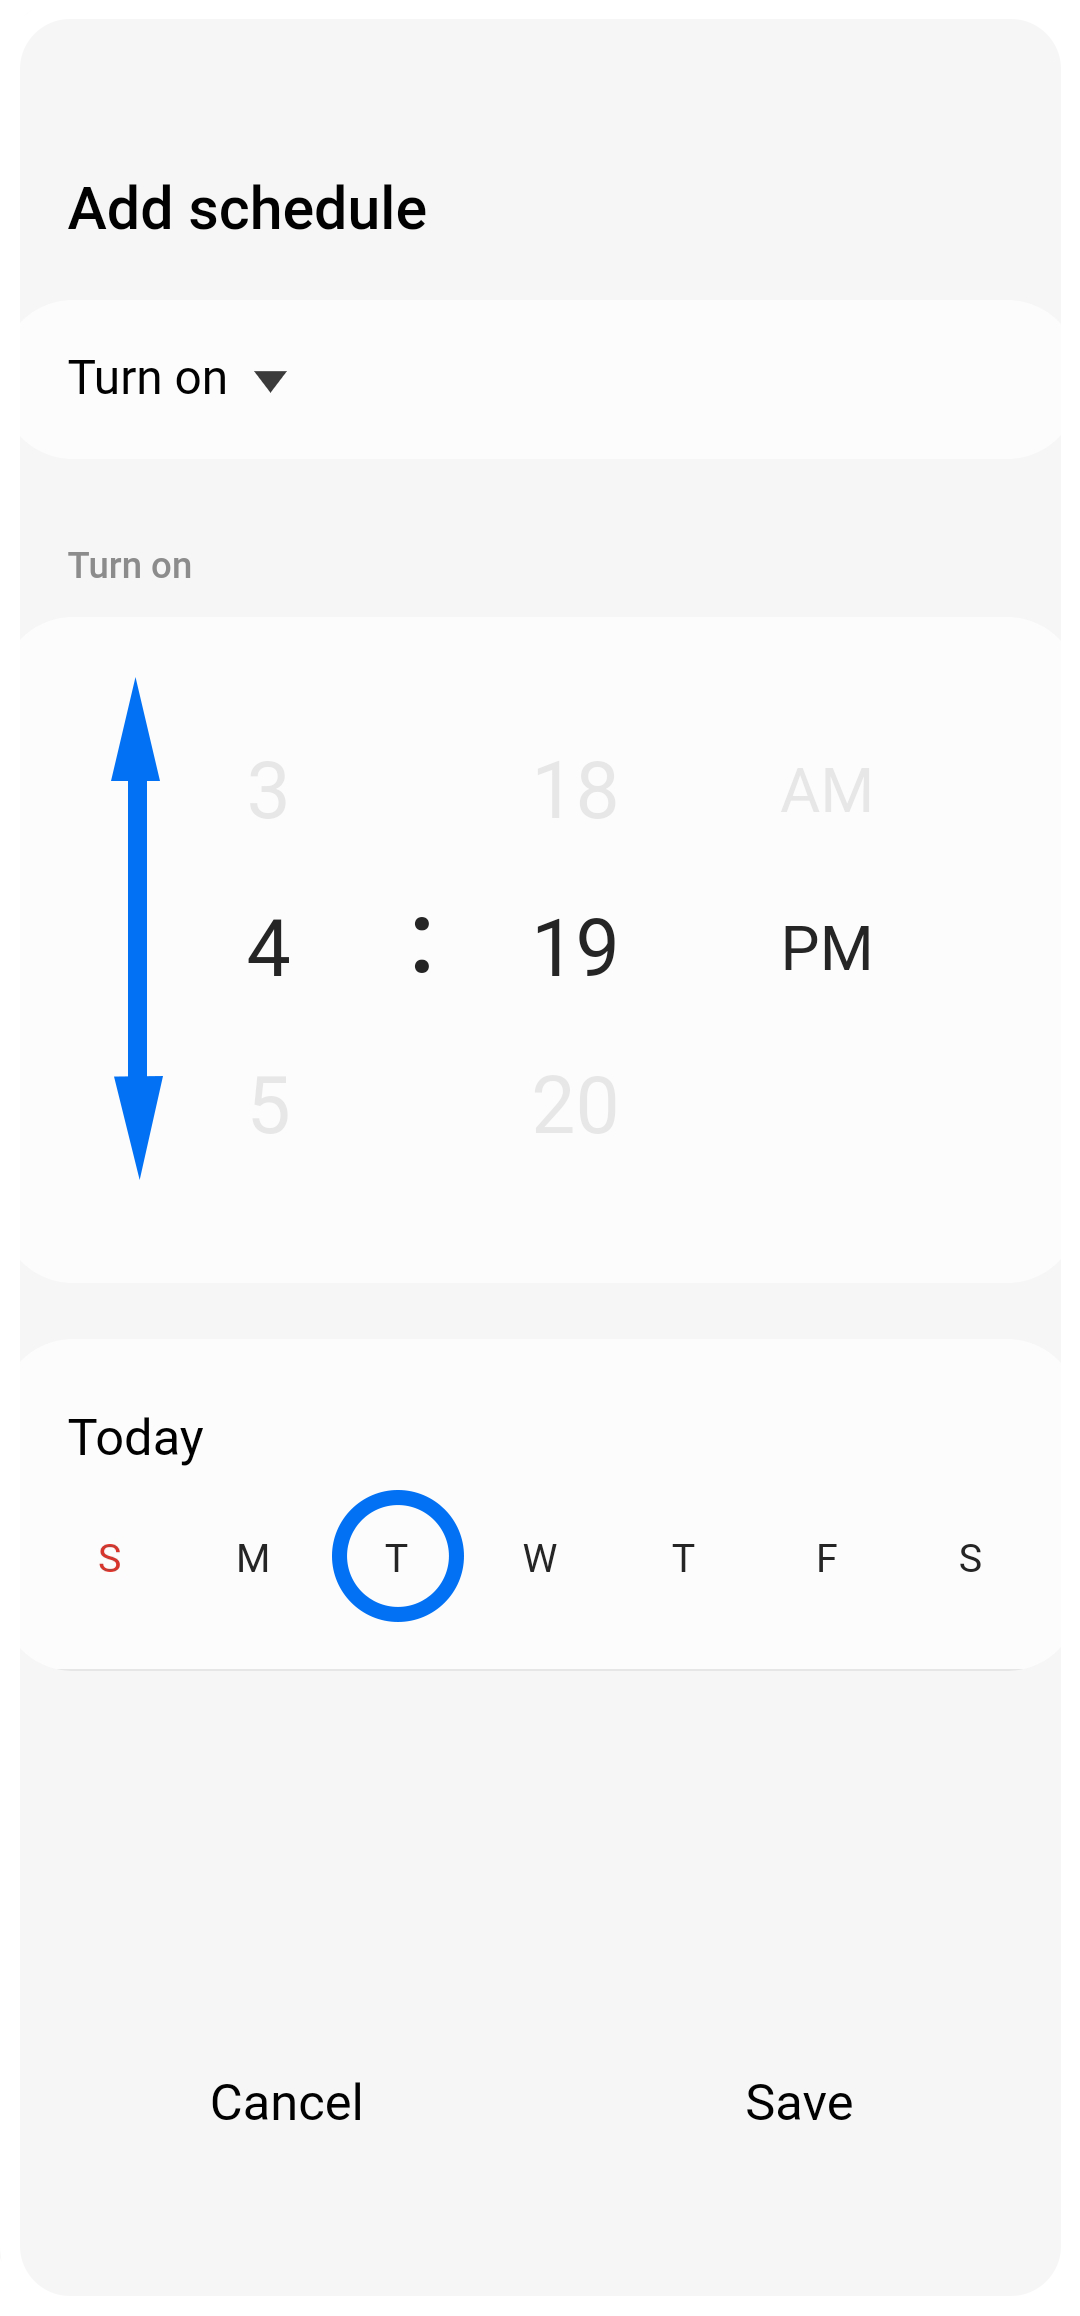
Swipe up or down on the time to adjust, and select which days you would like to schedule.
Step 4
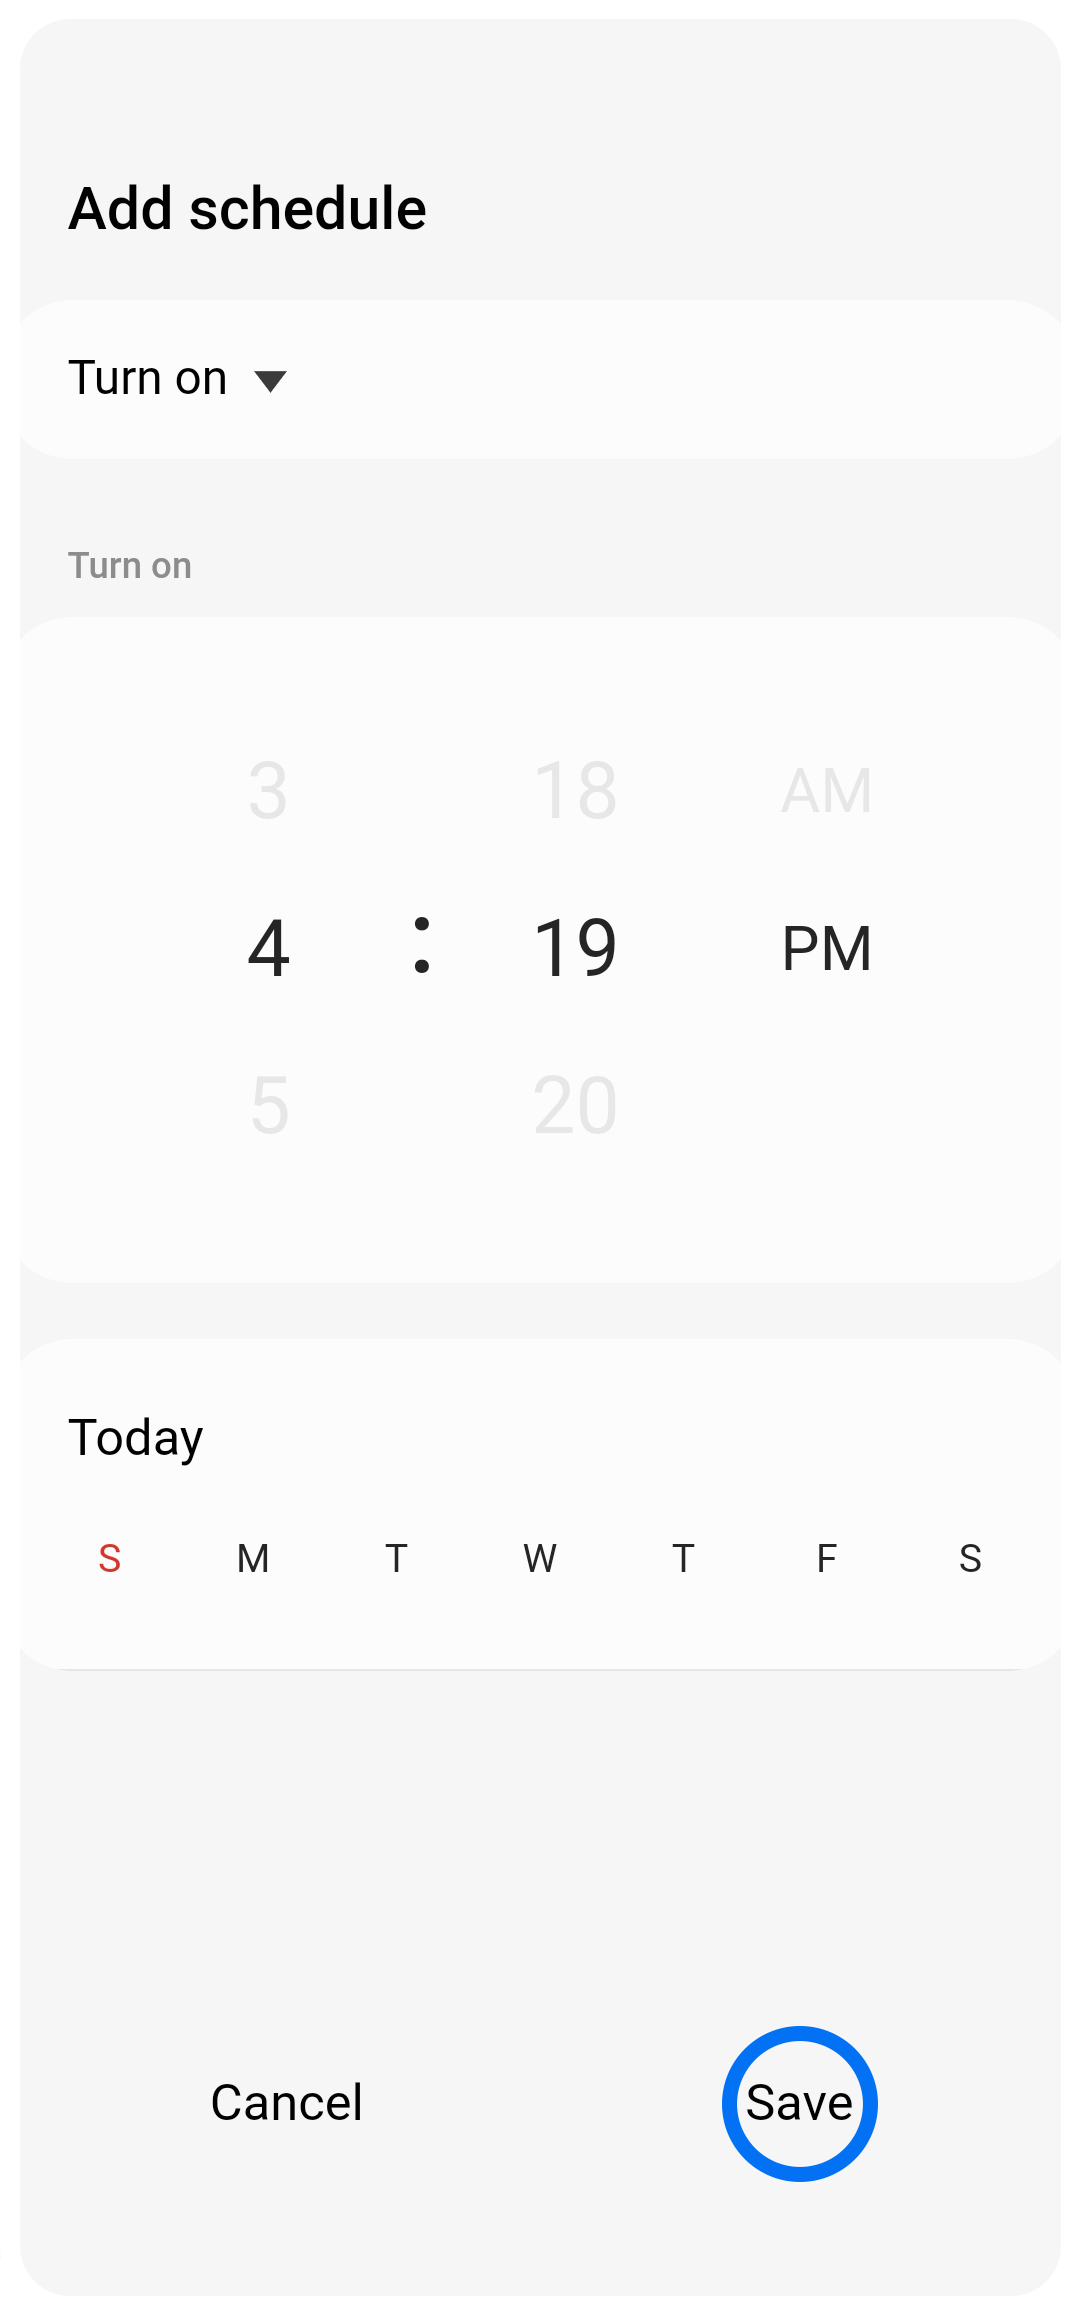
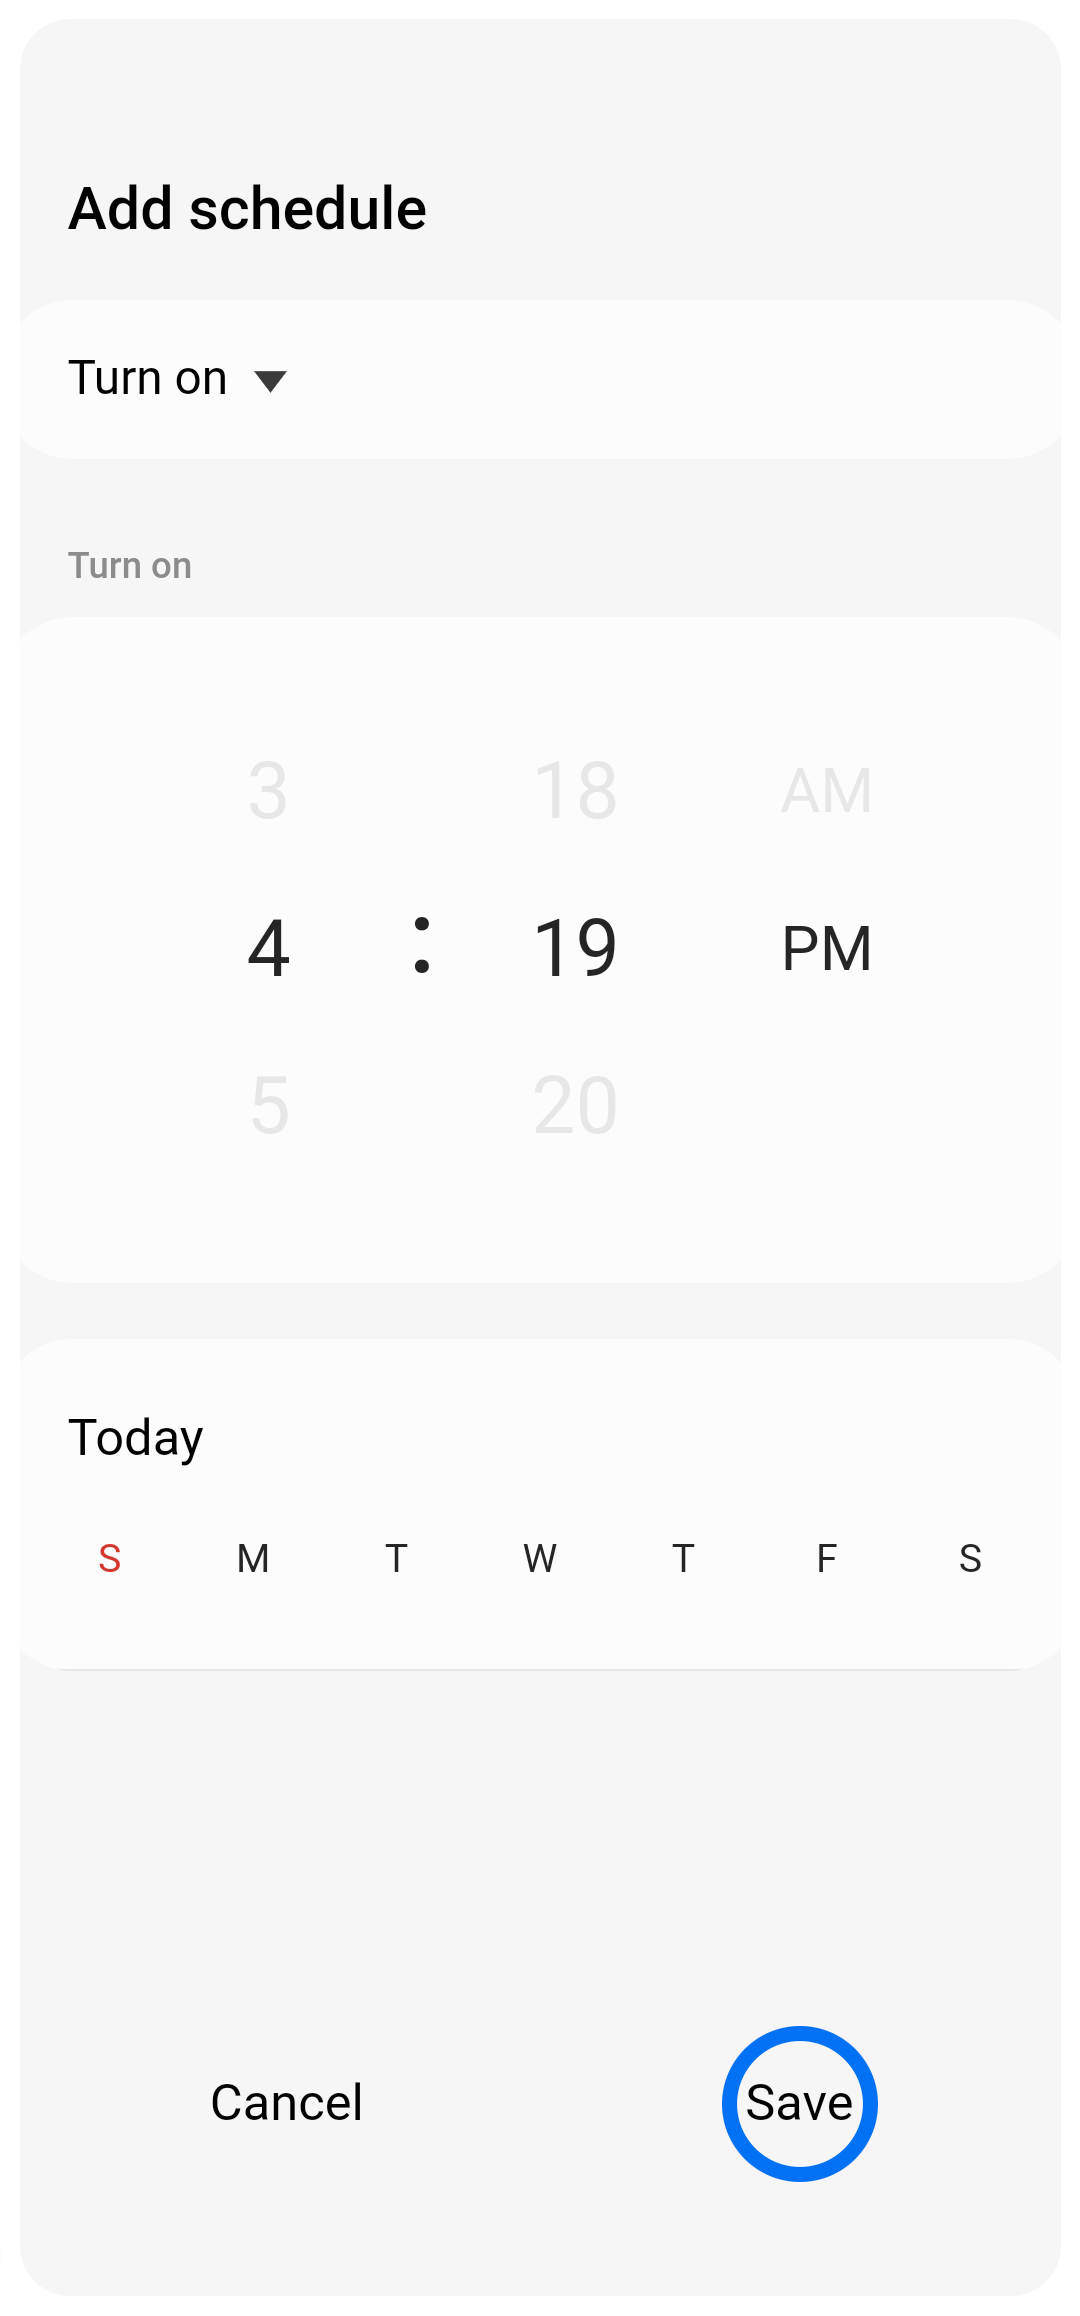
Once finalised, tap 'Save'.
To schedule a time to turn off your Air Purifier, repeat the steps above with the days and times you want your Air Purifier to automatically turn off, tap 'TURN OFF' and then 'SAVE'
Add Another Schedule or Turn Schedule On/Off:
Step 1
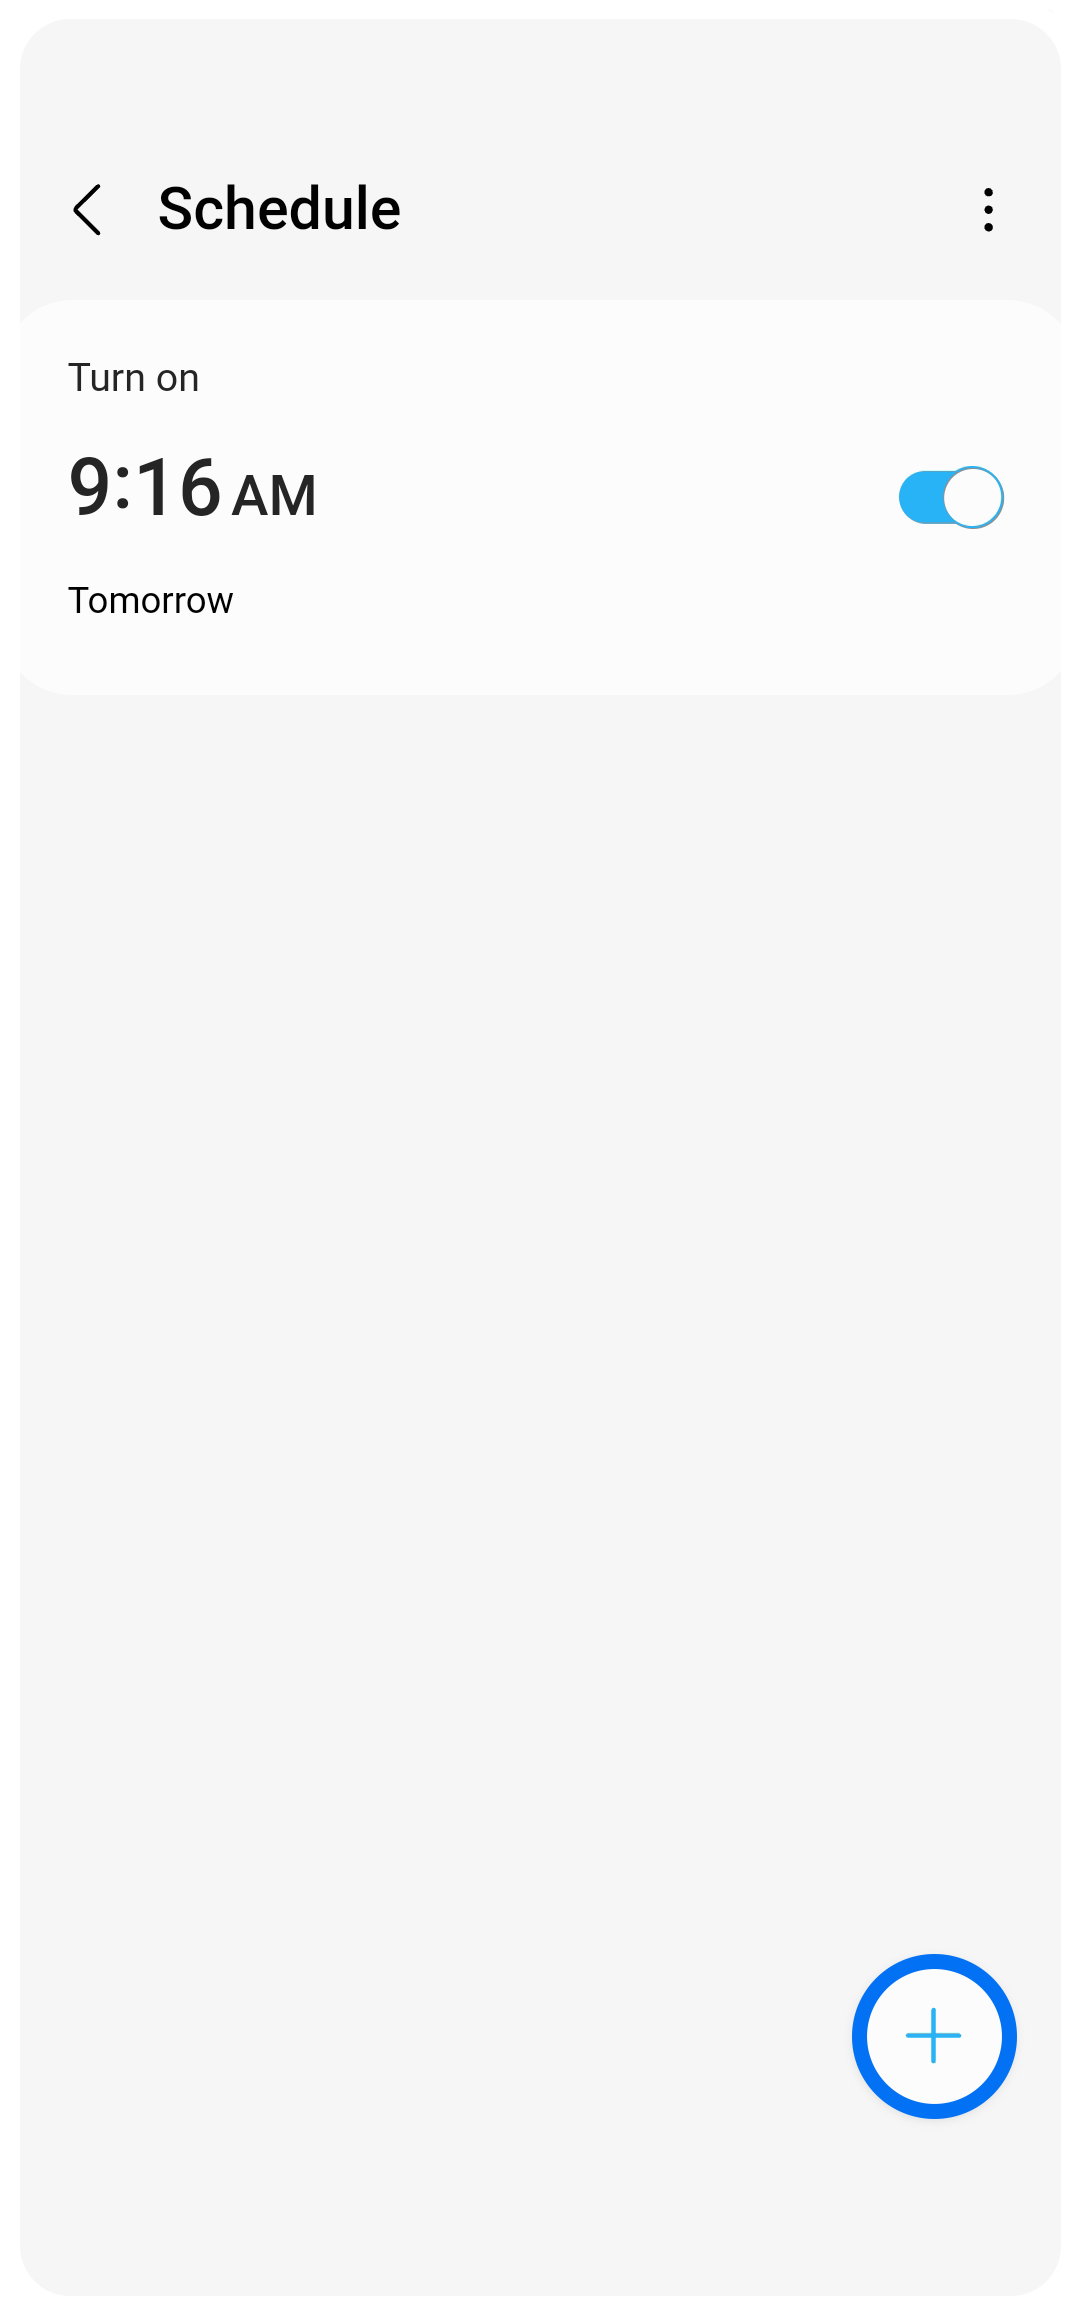
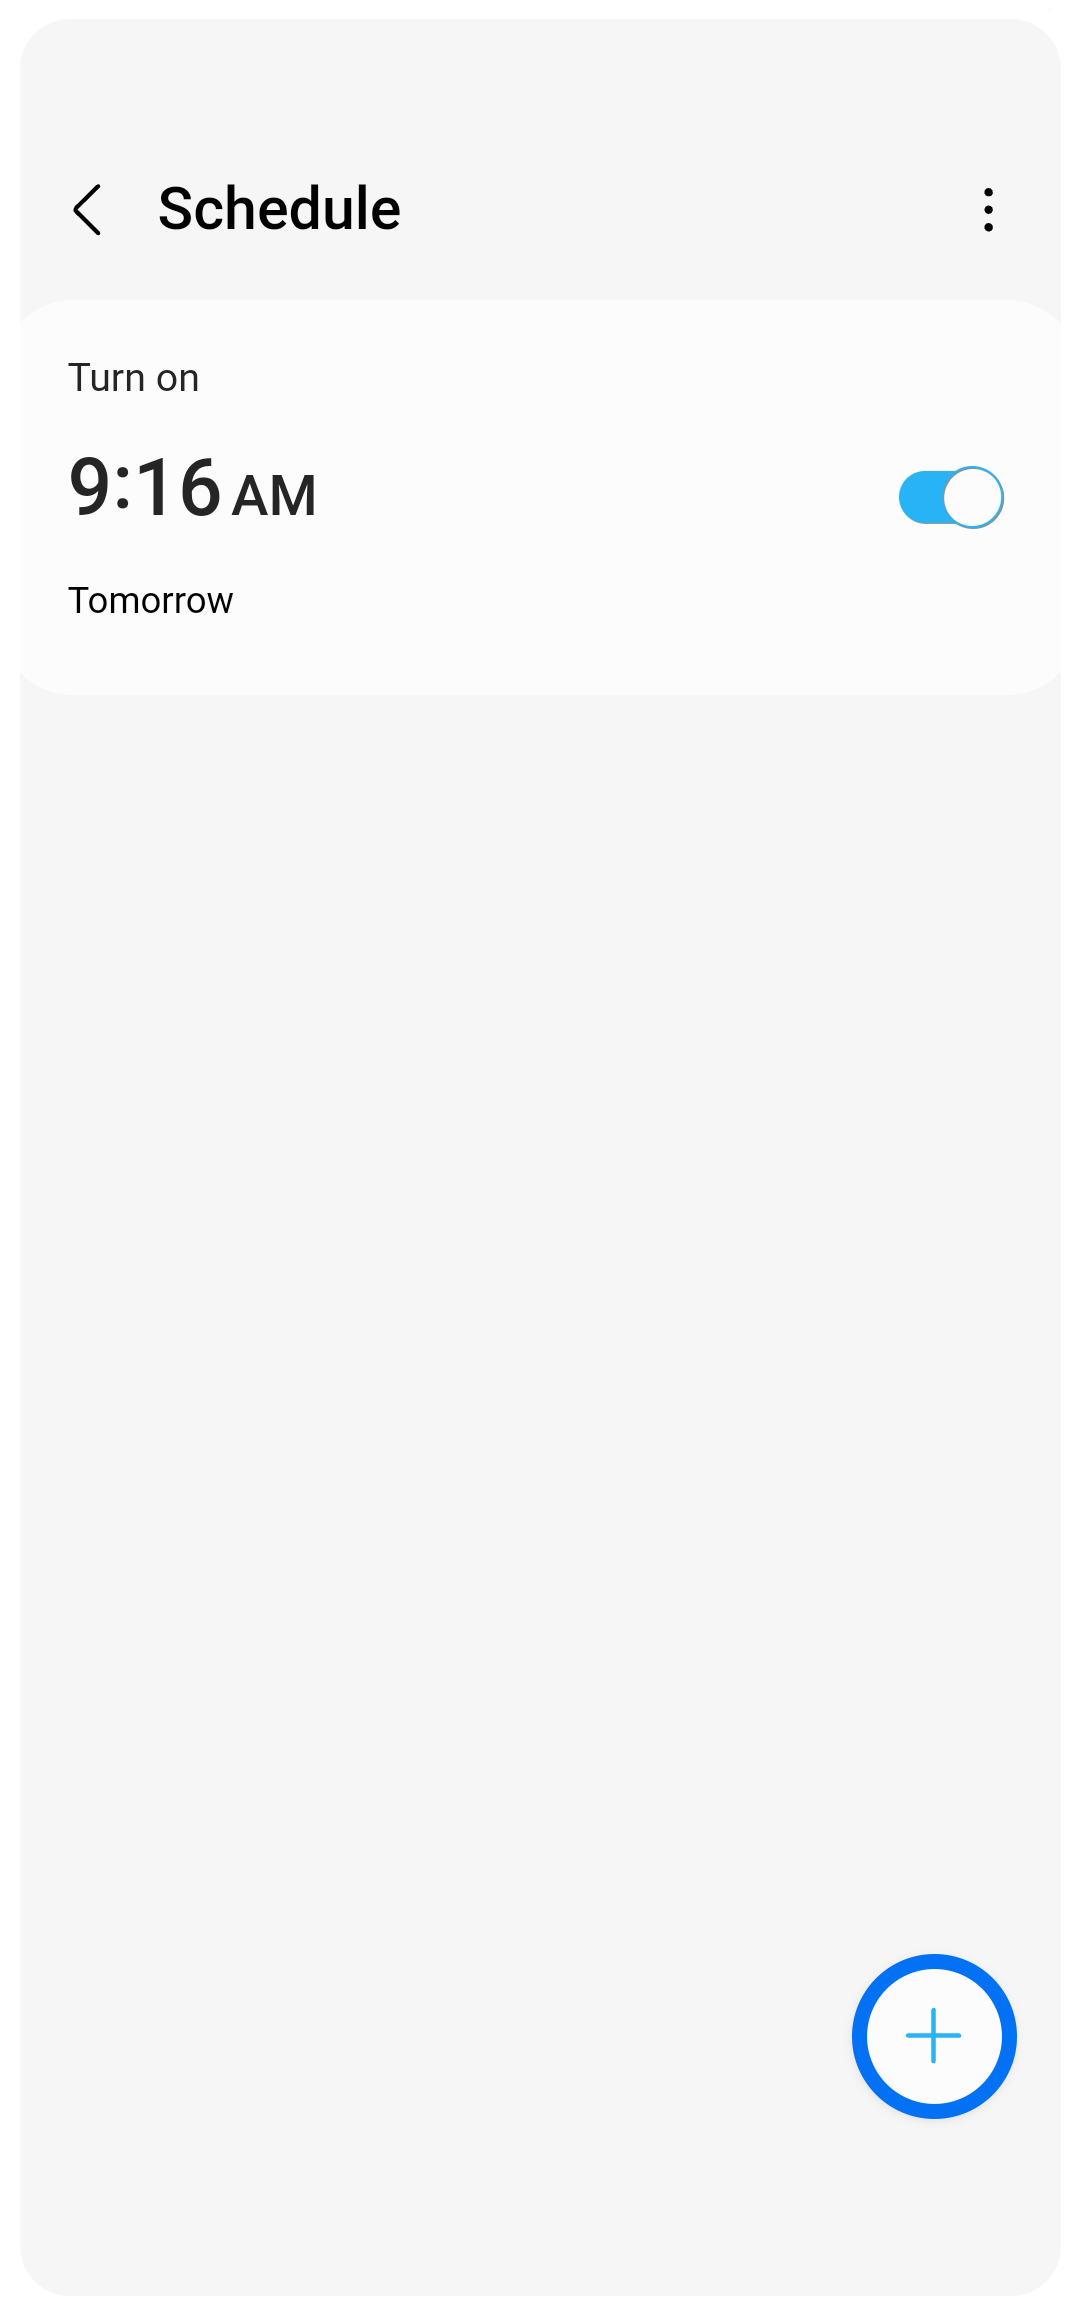
To add another schedule, tap the '+' button.
Step 2


Adjust your schedule preferences, then tap 'Save'.
Step 3
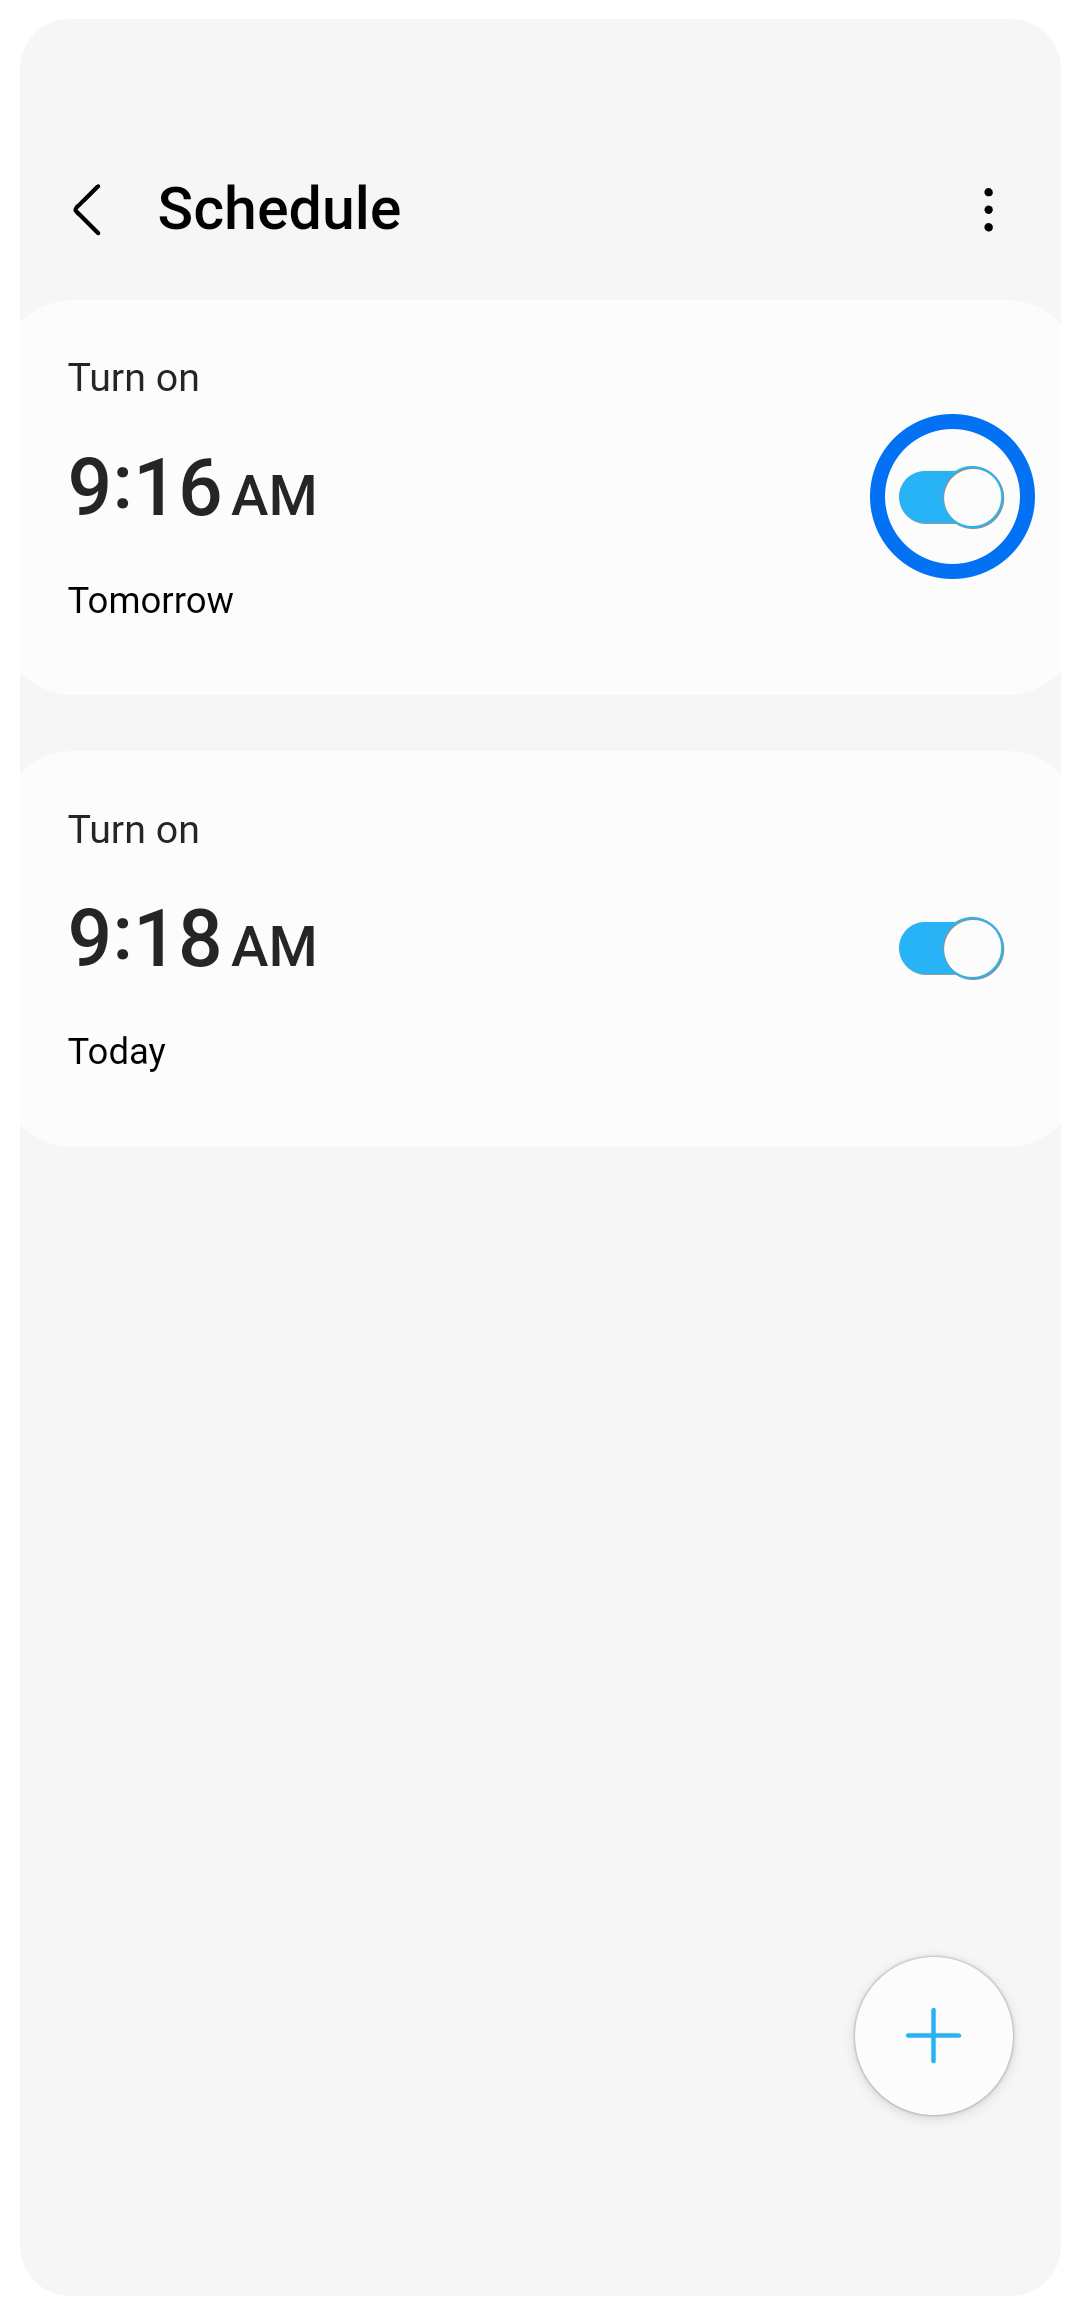
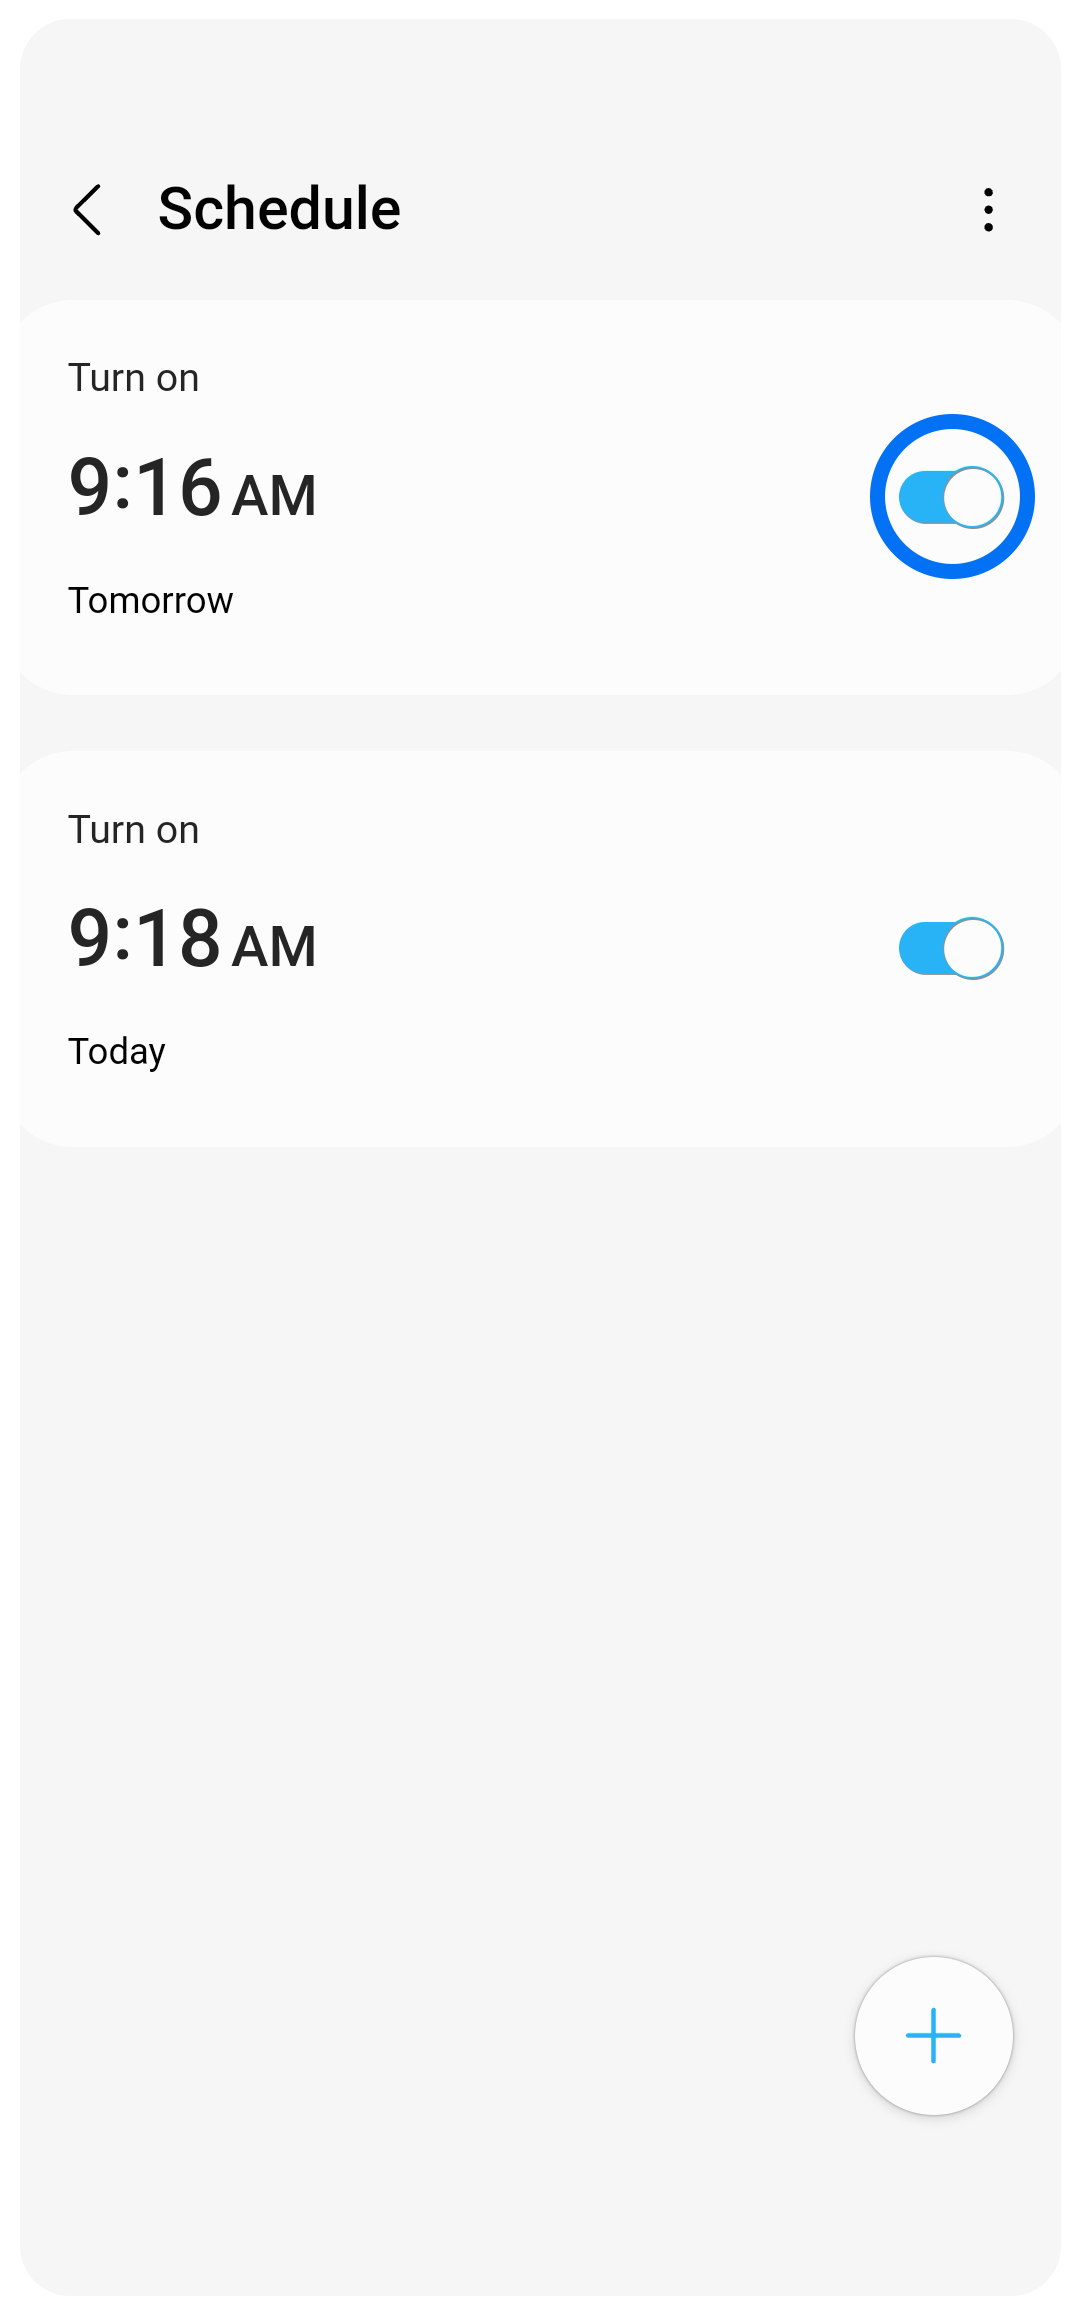
To turn a schedule on or off, simply tap the switch of the corresponding schedule.
Delete a Schedule:
Step 1


Tap the three dots in the top right corner.
Step 2
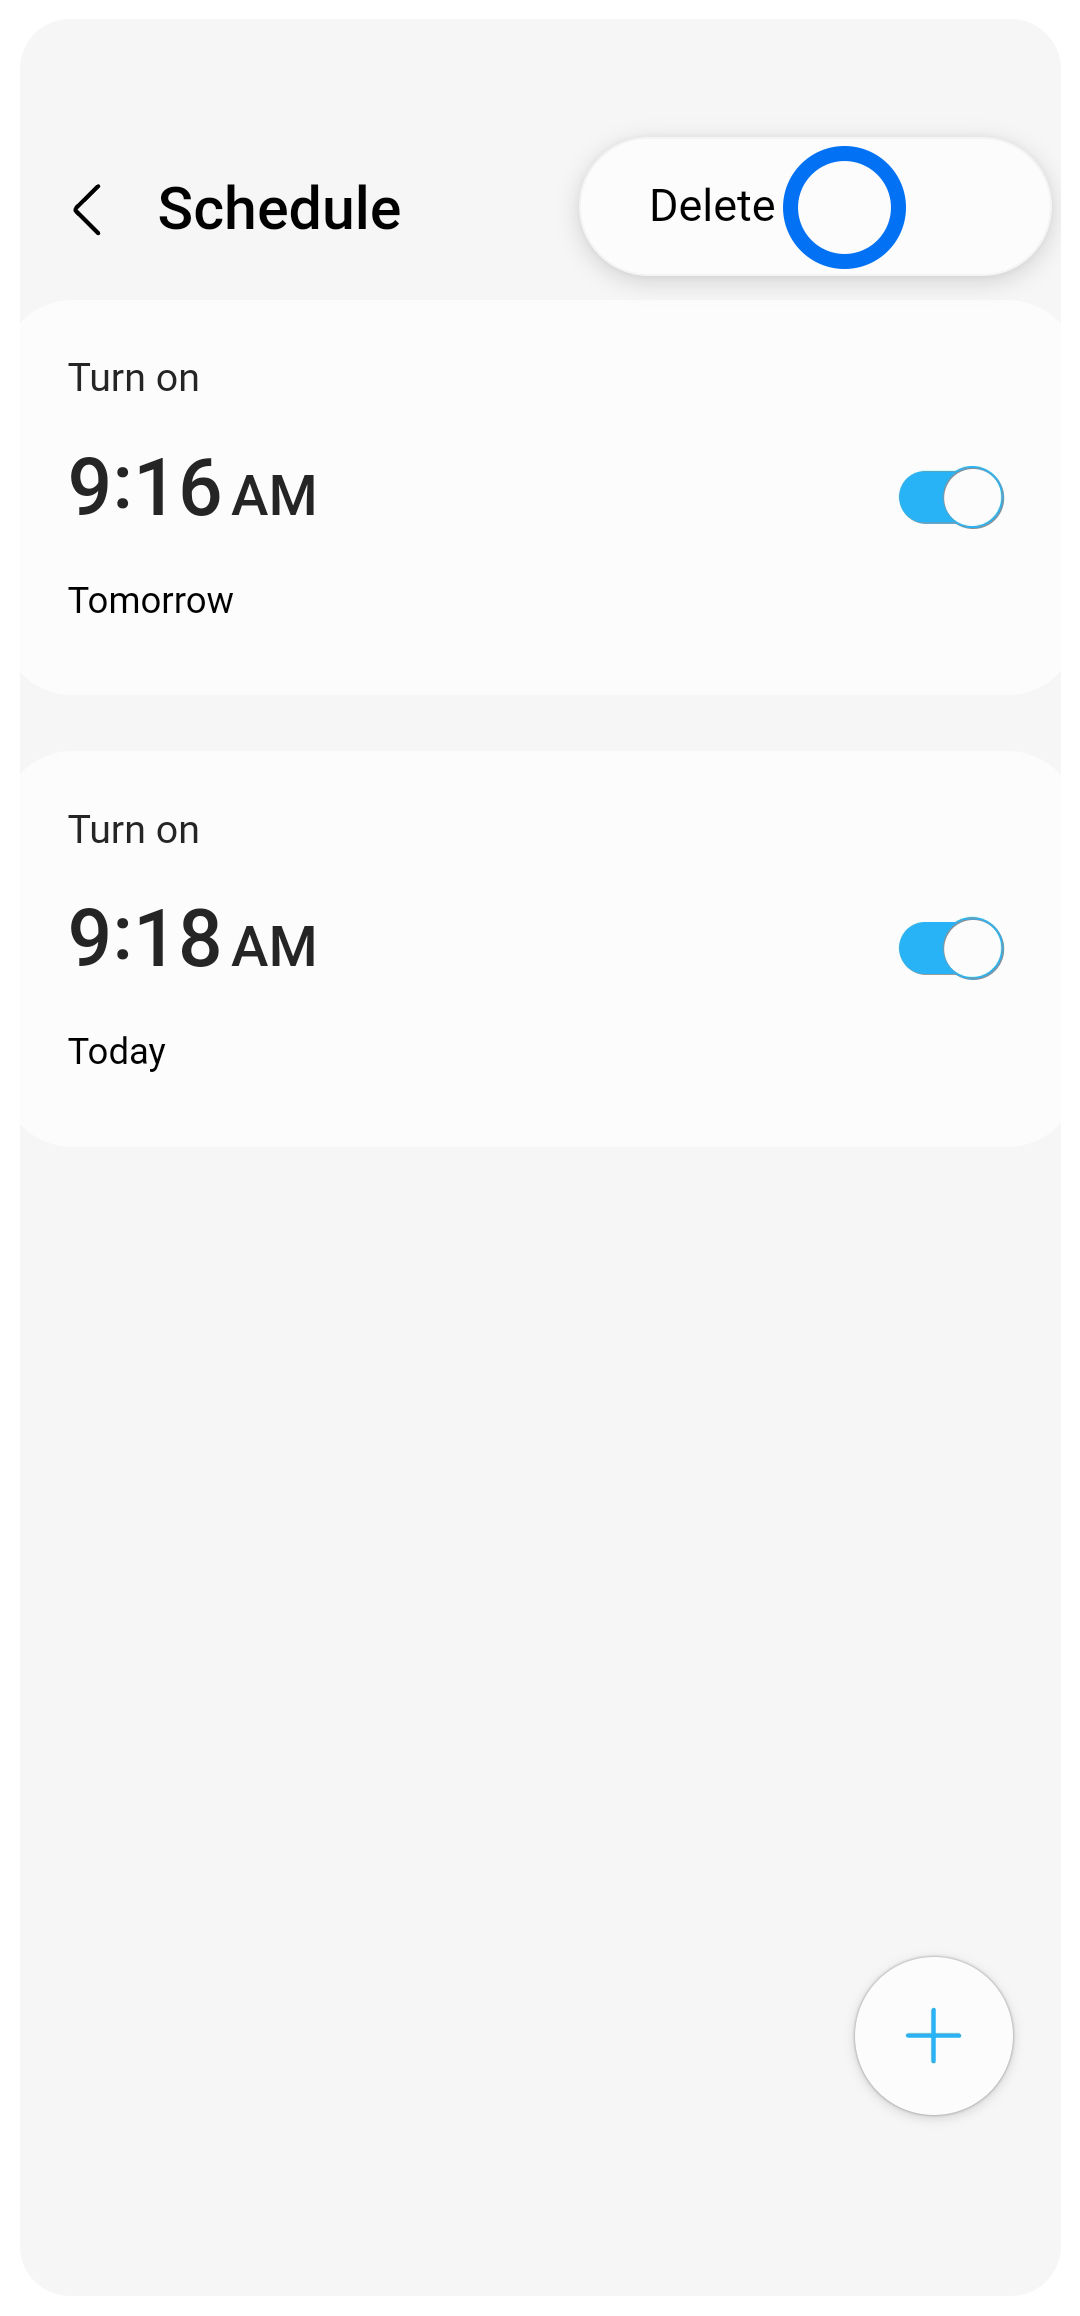
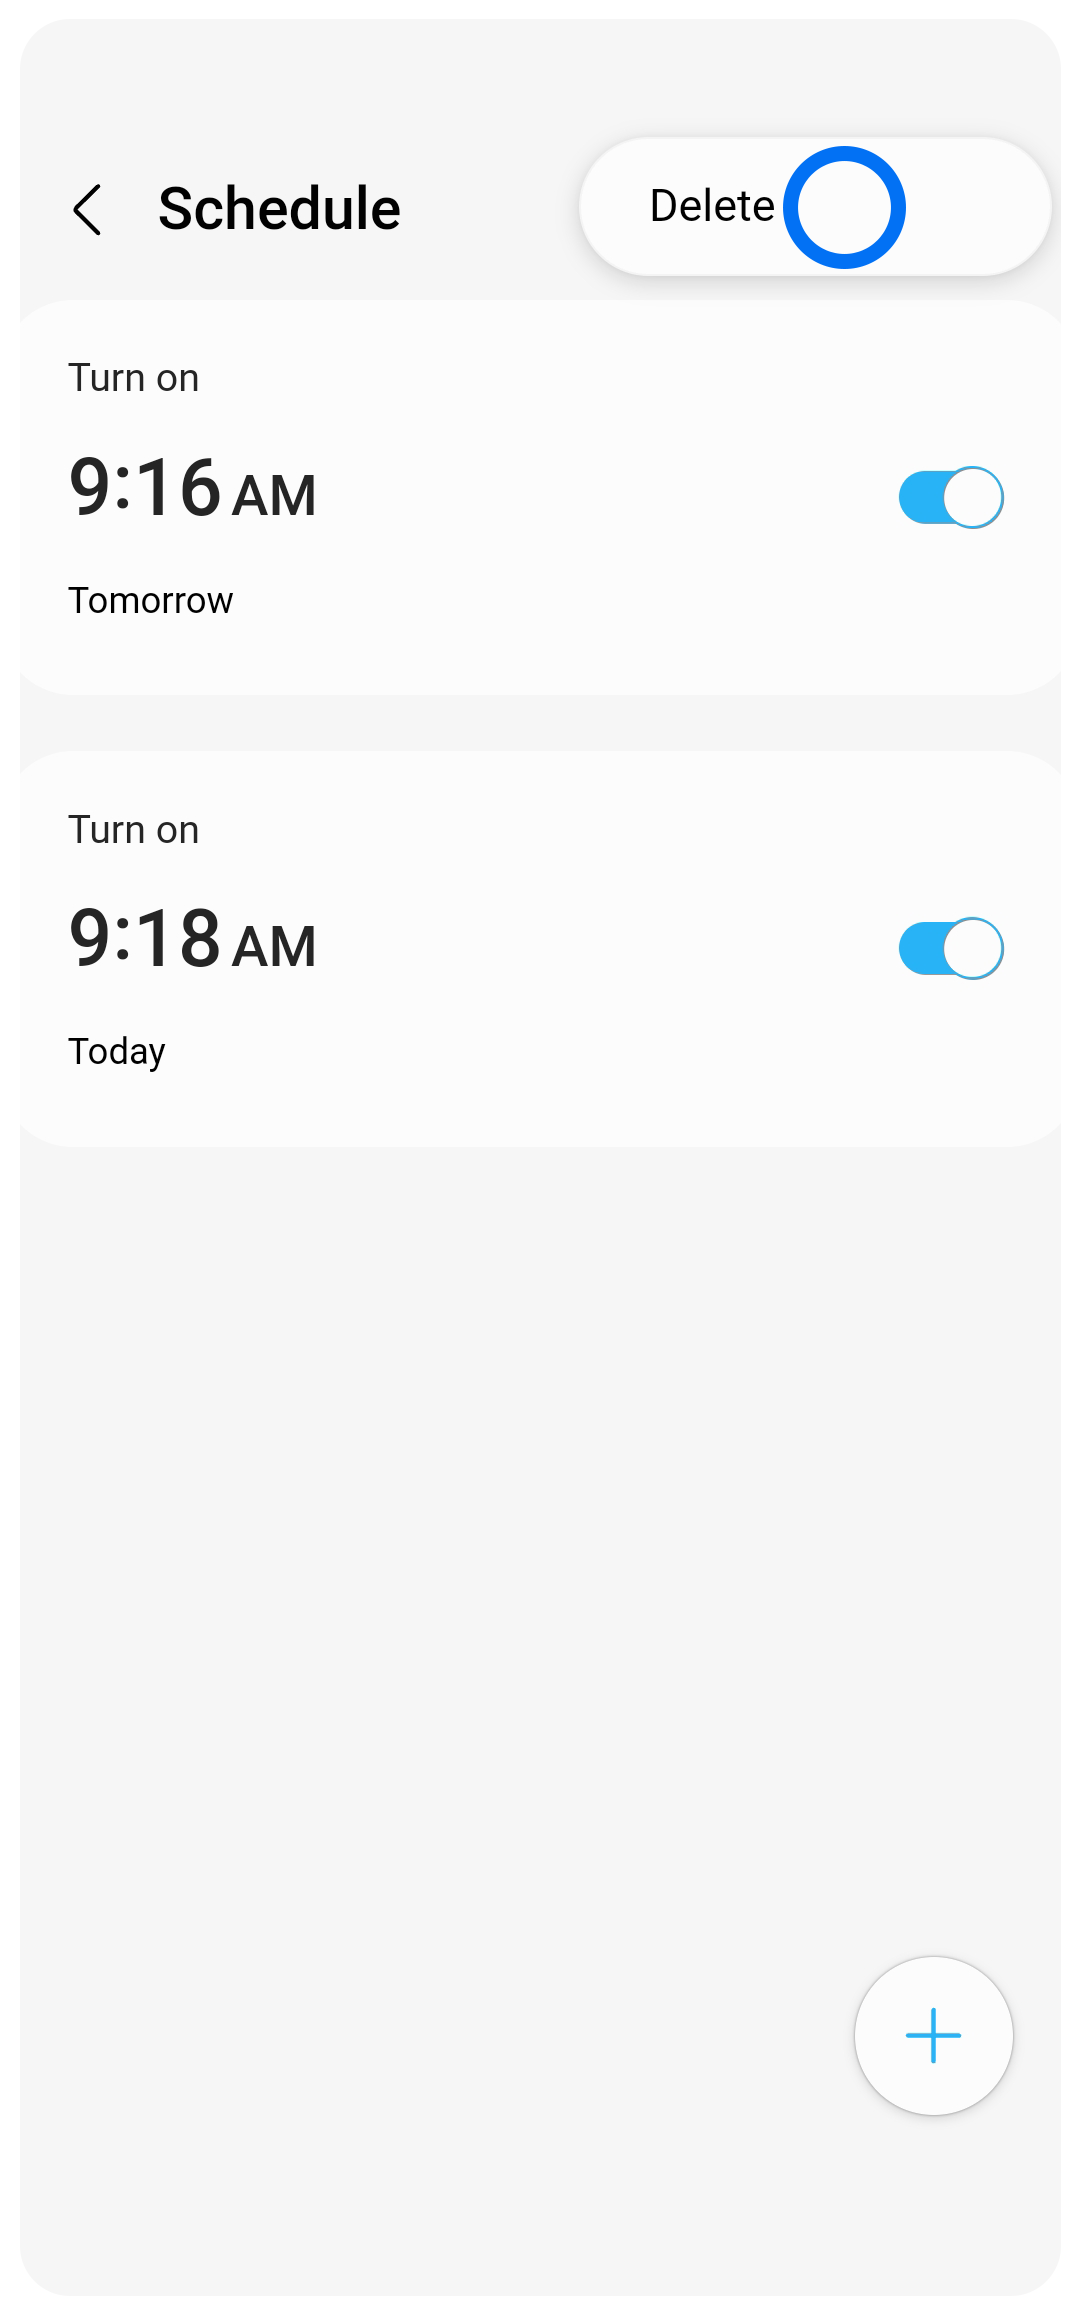
Tap 'Delete'.
Step 3
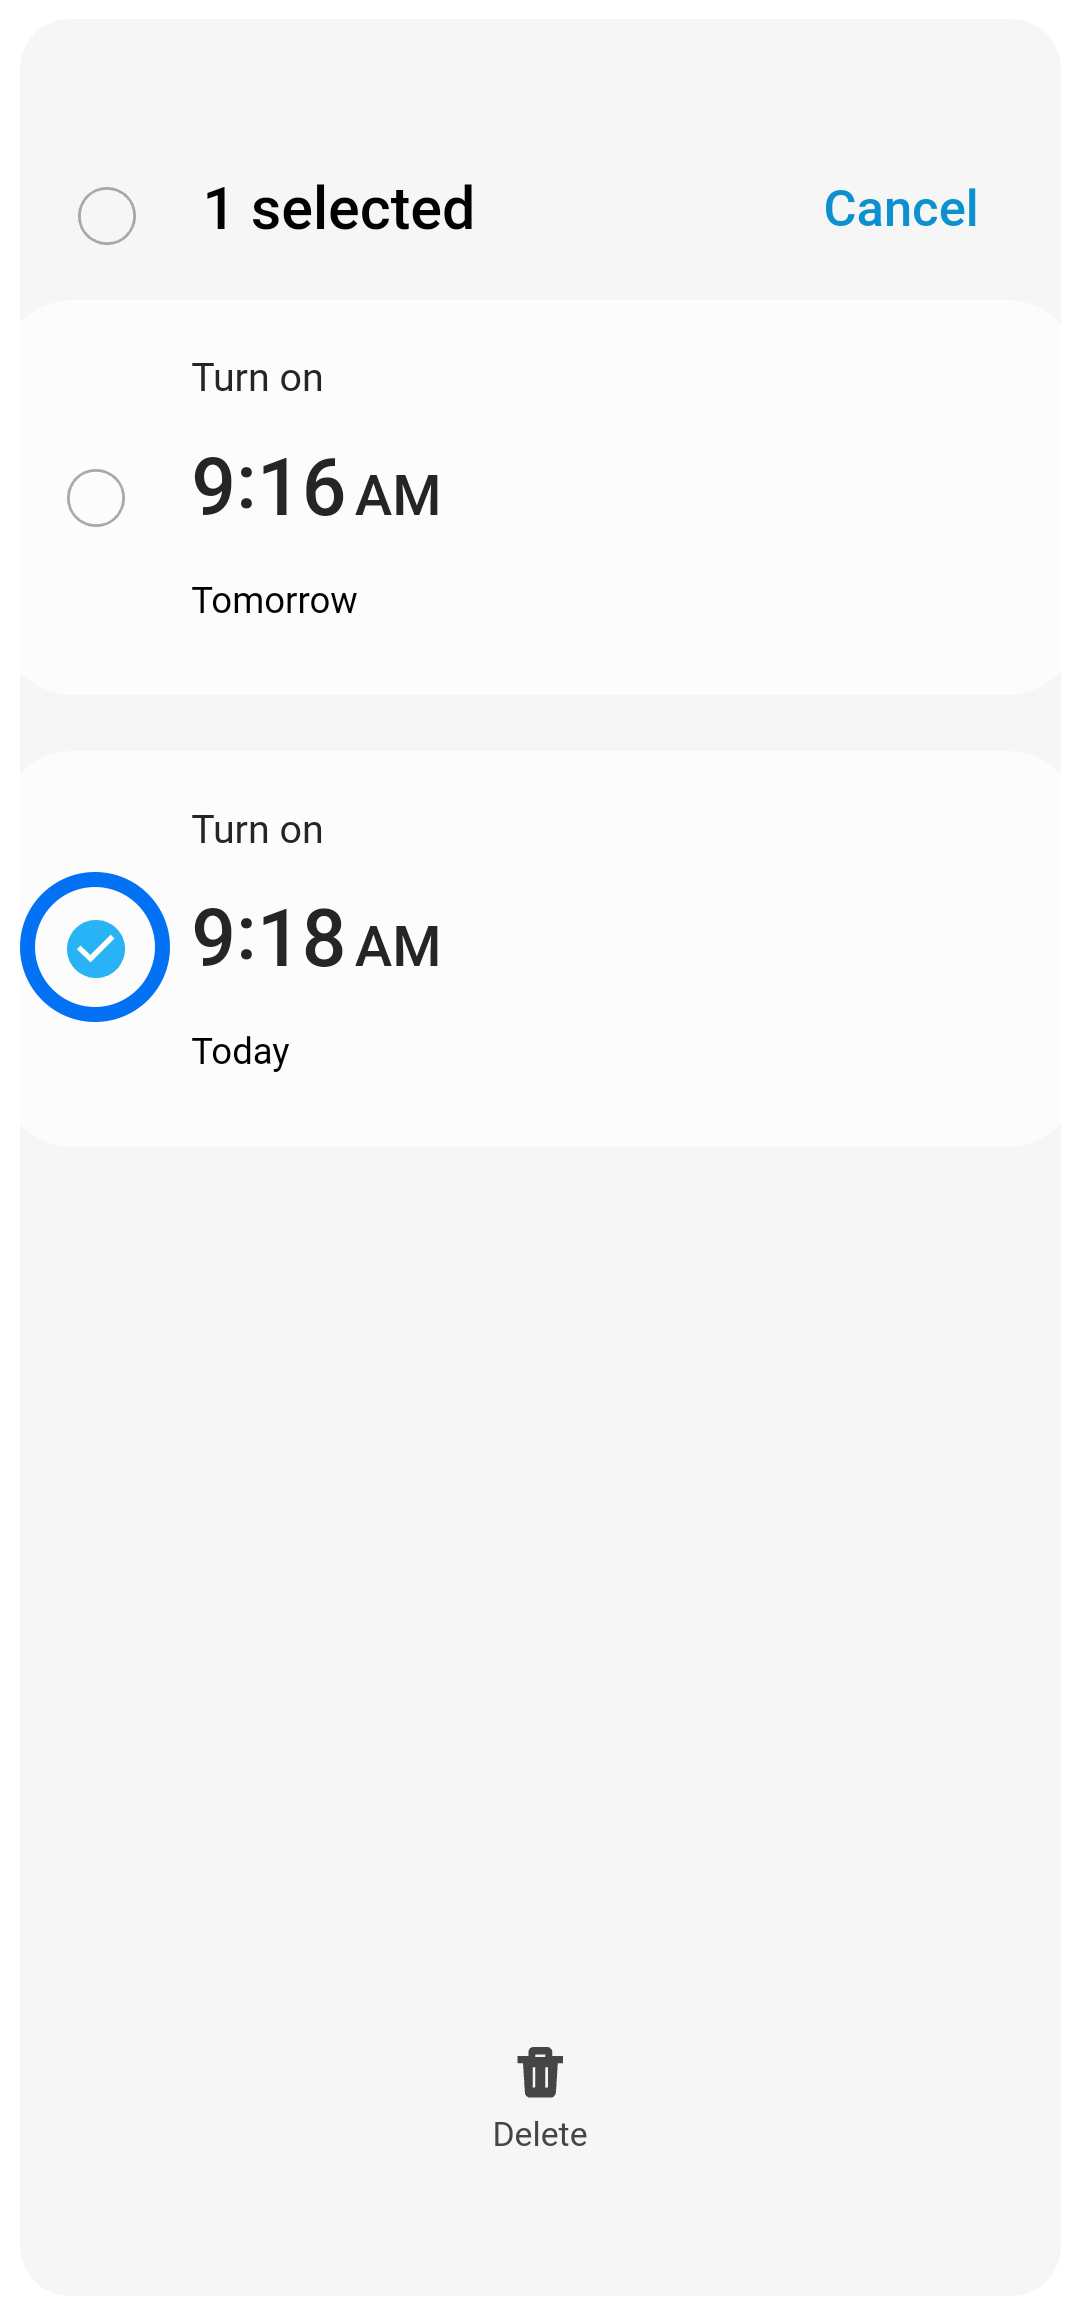
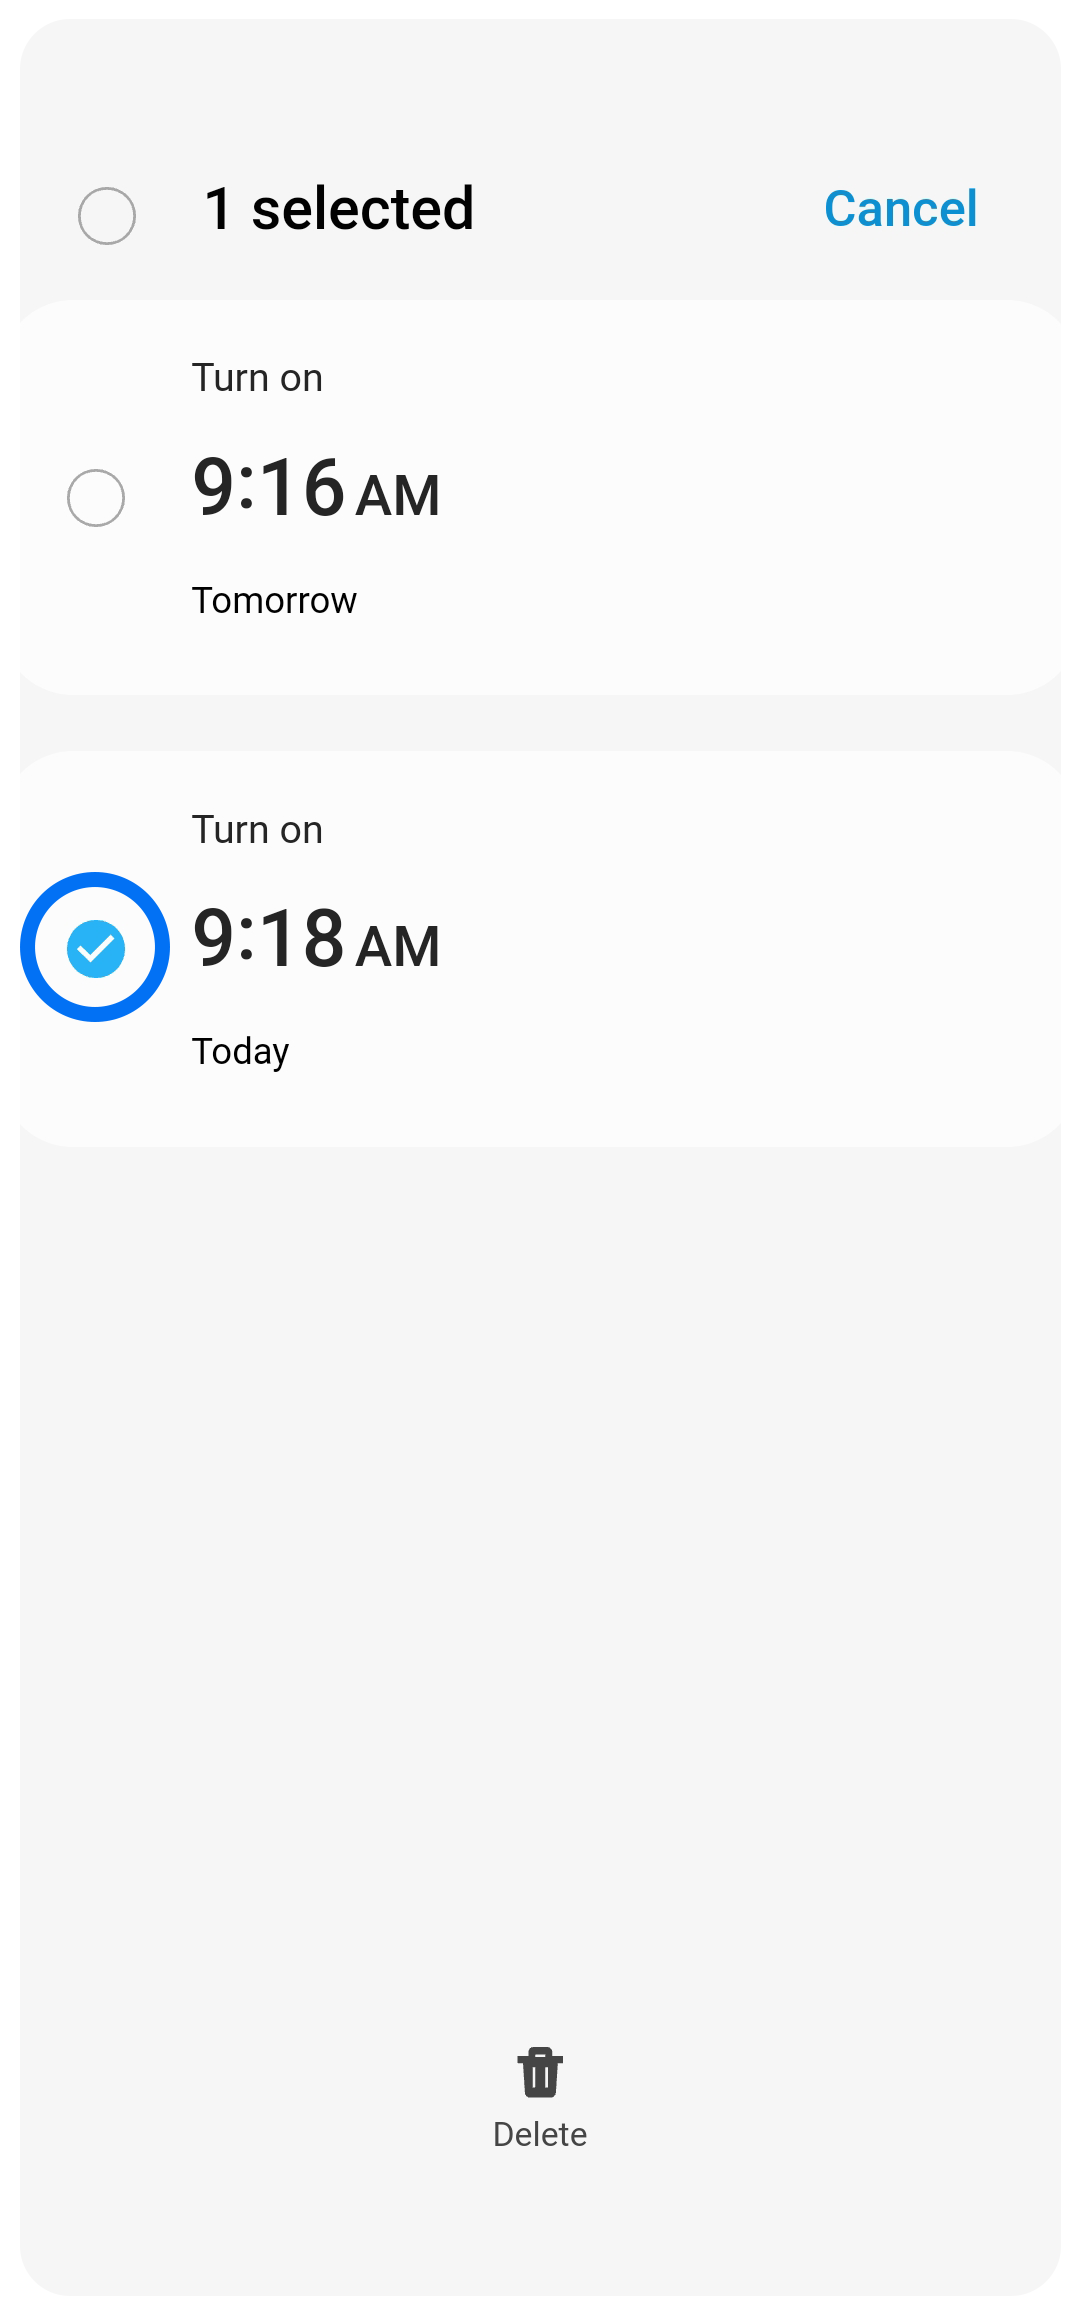
Select the schedule/s you want to delete.
Step 4
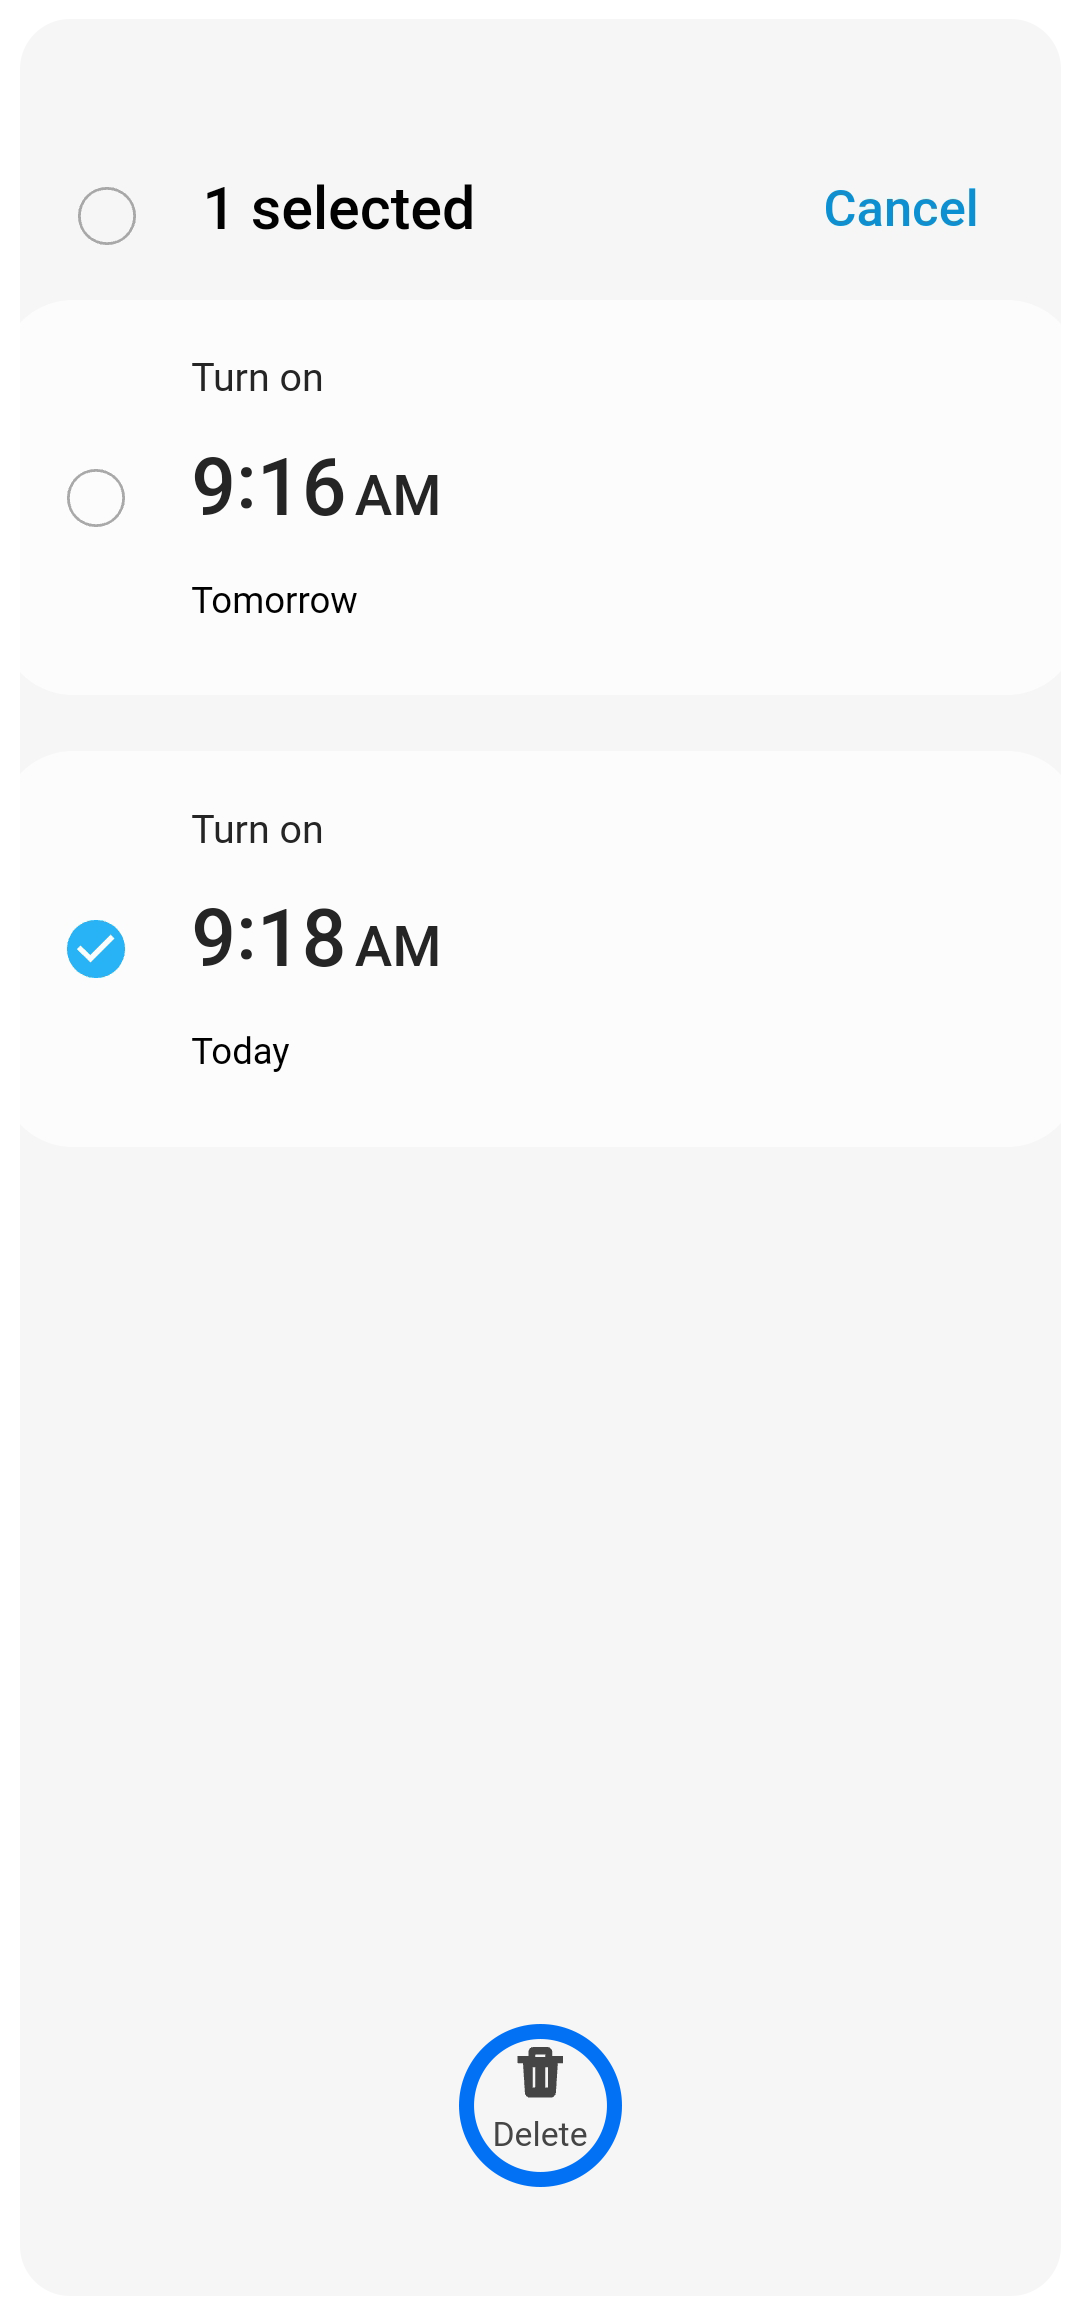
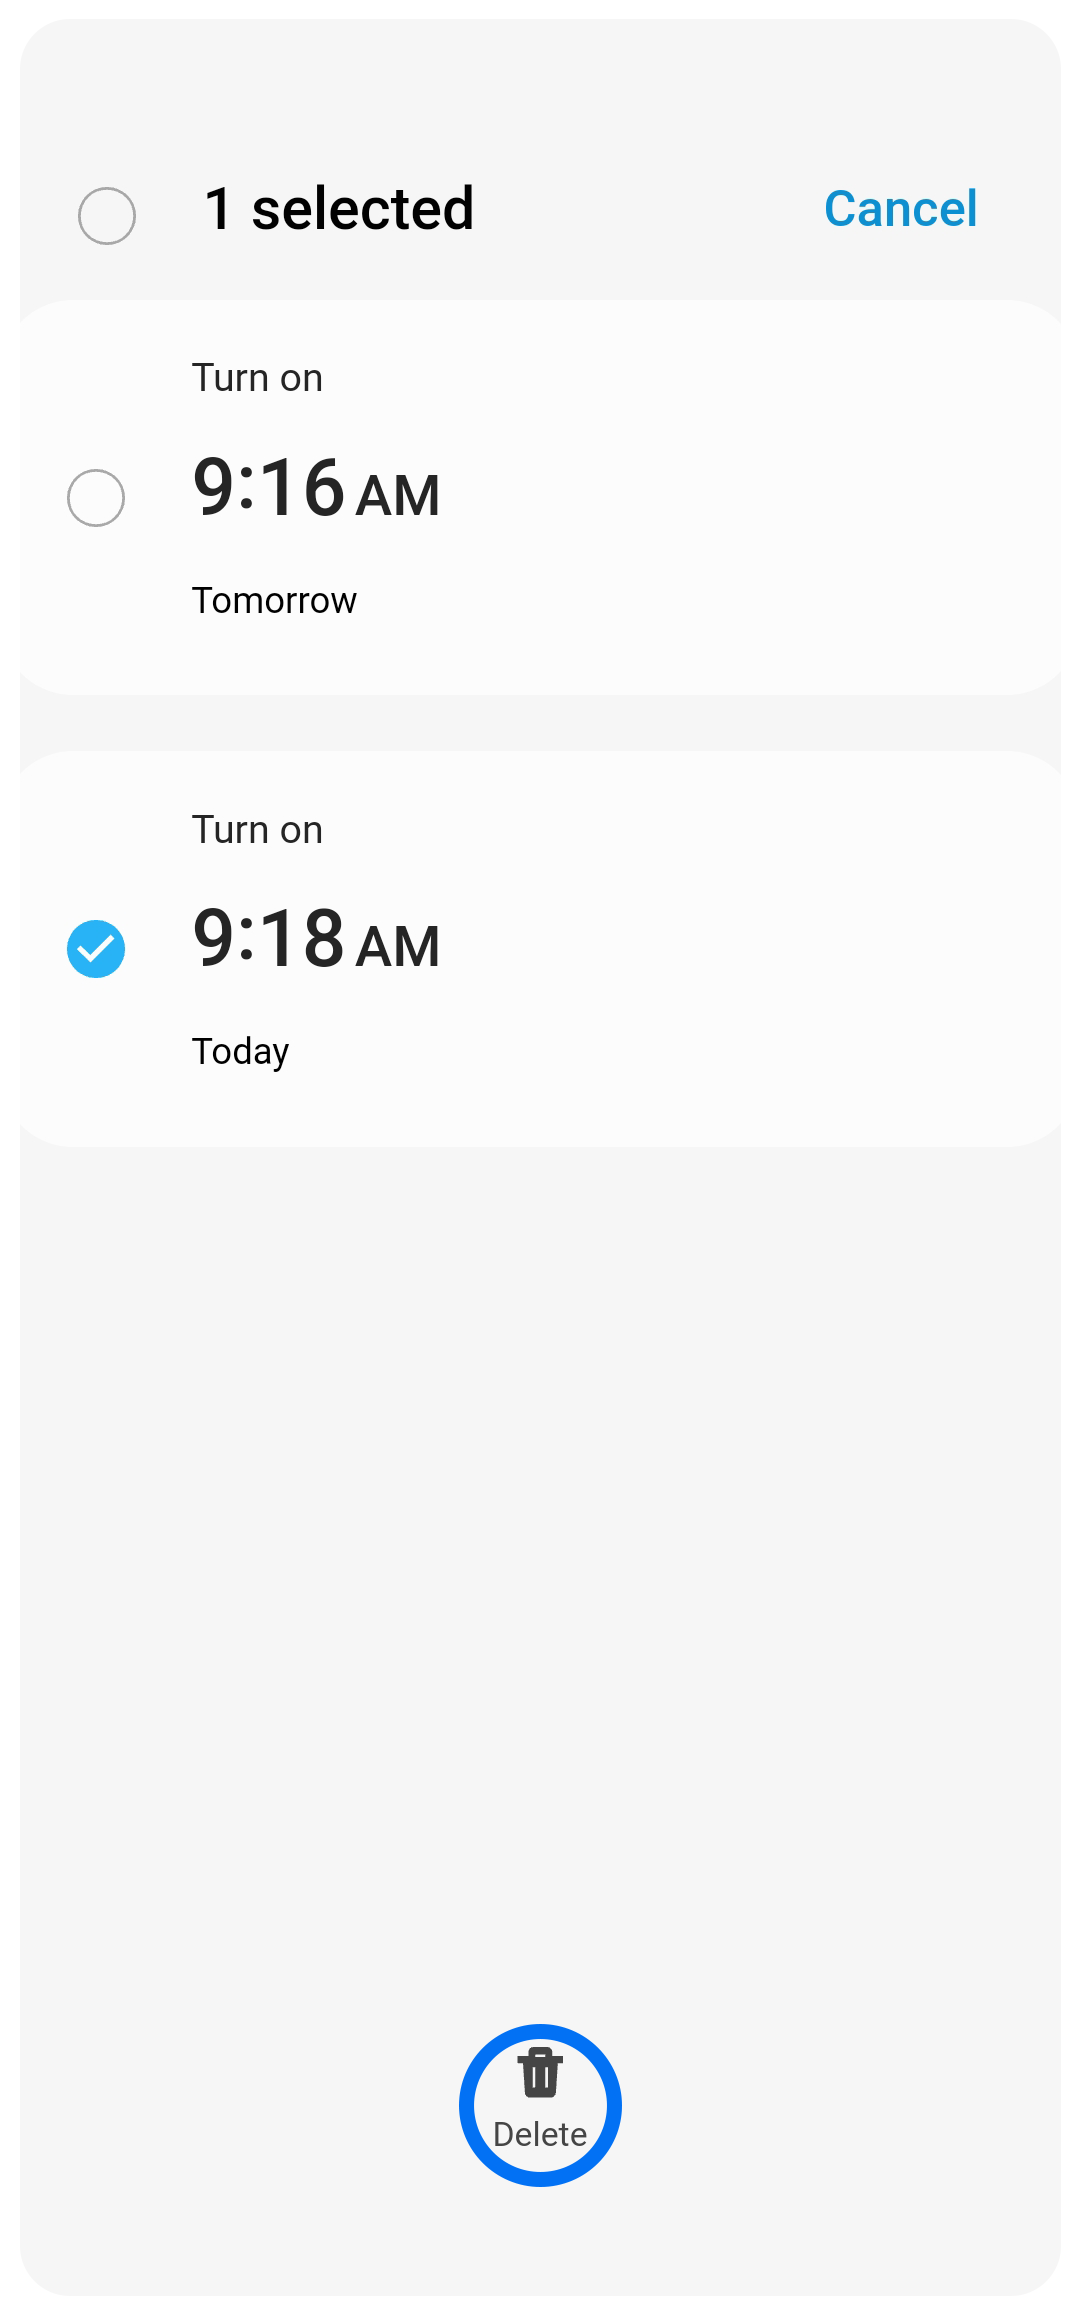
Tap 'Delete' to confirm.
For further assistance, please contact our Chat Support . To find your Samsung product's User Manual, head to Manuals & Downloads.

Thank you for your feedback!
Please answer all questions.
Contact Info
Contact us
WhatsApp
![]()
![]()

