How to record your screen on your Samsung Galaxy

Want to record what's happening on your Samsung Galaxy screen as a video? With the built-in Screen recorder feature, you can capture your screen without installing an additional app. It's a convenient way to save important moments, demonstrate how to do something, or share what's on your screen with others.
Note:
- The information provided applies to Samsung Galaxy devices sold in Canada. Screens and settings may vary for devices sold in other countries.
- On Android 10 (One UI 2.5) screen recordings are limited to 1 hour or 4 GB. On Android 11 (One UI 3.0) or later, there is no file size or recording time limit.
- Due to copyright protection, Screen recorder may not work with some photos, videos, apps or websites.
- Screen recorder may not be supported on some device models. If your device does not support this feature, you can install a screen recording app from the Play Store or Galaxy Store.
Screen recorder is supported on the following Galaxy models:
Galaxy S series
Galaxy S26 Ultra, Galaxy S26+, Galaxy S26, Galaxy S25 FE, Galaxy S25 Edge, Galaxy S25 Ultra, Galaxy S25+, Galaxy S25, Galaxy S24 FE, Galaxy S24 Ultra, Galaxy S24+, Galaxy S24, Galaxy S23 Ultra, Galaxy S23+, Galaxy S23, Galaxy S22 Ultra, Galaxy S22+, Galaxy S22, Galaxy S21 Ultra, Galaxy S21+, Galaxy S21, Galaxy S20 Ultra, Galaxy S20+, Galaxy S20, Galaxy S20 FE
Galaxy Note series
Galaxy Note20 Ultra, Galaxy Note20, Galaxy Note10+, Galaxy Note10
Galaxy Z series
Galaxy Z TriFold, Galaxy Z Flip7 FE, Galaxy Z Flip7, Galaxy Z Fold7, Galaxy Z Fold Special Edition, Galaxy Z Fold6, Galaxy Z Flip6, Galaxy Z Fold5, Galaxy Z Flip5, Galaxy Z Flip4, Galaxy Z Fold4, Galaxy Z Flip3, Galaxy Z Fold3, Galaxy Z Flip2 5G, Galaxy Z Fold2 5G, Galaxy Z Flip, Galaxy Z Fold
Your Samsung Galaxy’s Notification and Quick settings panels have been redesigned starting with One UI 7 (Android 15). New swipe gestures make it easier to access and switch between the two panels.
New way to access Notifications and Quick settings
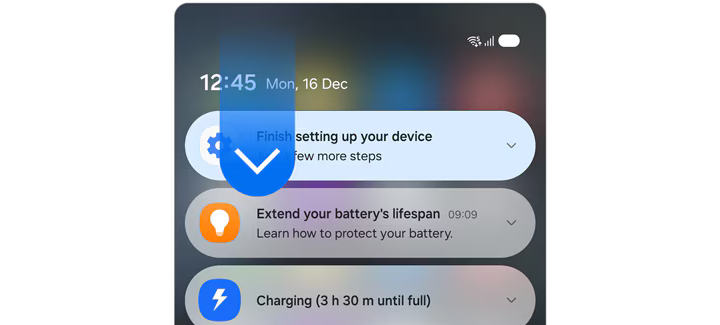
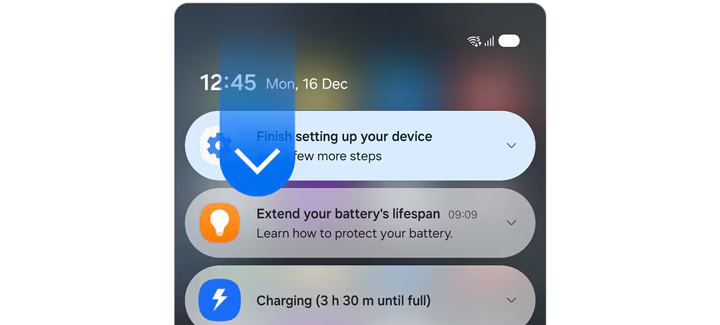
Access the Notification panel
Swipe down from the top left of the screen to open the Notification panel.
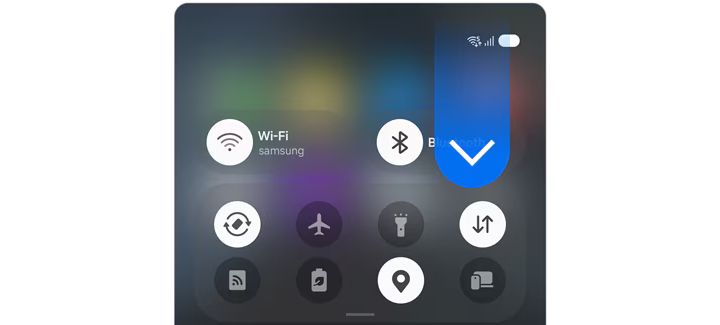
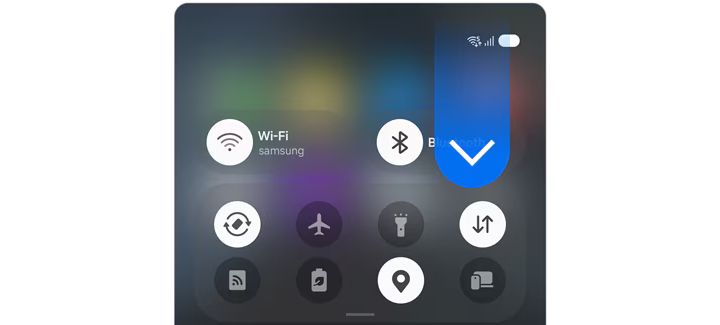
Access the Quick settings panel
Swipe down from the top right of the screen to open the Quick settings panel.
Pro tip: Once the Notification or Quick settings panel is open, you can swipe left or right to switch between them.
Switch back to the combined Notification and Quick settings panel
If you prefer the classic layout from before One UI 7, you can combine the Notification and Quick settings panels into a single view. It only takes a few simple steps:


01. Swipe down from the top right corner of the screen, then tap the Edit icon (it looks like a pencil).


02. Tap Panel settings in the top left corner.


03. Tap Notification and quick settings view.


04. Tap Together to combine the Notification and Quick settings panels into a single view.
Note: On some Galaxy devices, the screen containing the Notification and quick settings view option may not appear. In that case, you’ll proceed directly to the next step.
You can start a screen recording from the Quick settings panel on your Samsung Galaxy. Open the screen you want to record, then tap Screen recorder to begin. Before recording starts, you can choose whether to record the entire screen or a selected area, configure audio options, and decide whether to show taps on the screen. A 3-second countdown will appear before recording begins, but you can skip it if you prefer.


01. Swipe down from the top of the screen to open the Quick panel.


02. Tap Screen recorder.


03. Select the recording settings shown on the screen.


04. Tap Start recording. Recording starts after a countdown of 3 seconds.
Note: While recording, use the toolbar at the top of the screen to pause, resume, or stop the recording.
You can customize Screen recorder settings, including audio, video quality, video size and whether taps appear in your recordings.


01. Open the Settings menu.


02. Select Advanced features.


03. Select Screenshots and screen recordings.


04. Adjust recording settings as needed.
After recording ends, you can check the recorded file in the Screen recordings folder in the Gallery app.
The default save location for screen recordings is Internal storage > DCIM > Screen recordings. You can change the save location in the Screen recorder settings.
Note: Menu names, paths, and screen layouts may vary depending on your device model, software version, or app version.

Thank you for your feedback!
Please answer all questions.
RC01_Static Content : Hide call number function